How to Change the Background of a Photo
Learn how to easily change the background of a photo with these simple step-by-step instructions. Transform your images and create stunning visuals with this helpful guide.
Download the app, NOW!


.png)

.png)


PhotoCut - A Game Changer!
Explore endless tools and templates at your fingertips to customize your new image using the PhotoCut app. They love us. You will too.
.webp)
CAPTAIN SYKE

So much easy to use than the other apps that I have encountered. I'm so satisfied. I fished to clear the background less than a minute! Keep it up🙌🏻
.webp)
Lee Willetts (Dr.Drone Doomstone)
Great app, used alongside text on photo, you can create some great pics. Hours of fun.
.webp)
Bran Laser
I always erase and cut something with this it is very op there is no bug and I made a picture for my channel very nice install it now!
.webp)
ZDX Gaming
The Best Photo Editor .. Not Many Can Actually Cut Pictures Perfectly Like this App been looking for something like this for a long time 💔😂 Nice App I recommend it Giving it 5 star
.webp)
Small Optics
Best app of this type out there, it does nearly all of the work for you.. Great work developers.
.webp)
Emilia Gacha
It's really useful and super easy to use and it may be the best background eraser app!
.webp)
kymani ace
This is a really nice app I love how it let's me do lots of edits without paying for anything and there isn't even a watermark, very good app.
.webp)
Nidhish Singh
Excellent apps and doing all the work as expected. Easy to use, navigate and apply to any background after cut out.
.webp)
Adrian
Been using this app for many years now to crop photos and gotta say, really does what it's supposed to and makes photo's look realistic. Recommend it very much.
.webp)
Indra Ismaya
Easy to use, very usefull
.webp)
Barbie Dream
I love this app! You can edit and change the background i been using it for months for my video! Keep it going.
.webp)
Kaira Binson
Ouh..finally i found a good app like this..after instalking 6-8 apps ..i finally get the right one...easy..free...so cool...but maybe pls..adjust your ads..in this app..thanks☺
.webp)
Tara Coriell
I payed for premium but it was only a 1 time payment of 5.29 and I love this app. There are a lot of nice features

Engels Yepez
Great app for edit photos, it include an interesting IA function for apply effects to your pics

Azizah ahmad
This apps is awesome compared to other photo cut apps. I have tried several photo cut apps but all of them was bad. And finally i found this app, super easy to use, have feature smart cut and smart erase. Awesome !!
.webp)
Galaxy Goat
The app is incredible! I erased a background and added it into a new background in less then 20 seconds. Normally it takes 10-20 minute's on other apps. Highly recommend
.webp)
Victor Maldonado
I been having a few issues with app can't zoom in like before and its not like it use to what happen i paid for this app not liking the new upgrade
.webp)
Lynsiah Sahuji
more accurate in removing background, didn't required so much effort. love this! ❤️


Introduction
Have you ever taken a great picture, but the background just doesn't look right? Don't worry, we've got you covered! In just two simple steps, we'll show you how to change the background of your photo to make it look even better.
Why Change the Background?
By learning how to change the background of your photos, you can make them stand out on social media, in presentations, or on your e-commerce website. It's a great way to enhance the quality and impact of your images.
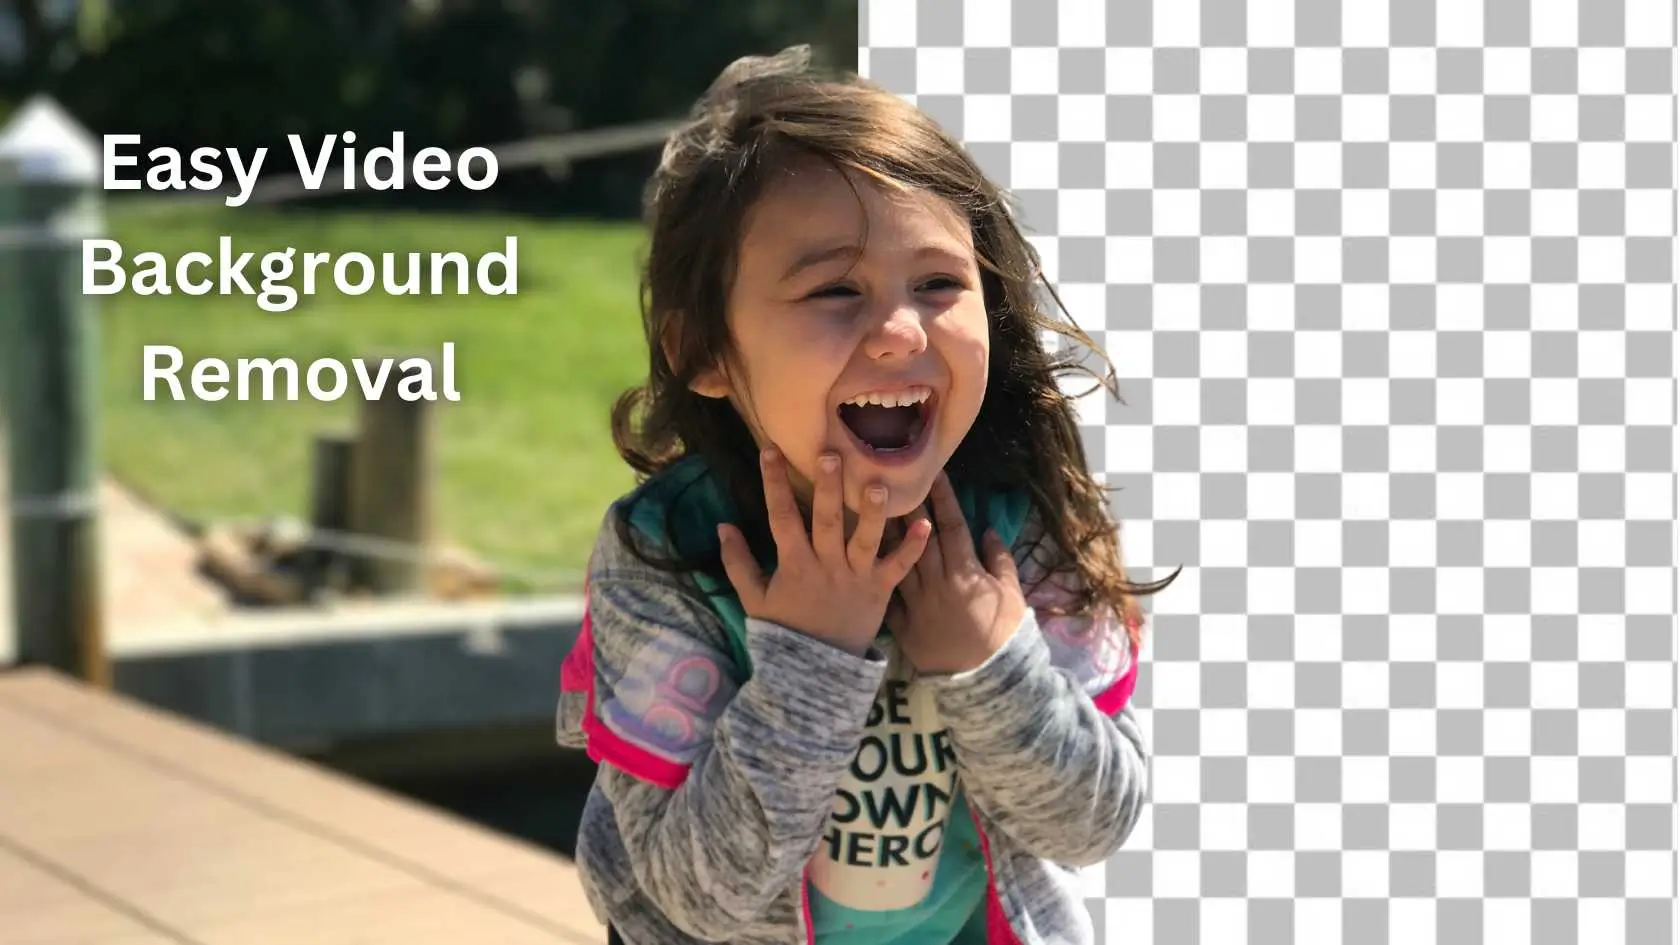
Step:1 Remove the Current Background
Using the Background Remover Tool
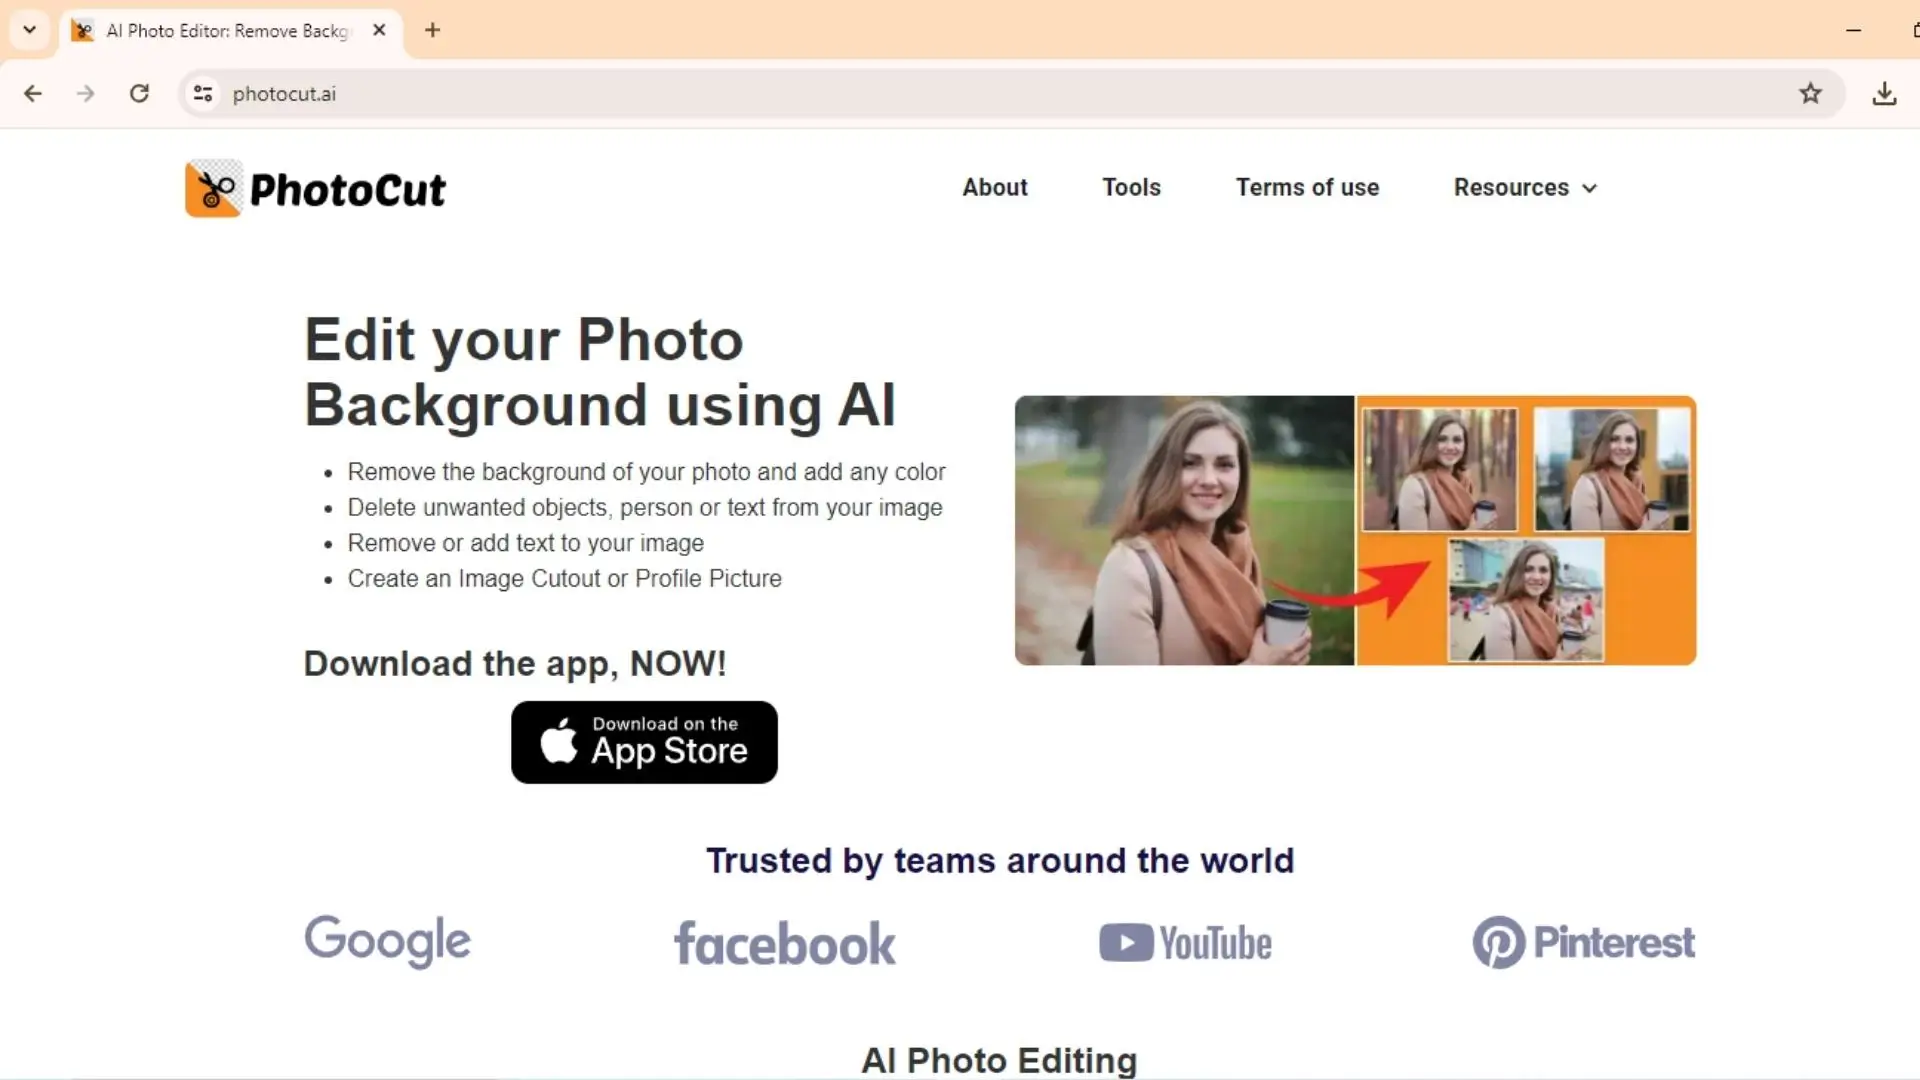
If your photo already has a transparent background, you can skip this step. Otherwise, follow these instructions to remove the current background:
1. Open the Background Remover tool on your computer or mobile device.
2. Upload your photo and watch as the background disappears in just a few seconds.
3. Once the background is removed, you can download your edited photo or continue to the next step to add a new background.
Step:2 Add a New Background

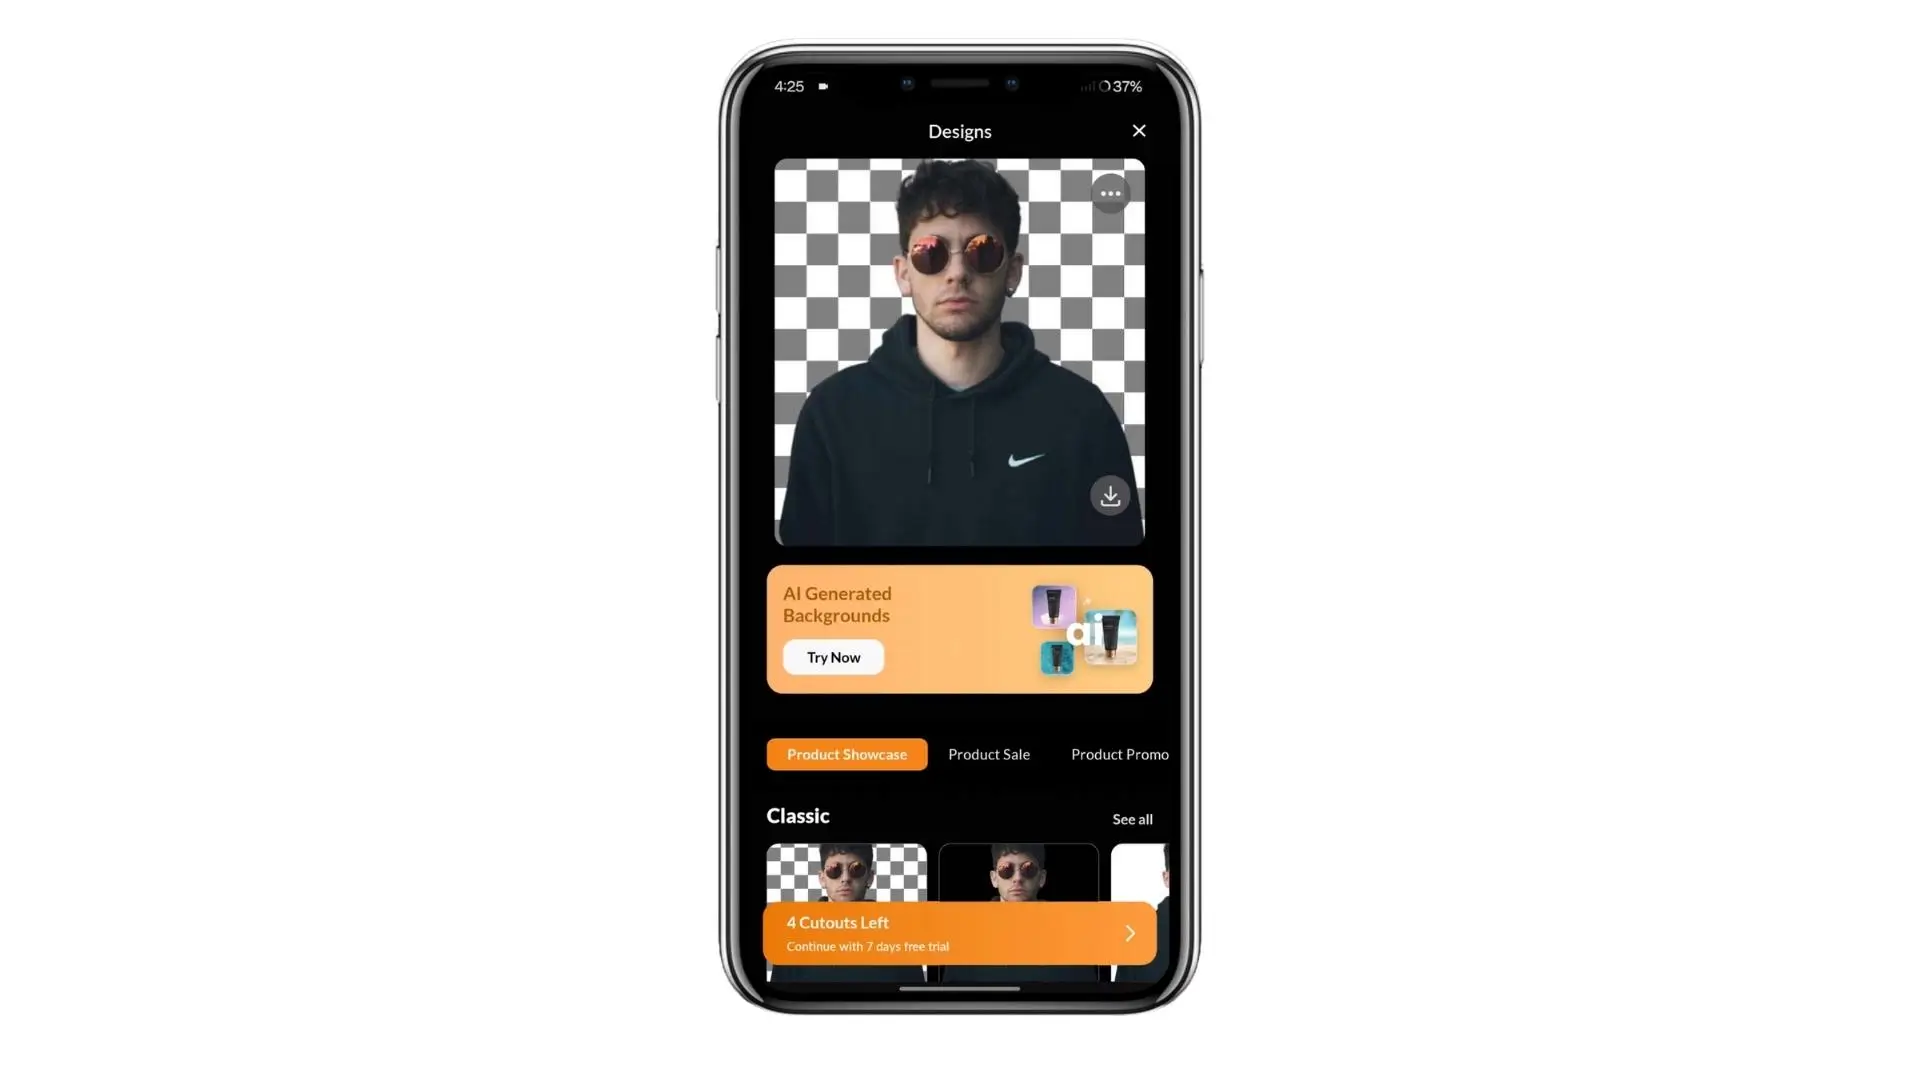
Options for Adding a New Background
After removing the background, you have three options for adding a new one:
1. Use your own background image
2. Choose a background image from a library
3. Generate a custom background with AI
Using Your Own Background Image
1. Click on the Background tab in the editor.
2. Upload your own background image from your device.
3. Customize your background by adjusting filters, textures, and more.
4. Download your edited photo with the new background.
Choosing a Background from a Library
1. Click on the Background tab in the editor.
2. Select a background from the library that complements your image.
3. Modify the background to suit your preferences.
4. Download your edited photo with the new background.
And that's it! With just a few simple steps, you can change the background of your photo and make it look even better.
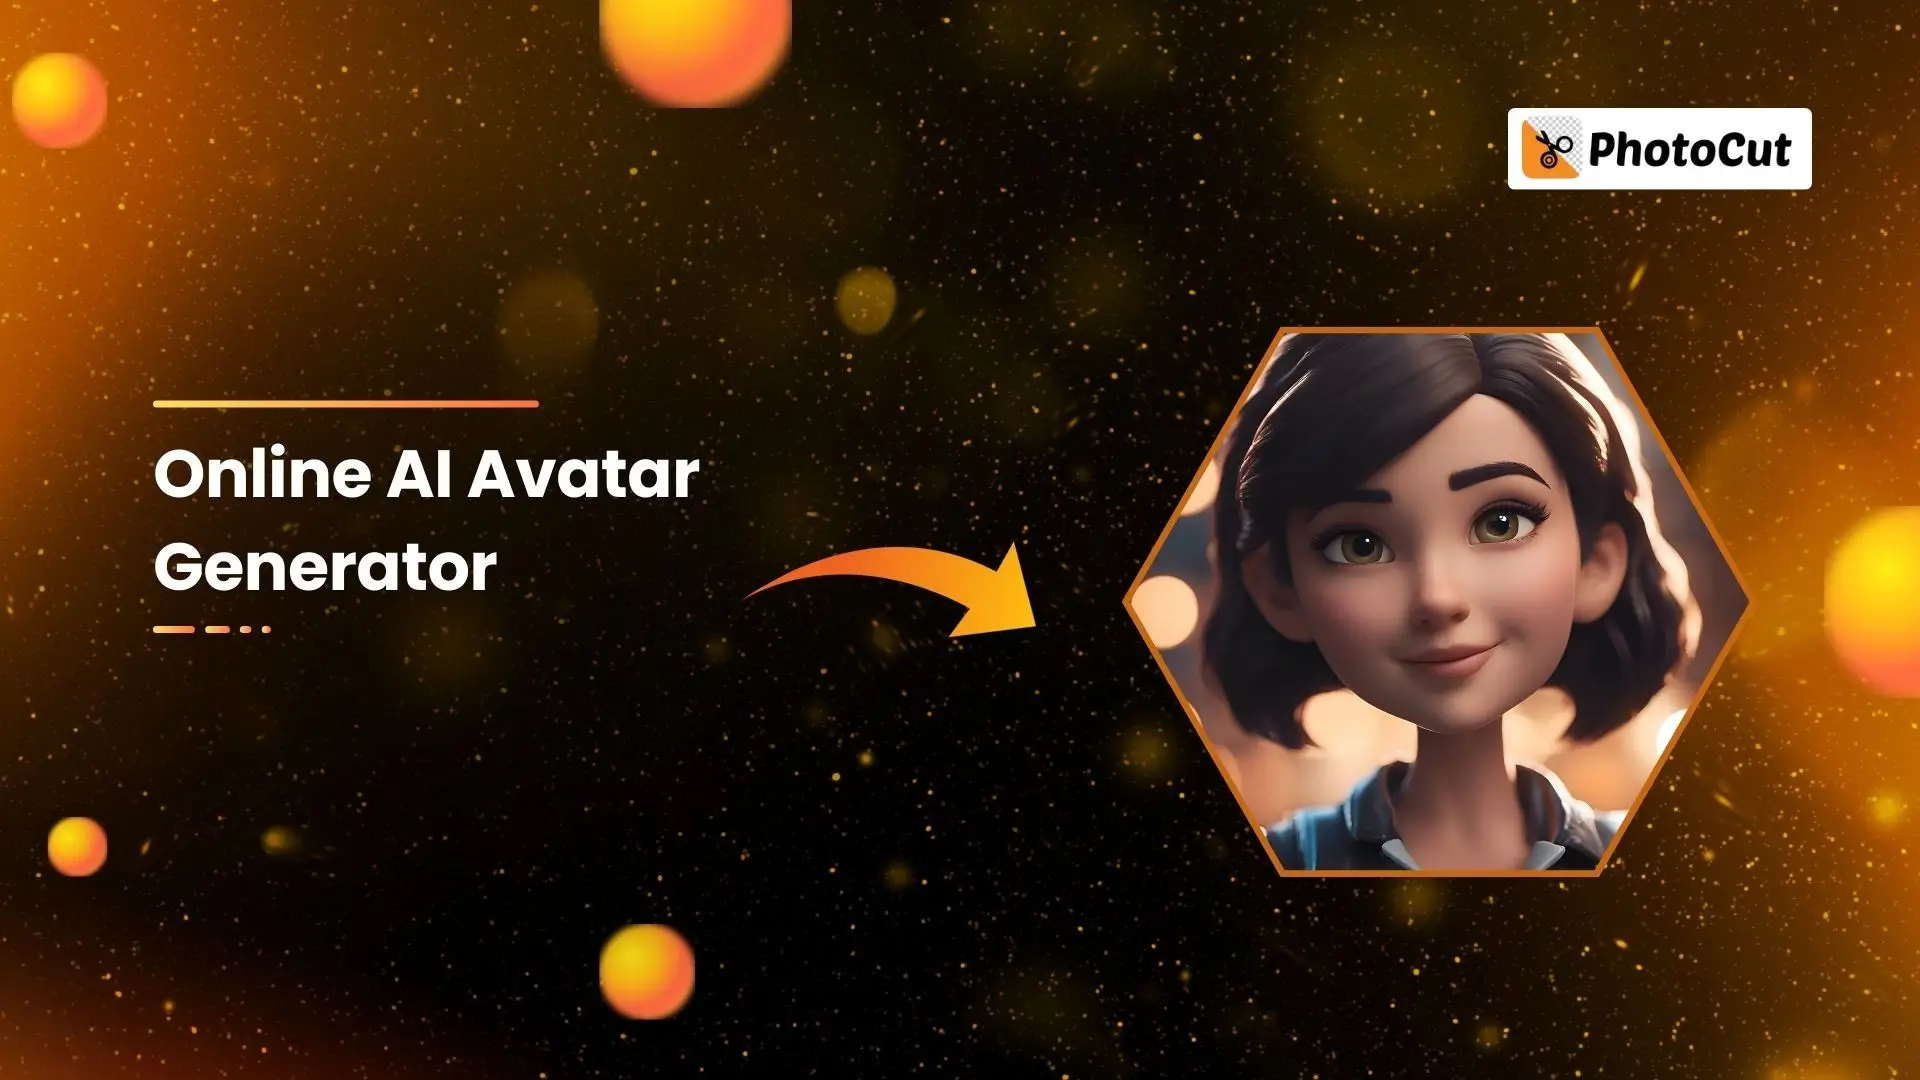
Creating Unique Backgrounds with AI
Choose the Perfect Backdrop
When editing your photos, it's important to choose a backdrop that fits the theme or goals of your picture. For example, using "Scenes" backgrounds for product images or "Nature" backgrounds to convey different moods can make a big difference. Professional photographers use this trick all the time!
Take Sylvia, a photographer from the UK, for example. She used a beach background to replace a garage door in her son's graduation photo, making it more personalized and special.
Use GenAI for Custom Backgrounds
If you want to customize your background to match a specific design or branding concept, using AI to generate a unique background is the way to go. Here's how you can do it:
Step:1 Click on Instant Backgrounds
Start by clicking on Instant Backgrounds at the lower left-hand corner of the editor.
Step:2 Select or Generate a Background
You can choose a background from existing templates or enter a prompt to generate a custom background with AI. You can even upload an image from your gallery for inspiration!
Step:3 Modify and Download
After applying your new background, you can modify its appearance using the background settings or the Retouch tool. Once you're happy with it, click Download to save your image.
Understanding Generative AI
Generative AI works like your brain, using neurons to analyze and learn from data to create new content. When you ask AI to create something, it splits your input into smaller pieces, matches them with its training data, and generates the desired output.
While AI may not always be perfect, it can learn from data to produce accurate and unique results quickly. This makes it a great tool for automating the process of creating background images.
Writing Good Prompts for AI
To get the best results from AI, you need to write good prompts. Here are some tips:
Get Specific
Provide detailed context and specifics in your prompts to help AI understand your needs better.

Describe Key Features
Mention the main elements you want in your image to guide AI in creating the right look and feel.

Set the Mood
Use descriptive adjectives to set the mood and style of your image, helping AI create a visually appealing result.
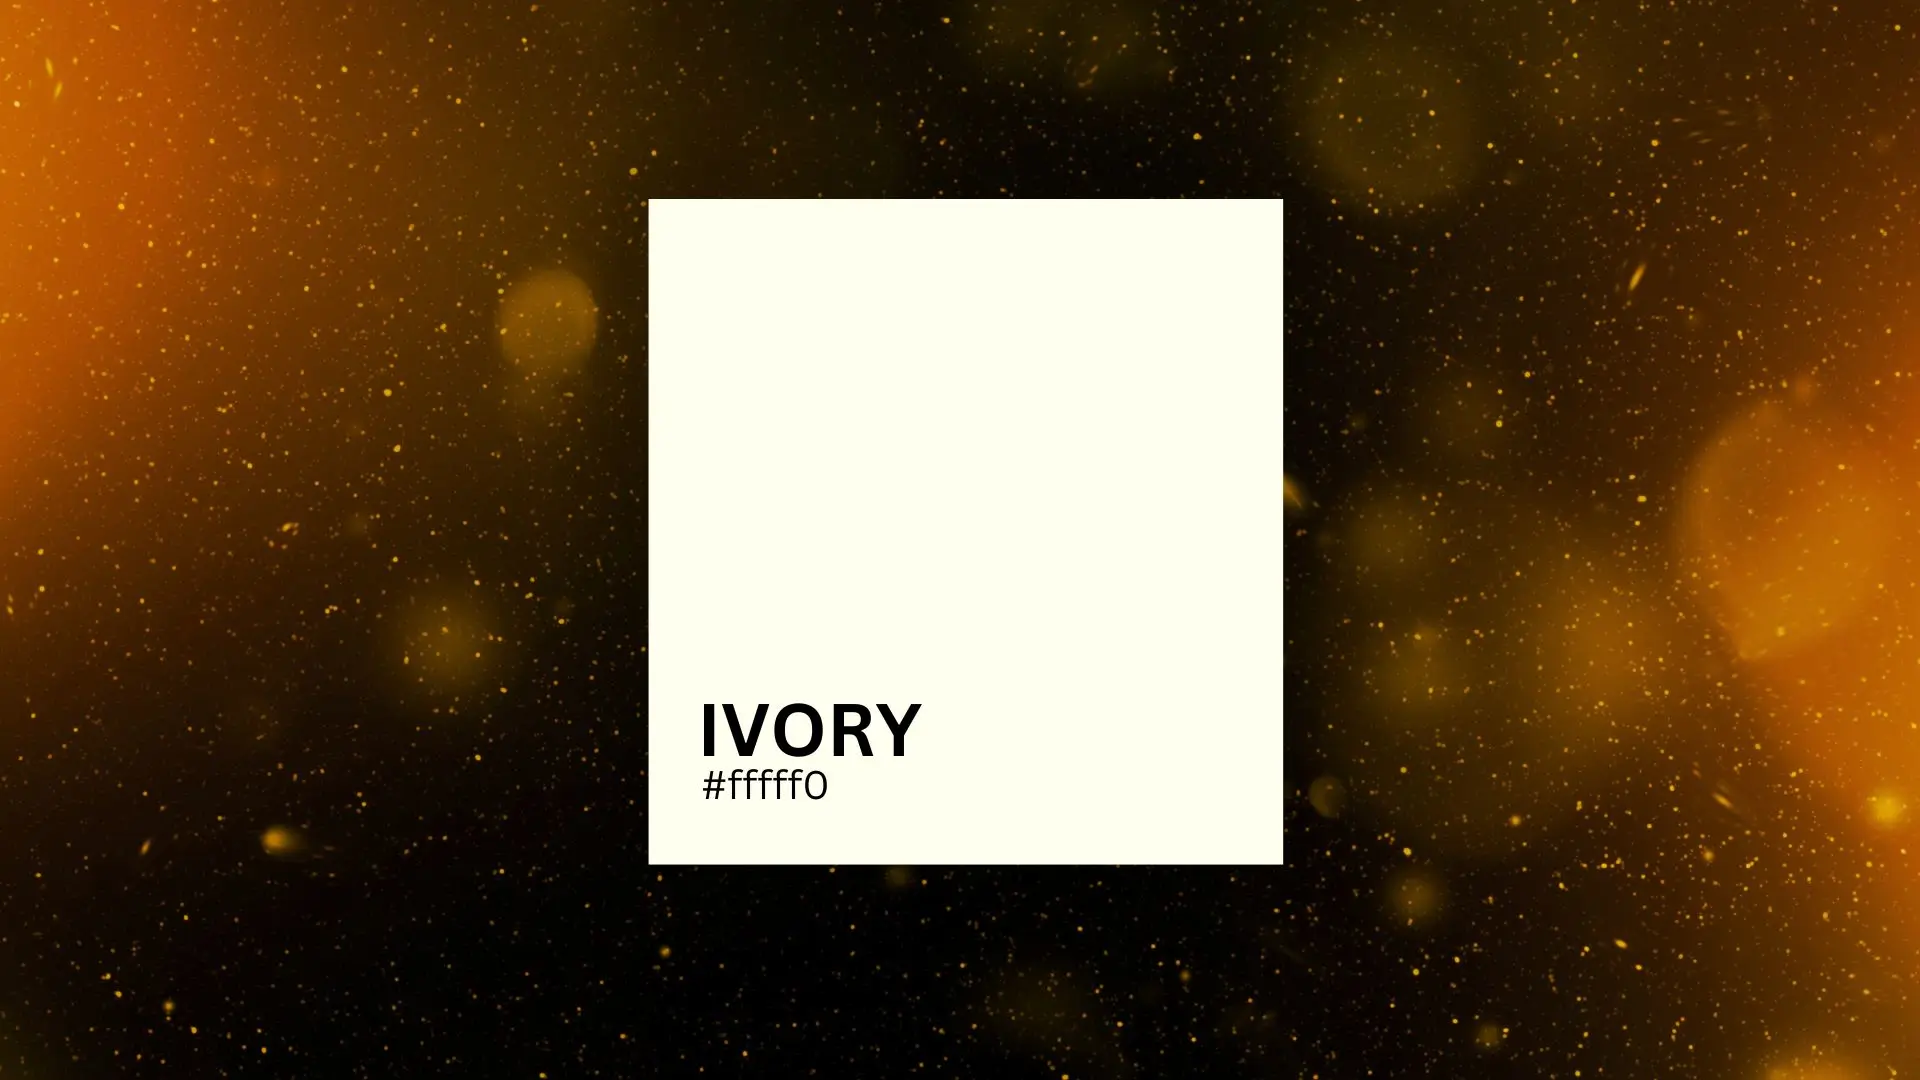
Changing Background Colors
If you want to change the background color of your photo, you can do so easily using AI. Here's how:
Method:1 Change Background Color
Use the Change background color tool to select a color or enter a HEX code to customize your background.
Method:2 Remove and Insert
Remove the current background, then insert your desired background color using the editor tools.
How to Change Image Backgrounds to White
Changing Backgrounds to White
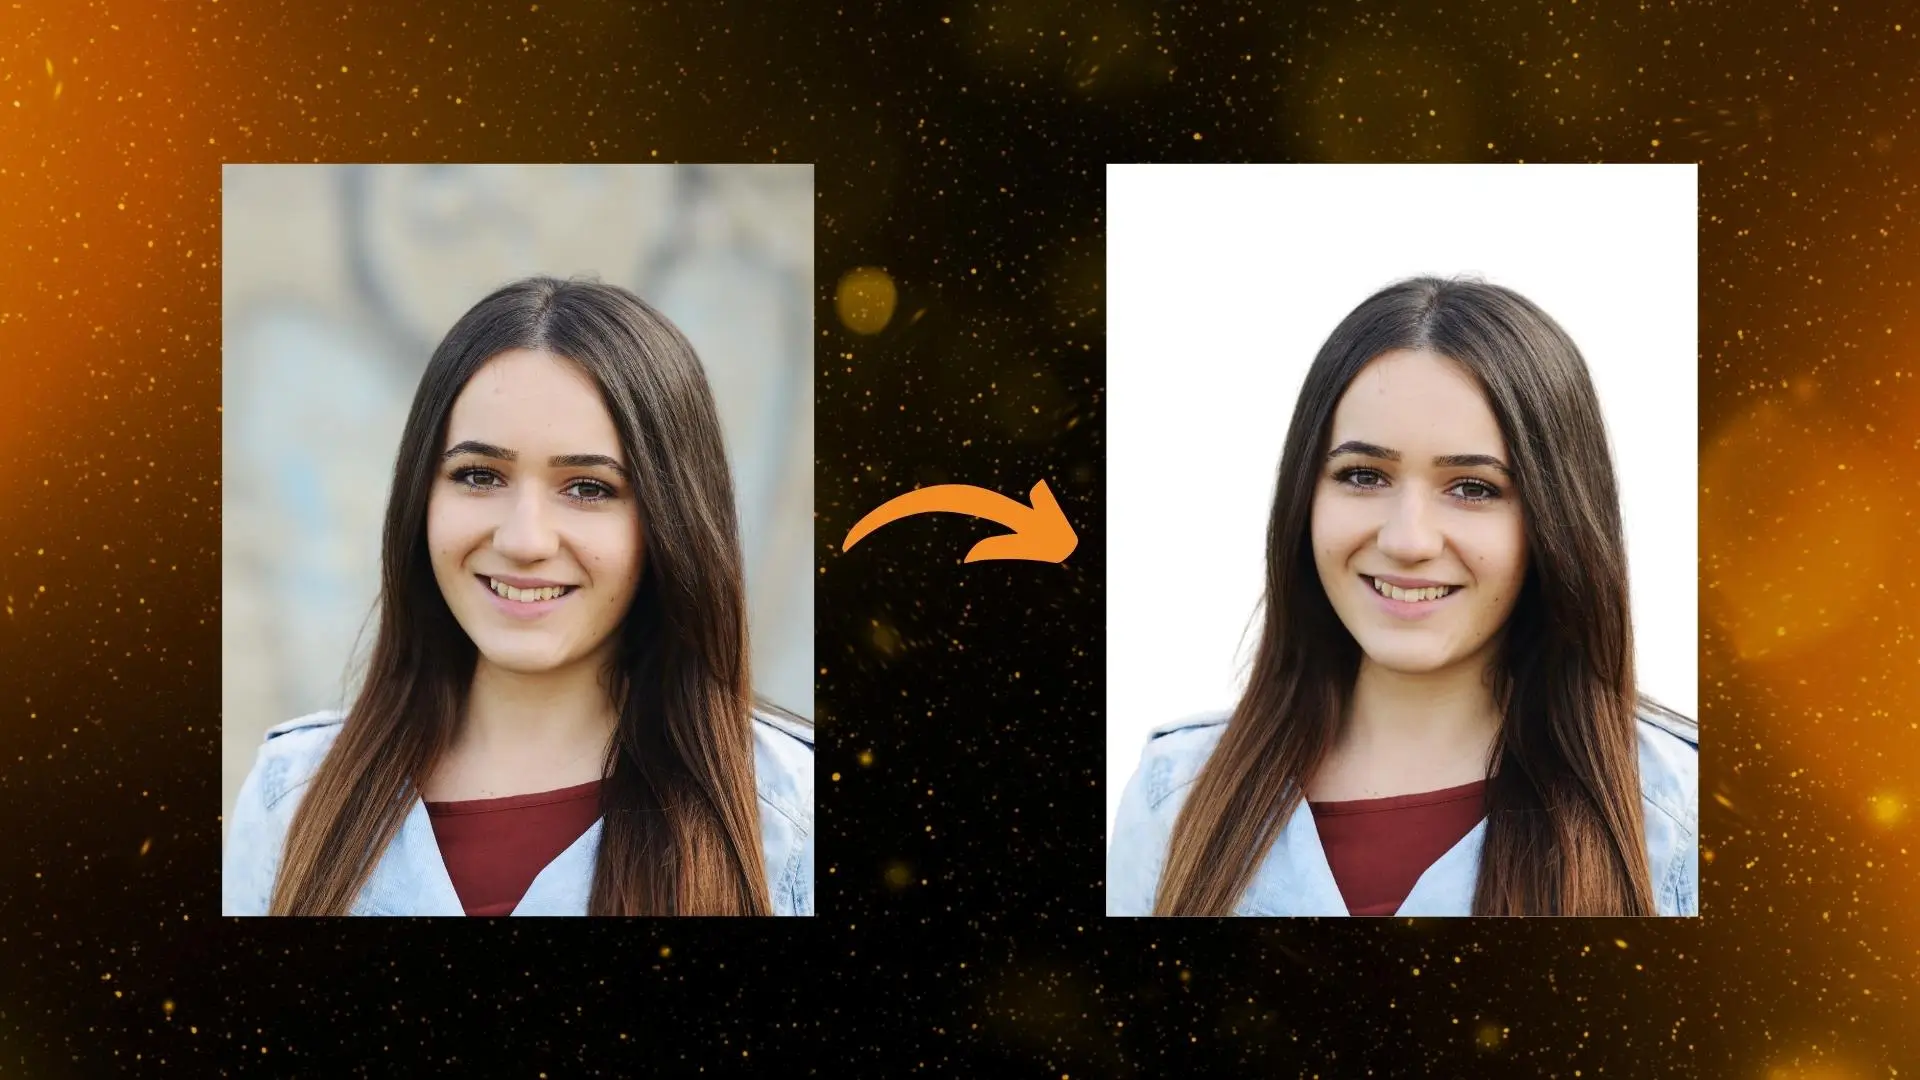
Some pictures—like your passports, product images, or professional headshots—need white backgrounds for a clean, neutral, and timeless look.
To change backgrounds to white, all you have to do is first remove the current background of your image, then insert white as your new backdrop.
Step:1 Remove Background
Click the Remove Background tool to upload your image. Give it a second or two, and the tool will automatically make your background transparent.
Step:2 Add White Background
In the editor, click Background on the right-hand corner, then visit the Color bar at the bottom and tap the circle with white to make your picture’s background white.
Step:3 Save Your Image
Once you’re done, click Download at the upper right corner of the screen to save your new photo.
PRO TIP: White backgrounds are versatile but not always the best choice. If your subject is similar in color or tone, it may lack contrast and make your picture look fake or unprofessional. To fix this, add shadows for depth and dimension.
Take Advantage of Templates
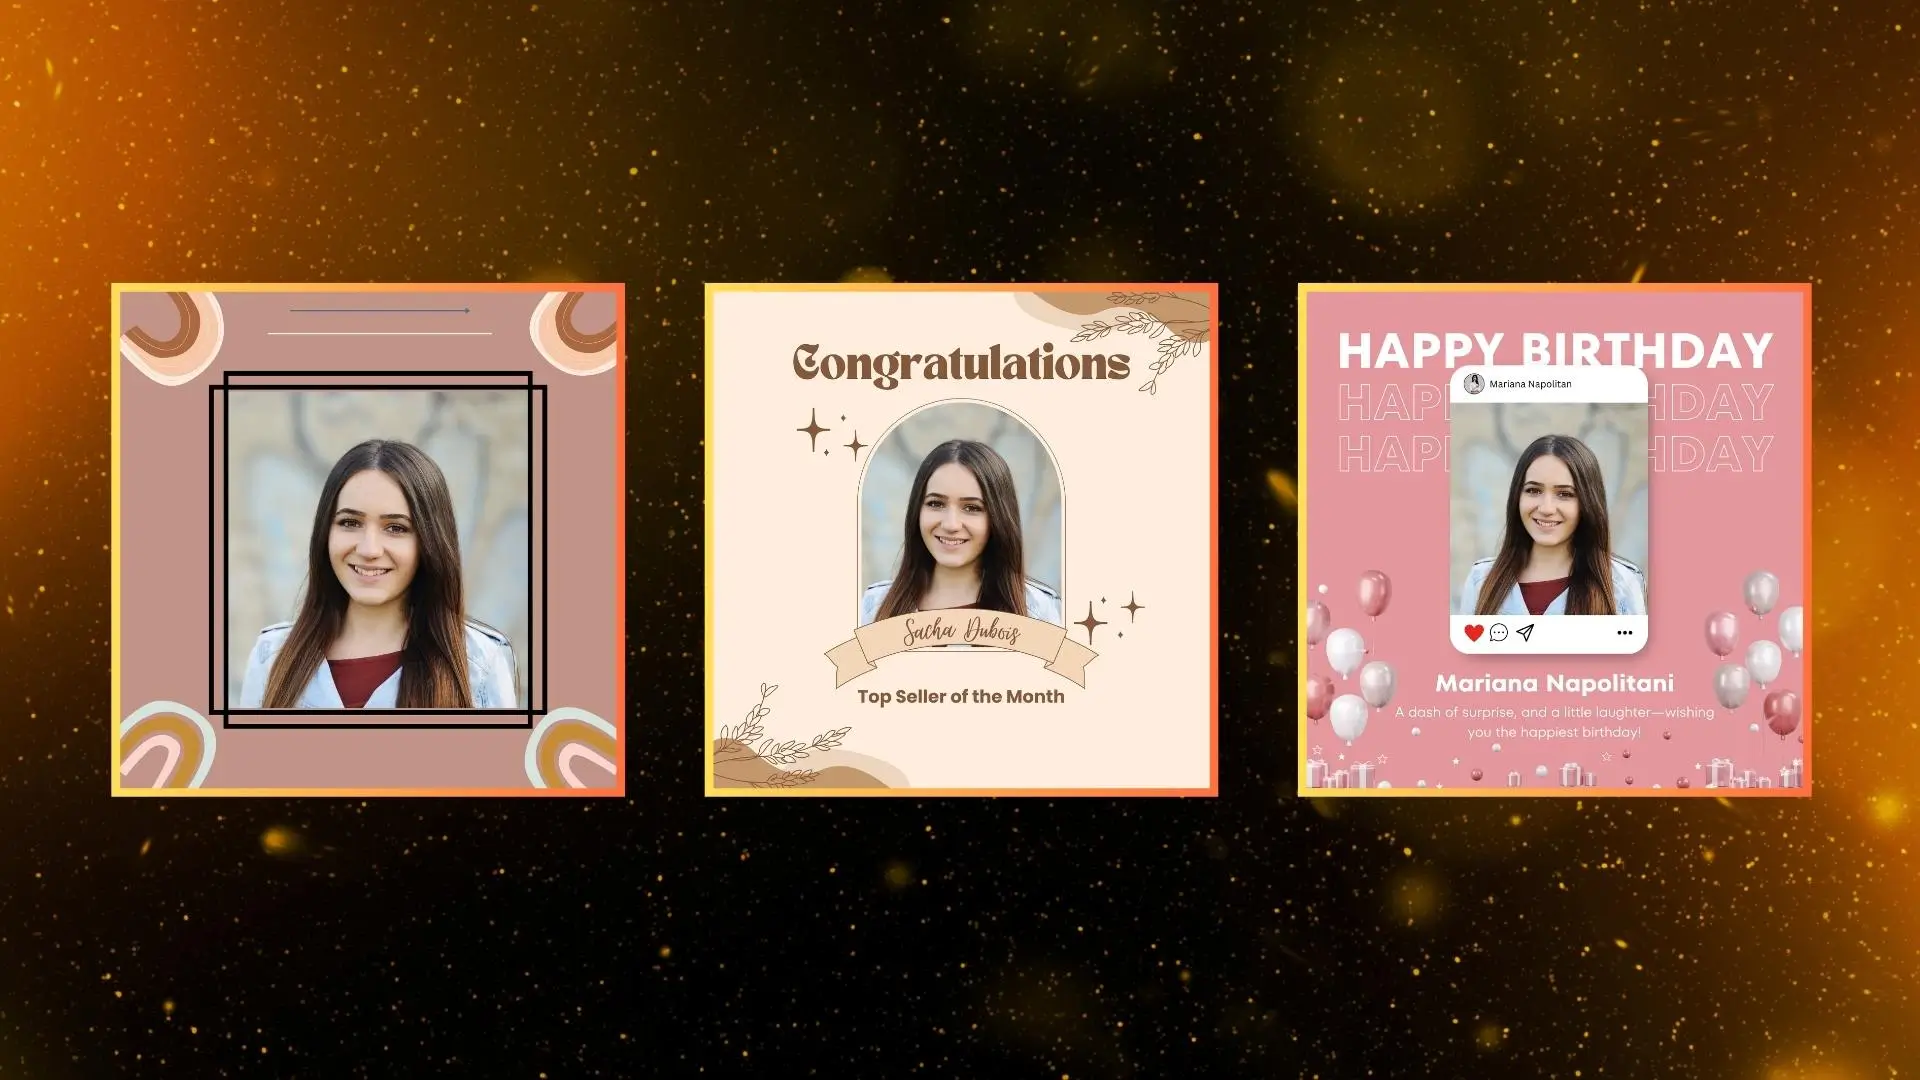
If you're looking to change the background of your picture to suit a particular platform or context, how about using templates instead? Templates are customizable and easy to use, making them lifesavers, especially when you're short on time. PhotoCut offers a library of templates that you can use for anything from Depop listings and Instagram to fashion and Black Friday sales.
Using Templates in PhotoCut
Step 1: After removing your photo’s background with the steps we shared earlier, the editor will immediately open the Template feature on the upper left-hand panel.
Step 2: Select a fitting template from the options or use the search bar to find a specific template.
Step 3: When you select a template, you’ll notice a pop-up asking you to confirm your decision. Click Apply new template, and your image will fit into the design. If you want to make adjustments, click the elements within the template (e.g., the texts, frames, and objects) to do so.
Step 4: Happy with your final work? Click Download at the upper right corner of the screen to save your new image.
“Different template themes are great for lifestyle shots—they bring my product alive for customers, helping them visualize and creating an emotional connection when I sell,” says Ian Nethercot, an e-commerce business owner who uses the template feature to save costs and sell more.
Pro Tips for Replacing Your Photo’s Background
Here are seven recommendations to help you improve the quality of your output as you change your photo’s background:
- Use a high-quality image with a clear subject and a well-defined foreground.
- Keep the end goal in mind.
- Create a contrast between the subject and the background.
- Blur the new background.
- Pay attention to complex details like hair.
- Experiment with different backgrounds and templates.
- Use the batch mode feature in the editor.
Now that you know how to remove backgrounds from images and add new ones, go ahead and try it with your pictures. You can get started with PhotoCut on the web, iOS, or Android device. Come back to this article for all the pro tips you need to get it right.
FAQs
Q1. When is it okay to change my photo’s background?
Ans. You can change your photo background for creative or practical reasons, such as improving the composition, removing distractions, or giving your photos a unique and professional look. Just make sure the new background aligns with your intended message and doesn't mislead your audience.
Q2. How do I add a background to a photo on an iPhone?
Ans. Follow these steps to change your photo’s background using your iPhone:
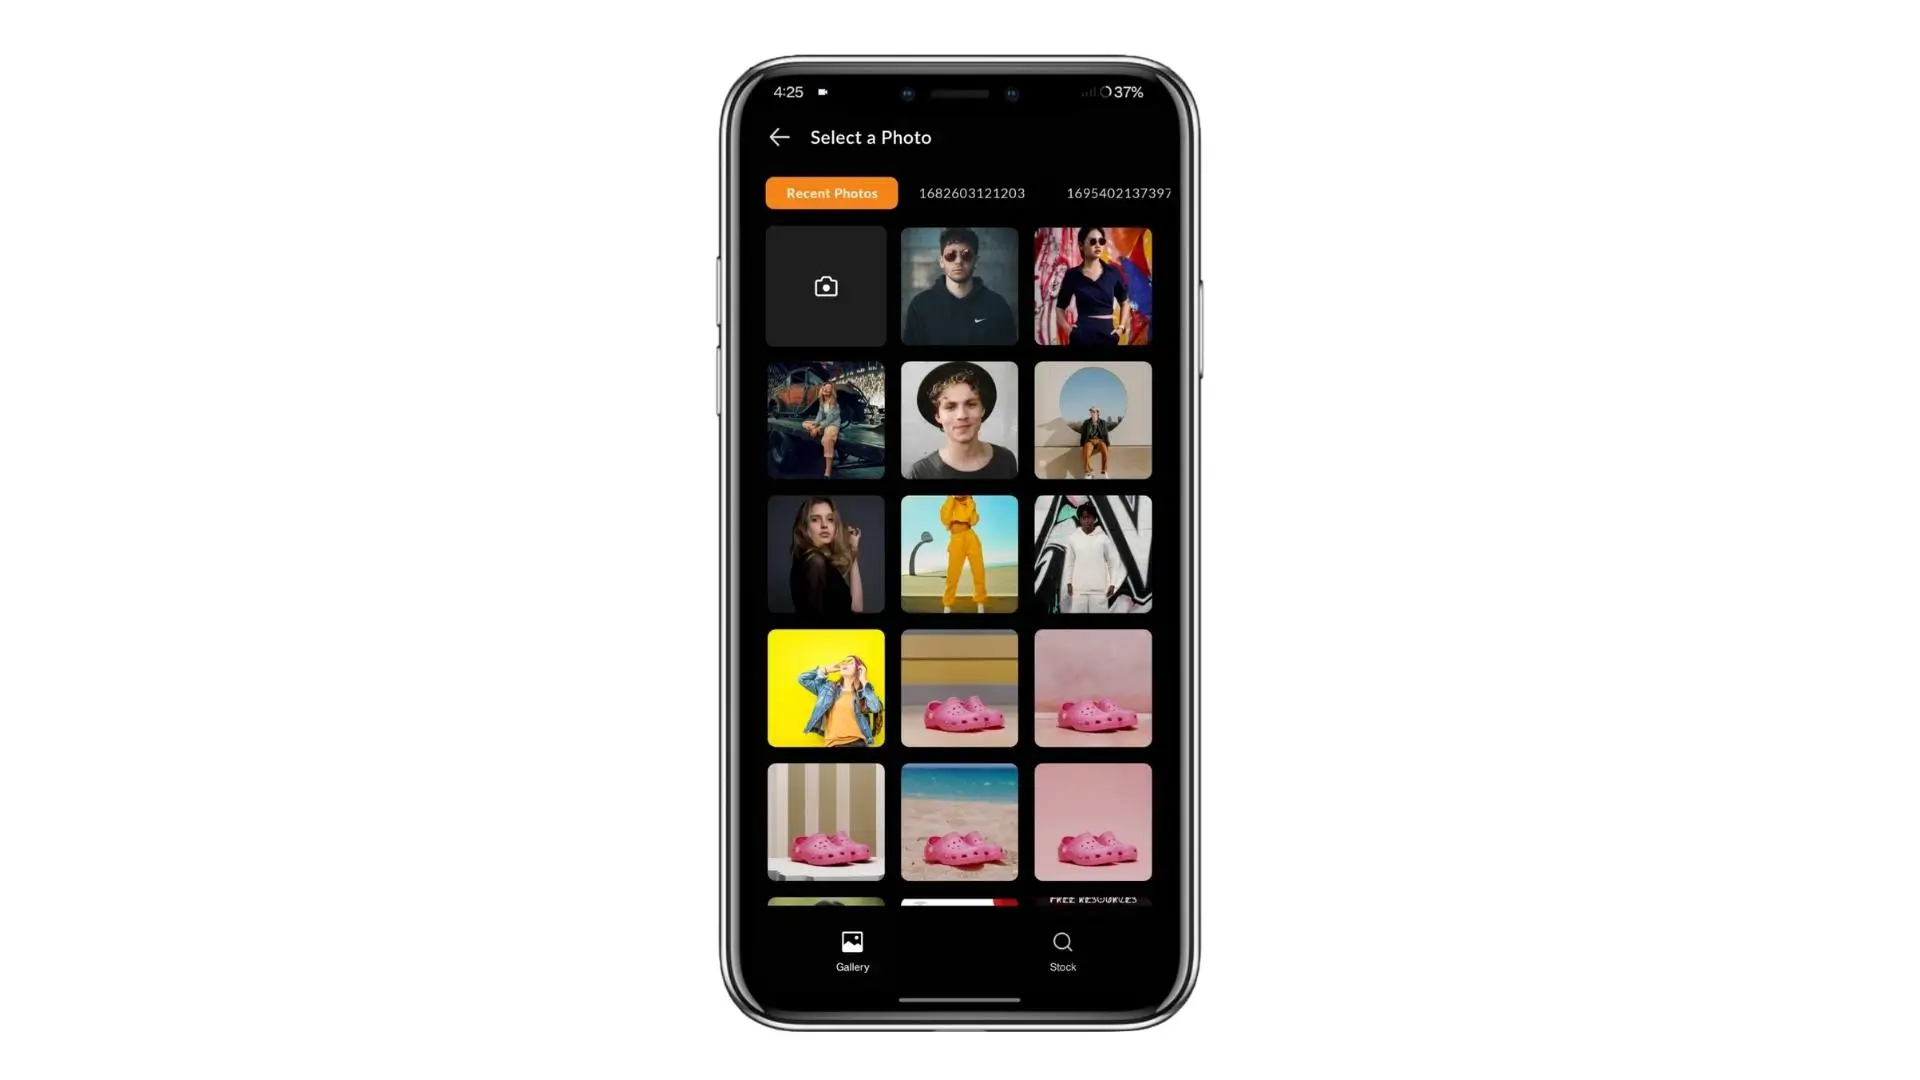
- Download the PhotoCut mobile app from the App Store.
- Sign up or log into your account.
- Click Remove Background to upload your photo and remove the current background.
- Next, insert a new background by selecting one from your gallery, choosing from PhotoCut’s catalog, or using the Instant Backgrounds feature to create custom backgrounds.
- Finally, download your new image for use across platforms.
Q3. What is the best background editing app?
Ans. The best background editing app often depends on your specific needs. You can use Adobe Photoshop if you have time, Canva if you're looking for design features, or PhotoCut if you want AI to quickly edit your pictures without compromising quality.
You might also be interested in


FAQ’s
I recommend checking out our detailed step-by-step guide on How to Use a Free Photo Editor. It covers everything from downloading and installing to using the essential tools and techniques for enhancing your photos.