Camera Lens Guide For Beginners
Discover the perfect camera lens for your photography journey with our comprehensive guide for beginners. Find the right lens for your needs today!
Download the app, NOW!


.png)

.png)


PhotoCut - A Game Changer!
Explore endless tools and templates at your fingertips to customize your new image using the PhotoCut app. They love us. You will too.
.webp)
CAPTAIN SYKE

So much easy to use than the other apps that I have encountered. I'm so satisfied. I fished to clear the background less than a minute! Keep it up🙌🏻
.webp)
Lee Willetts (Dr.Drone Doomstone)
Great app, used alongside text on photo, you can create some great pics. Hours of fun.
.webp)
Bran Laser
I always erase and cut something with this it is very op there is no bug and I made a picture for my channel very nice install it now!
.webp)
ZDX Gaming
The Best Photo Editor .. Not Many Can Actually Cut Pictures Perfectly Like this App been looking for something like this for a long time 💔😂 Nice App I recommend it Giving it 5 star
.webp)
Small Optics
Best app of this type out there, it does nearly all of the work for you.. Great work developers.
.webp)
Emilia Gacha
It's really useful and super easy to use and it may be the best background eraser app!
.webp)
kymani ace
This is a really nice app I love how it let's me do lots of edits without paying for anything and there isn't even a watermark, very good app.
.webp)
Nidhish Singh
Excellent apps and doing all the work as expected. Easy to use, navigate and apply to any background after cut out.
.webp)
Adrian
Been using this app for many years now to crop photos and gotta say, really does what it's supposed to and makes photo's look realistic. Recommend it very much.
.webp)
Indra Ismaya
Easy to use, very usefull
.webp)
Barbie Dream
I love this app! You can edit and change the background i been using it for months for my video! Keep it going.
.webp)
Kaira Binson
Ouh..finally i found a good app like this..after instalking 6-8 apps ..i finally get the right one...easy..free...so cool...but maybe pls..adjust your ads..in this app..thanks☺
.webp)
Tara Coriell
I payed for premium but it was only a 1 time payment of 5.29 and I love this app. There are a lot of nice features

Engels Yepez
Great app for edit photos, it include an interesting IA function for apply effects to your pics

Azizah ahmad
This apps is awesome compared to other photo cut apps. I have tried several photo cut apps but all of them was bad. And finally i found this app, super easy to use, have feature smart cut and smart erase. Awesome !!
.webp)
Galaxy Goat
The app is incredible! I erased a background and added it into a new background in less then 20 seconds. Normally it takes 10-20 minute's on other apps. Highly recommend
.webp)
Victor Maldonado
I been having a few issues with app can't zoom in like before and its not like it use to what happen i paid for this app not liking the new upgrade
.webp)
Lynsiah Sahuji
more accurate in removing background, didn't required so much effort. love this! ❤️


Introduction
Now that we can go out and about again after the pandemic, many of us are interested in capturing memories through photography. This has opened up a world of opportunities for young people who want to pursue careers in photography, videography, blogging, and other related fields.
But getting into this industry means you need a good camera and a variety of lenses, which can be pretty expensive. If you're unsure about which lens to buy or what each lens does, don't worry! This article will help answer all your questions so you can choose the best lens for your needs.
What is a Lens?
A camera lens is an optical component that attaches to a camera body and consists of a single lens or a group of lenses. Some lenses can be changed, while others are built into the camera body.
Parts of a Lens
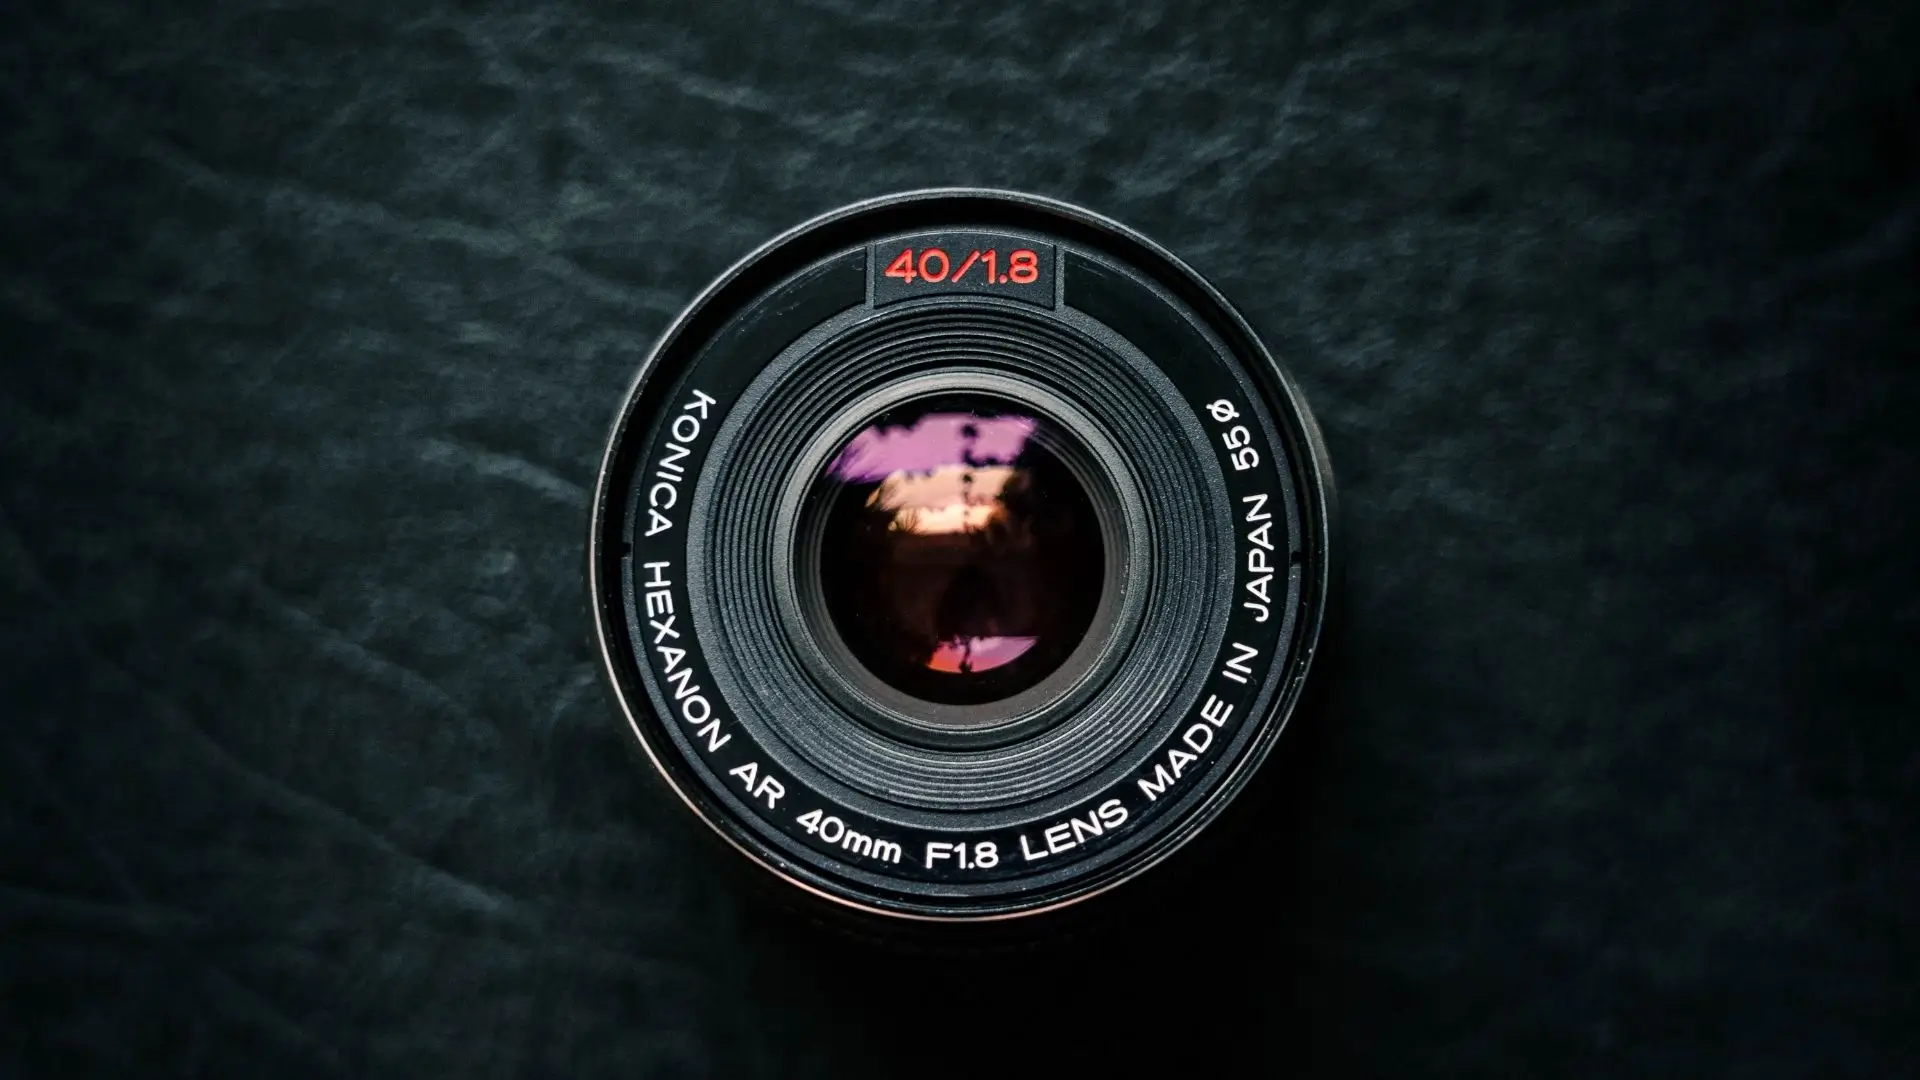
1) Filter Thread
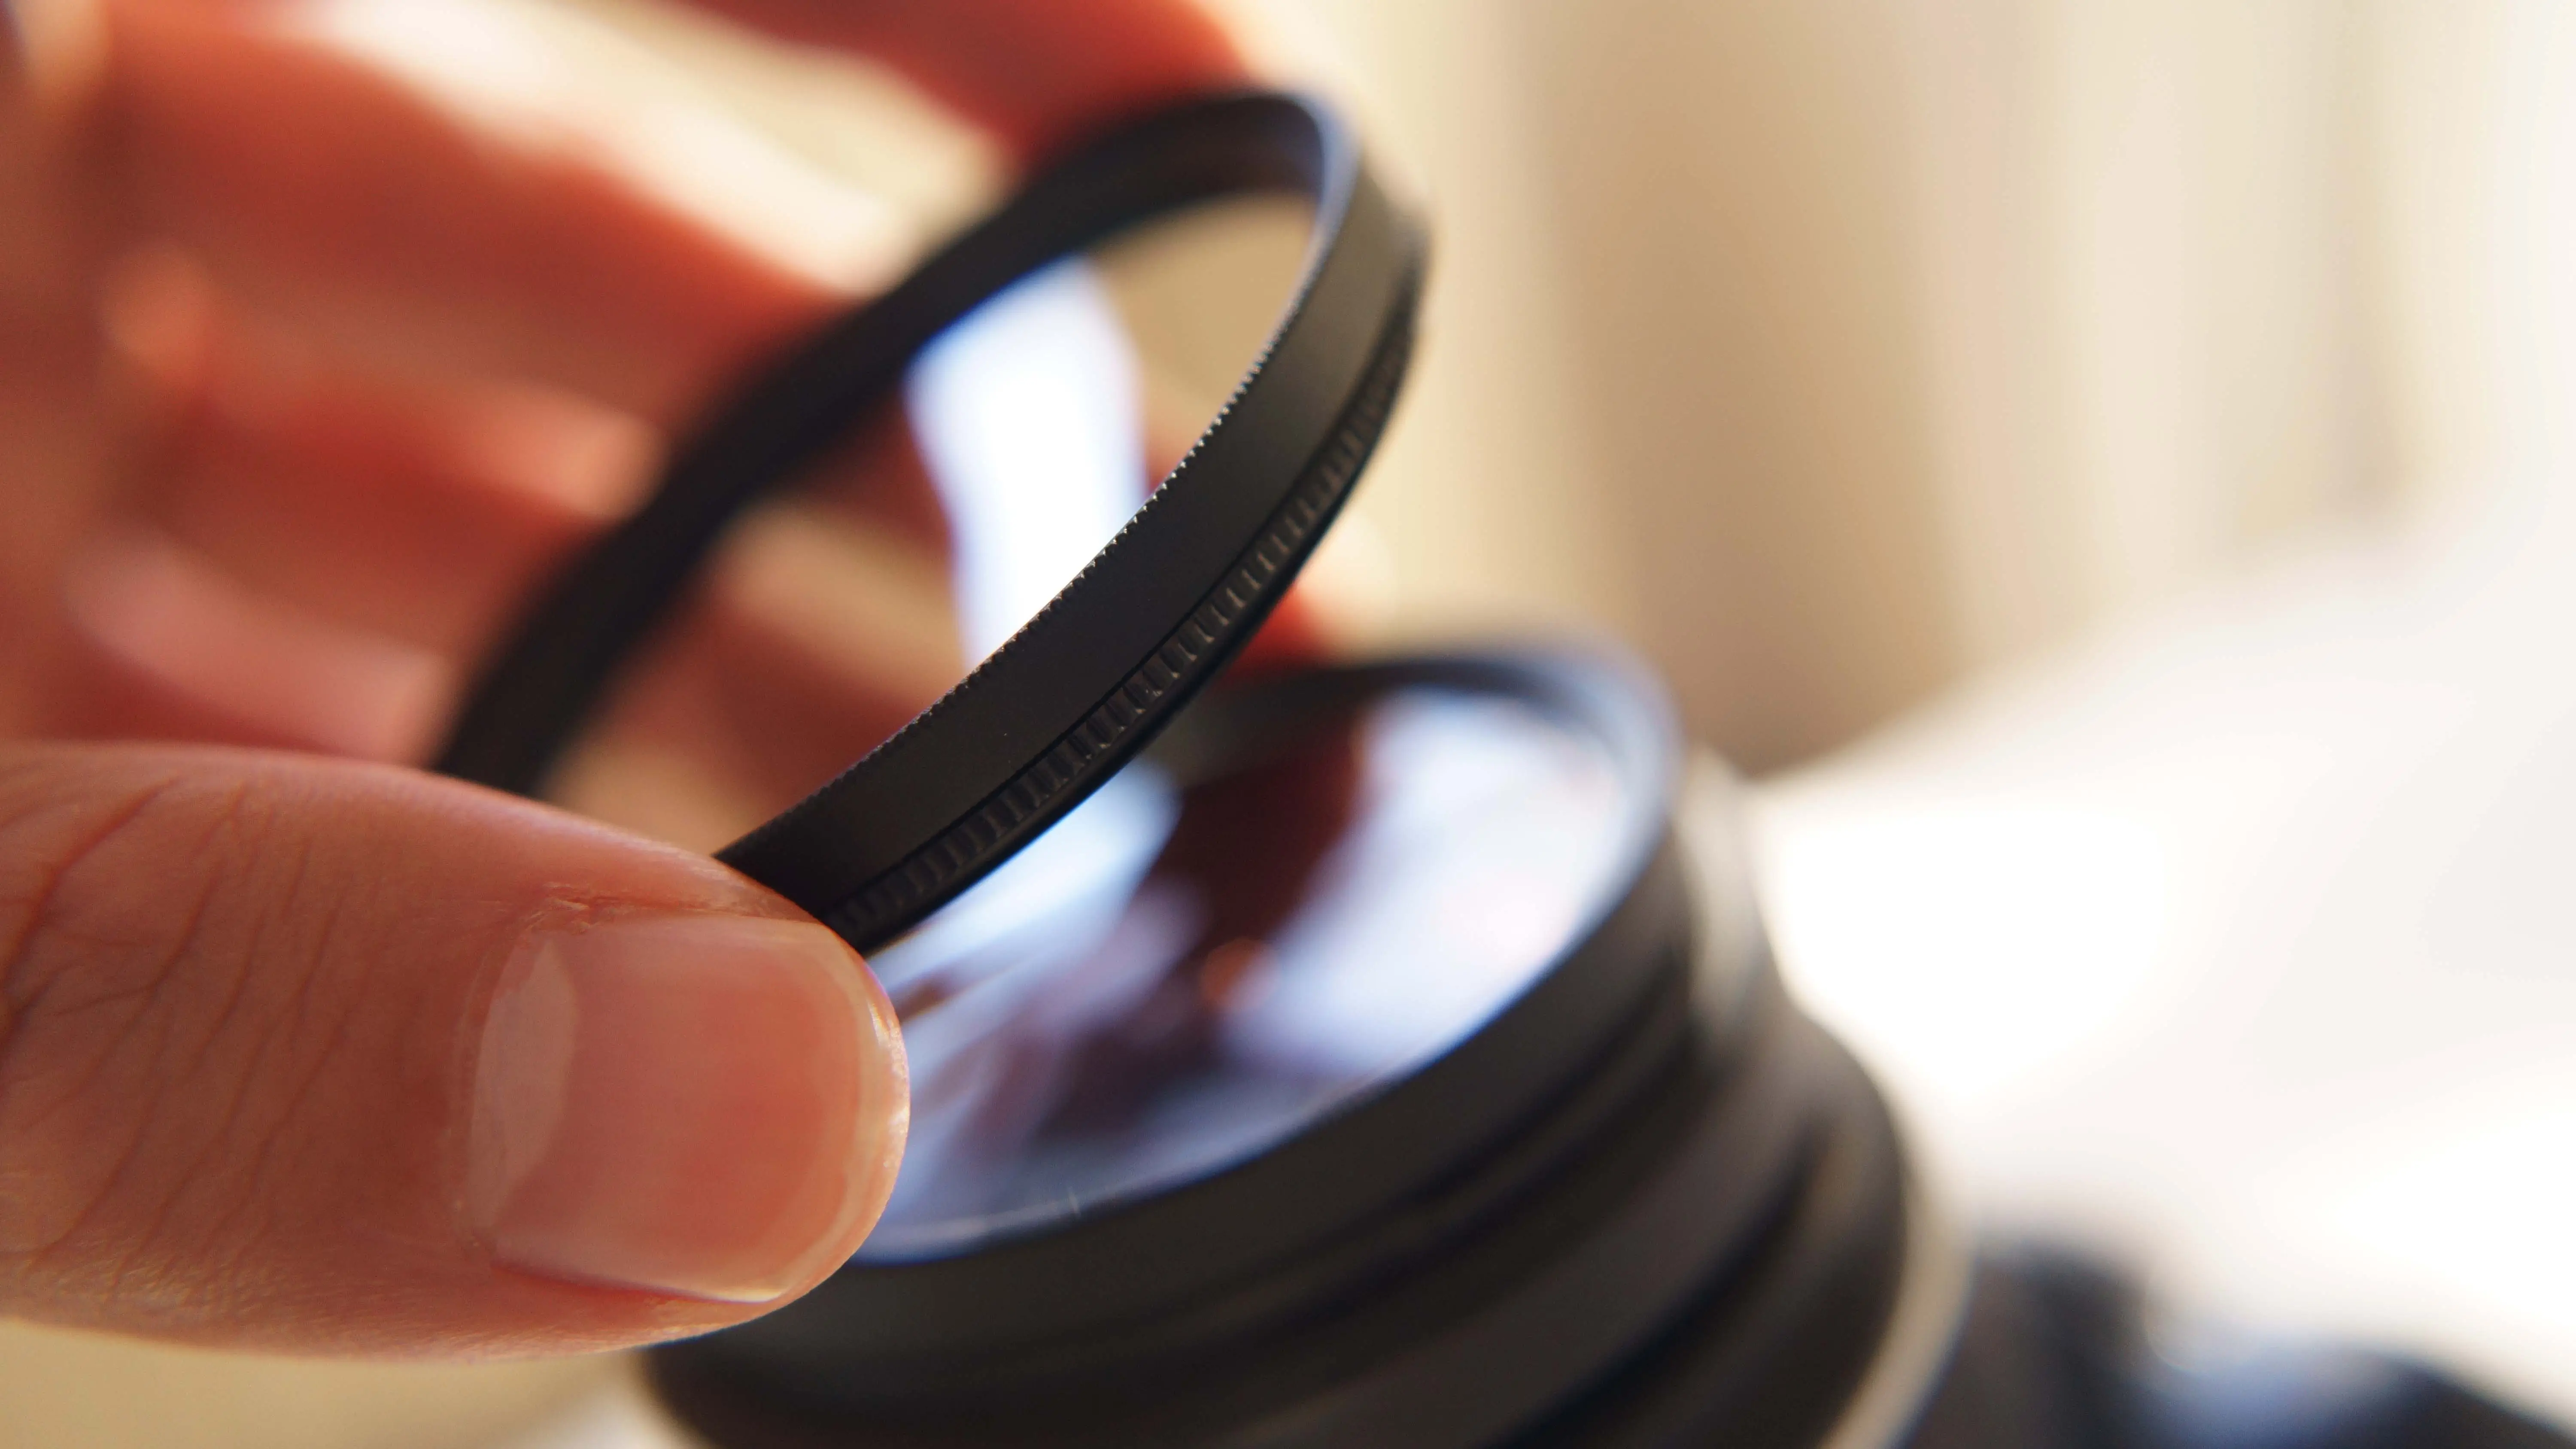
The filter thread is a threaded feature on the front of most lenses that allows you to screw on filters to create different effects. The diameter of the filter thread is specified in the lens's specs, and you can buy filters with the same diameter.
Common filter thread sizes are 82mm, 77mm, 72mm, and 52mm. You can use a step-down ring to adapt filters with different diameters to fit your lens.
The size of the front lens element affects the field of view and maximum aperture of the lens. A larger lens element is needed for longer focal lengths to achieve the same F-stop.
2) Lens Hood Thread
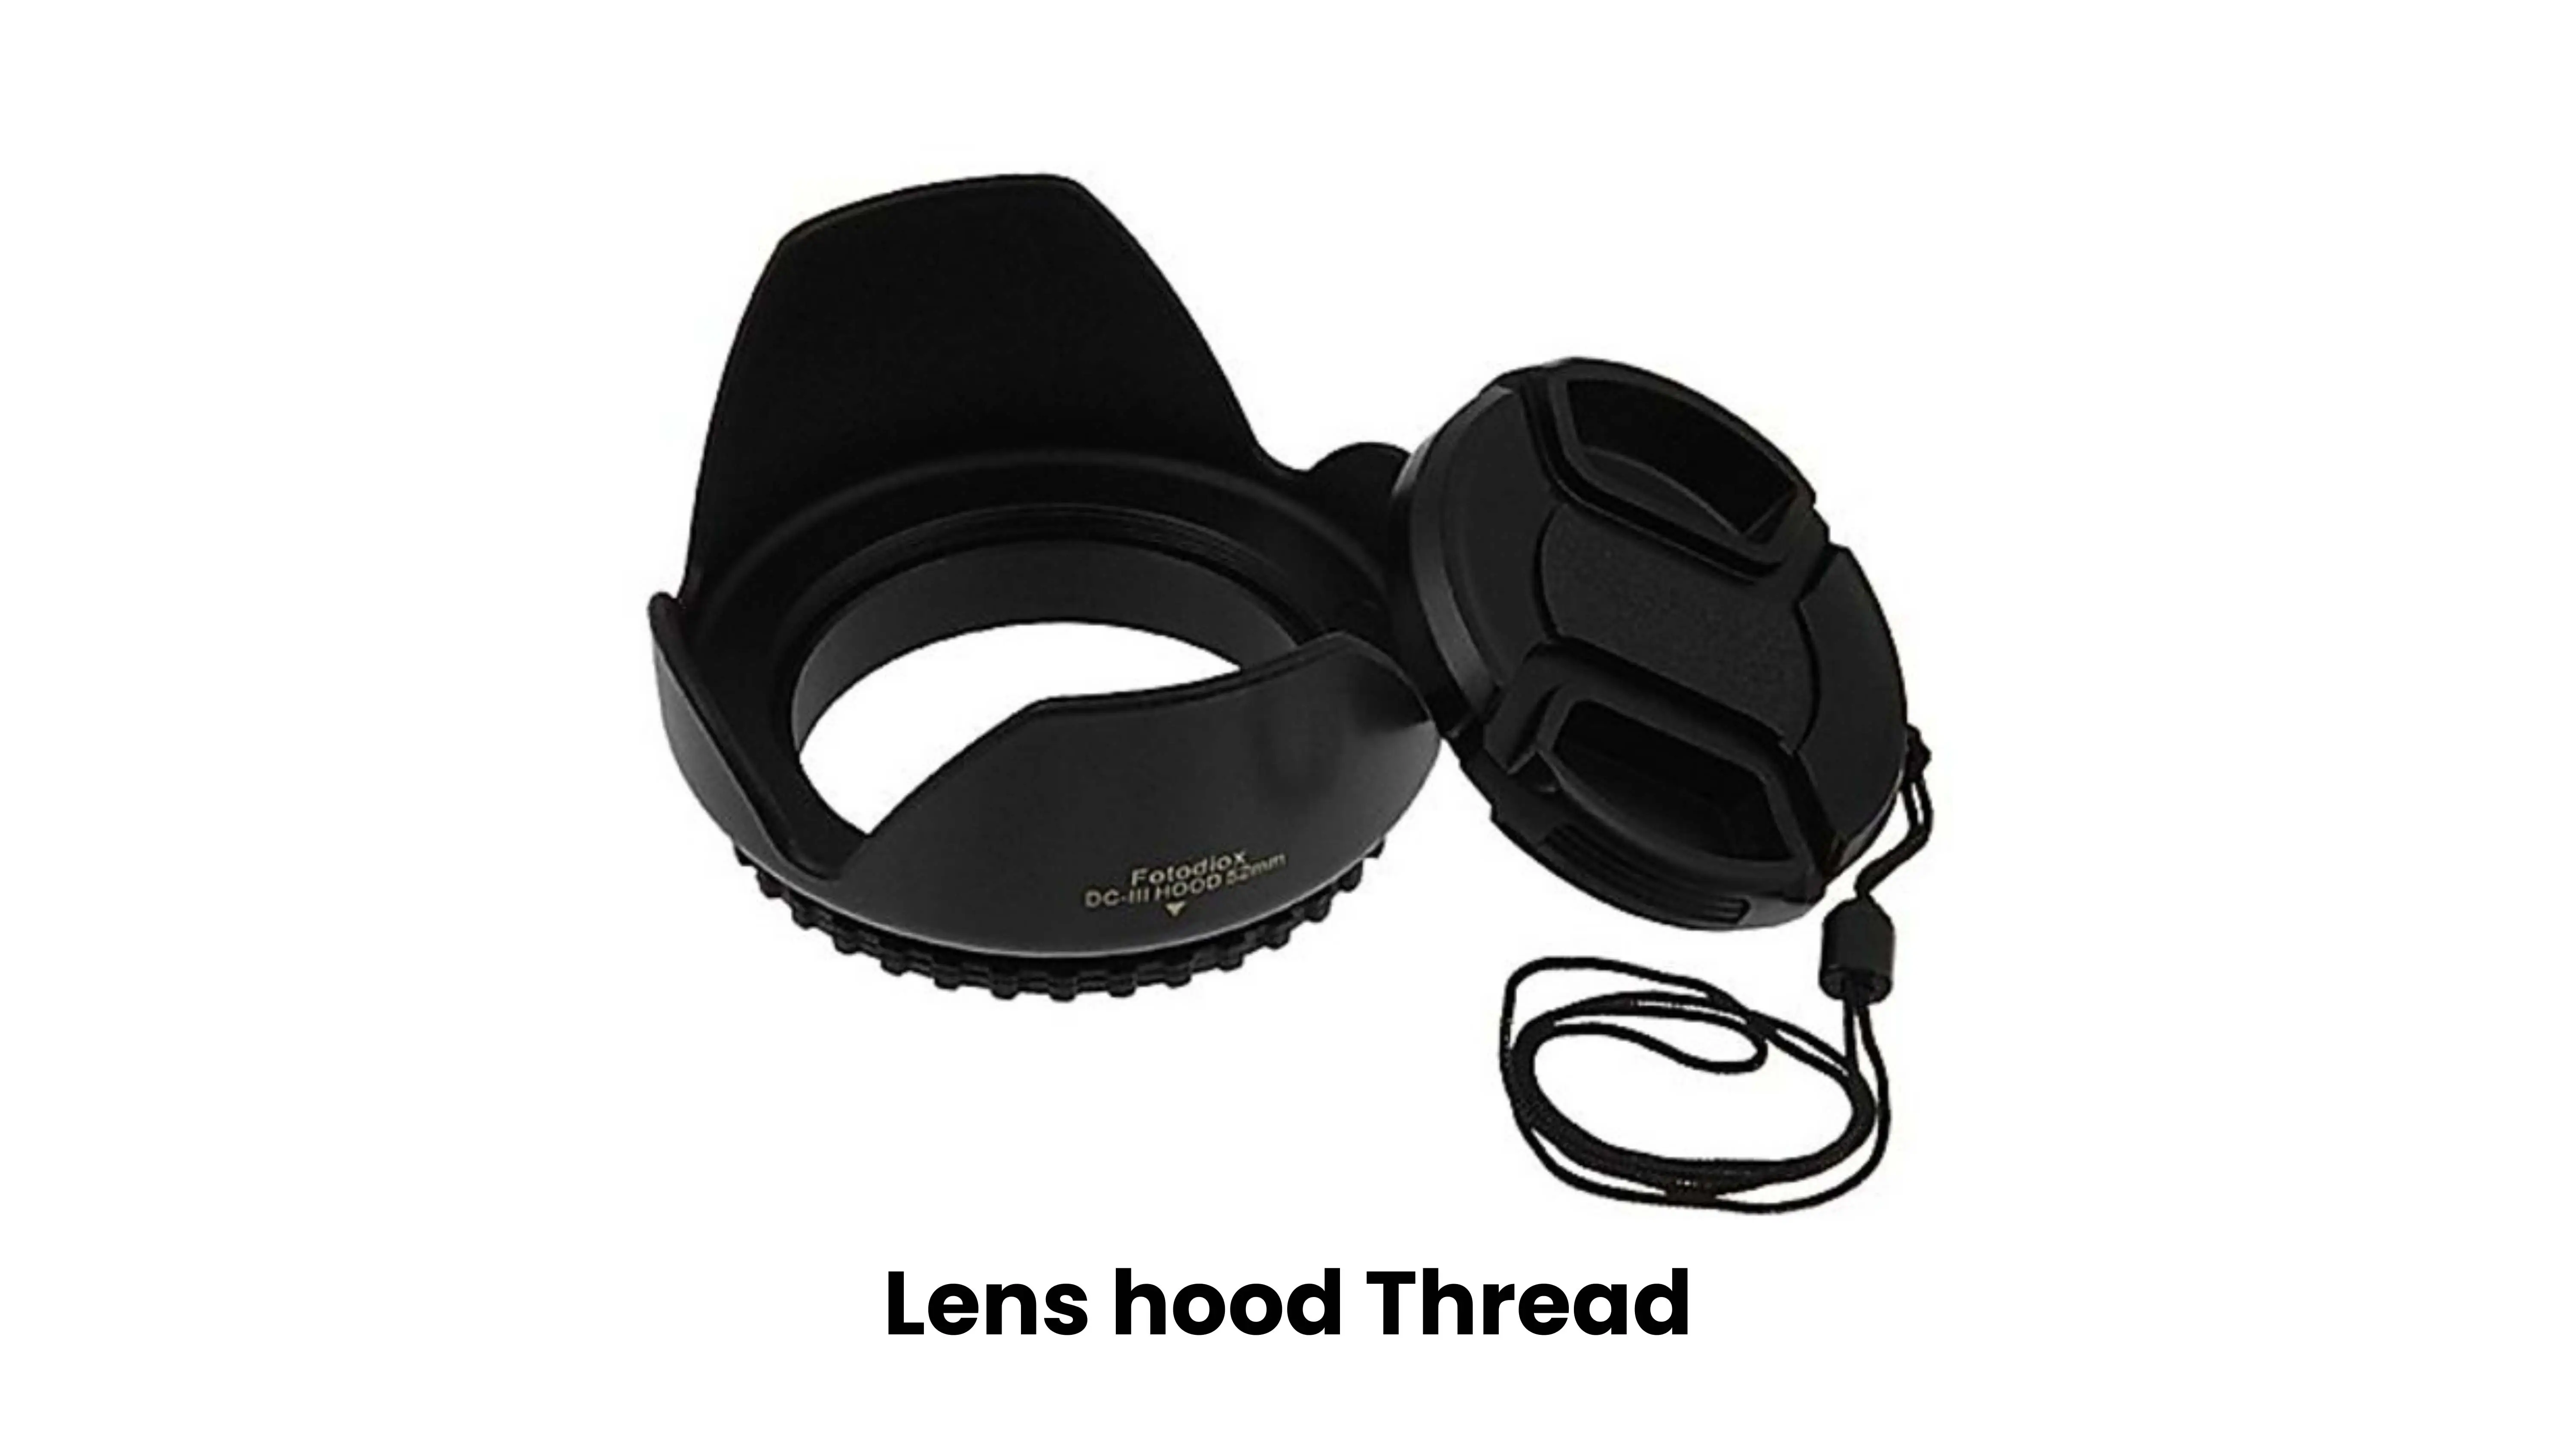
A lens hood, also known as a lens shade, is attached to the front of your lens to reduce lens flare and protect the lens from damage. Many photographers use lens hoods to improve photo quality and lens durability.
Using a lens hood can also help with flare resistance and durability. However, be careful not to block your focus or zoom rings when using the hood.
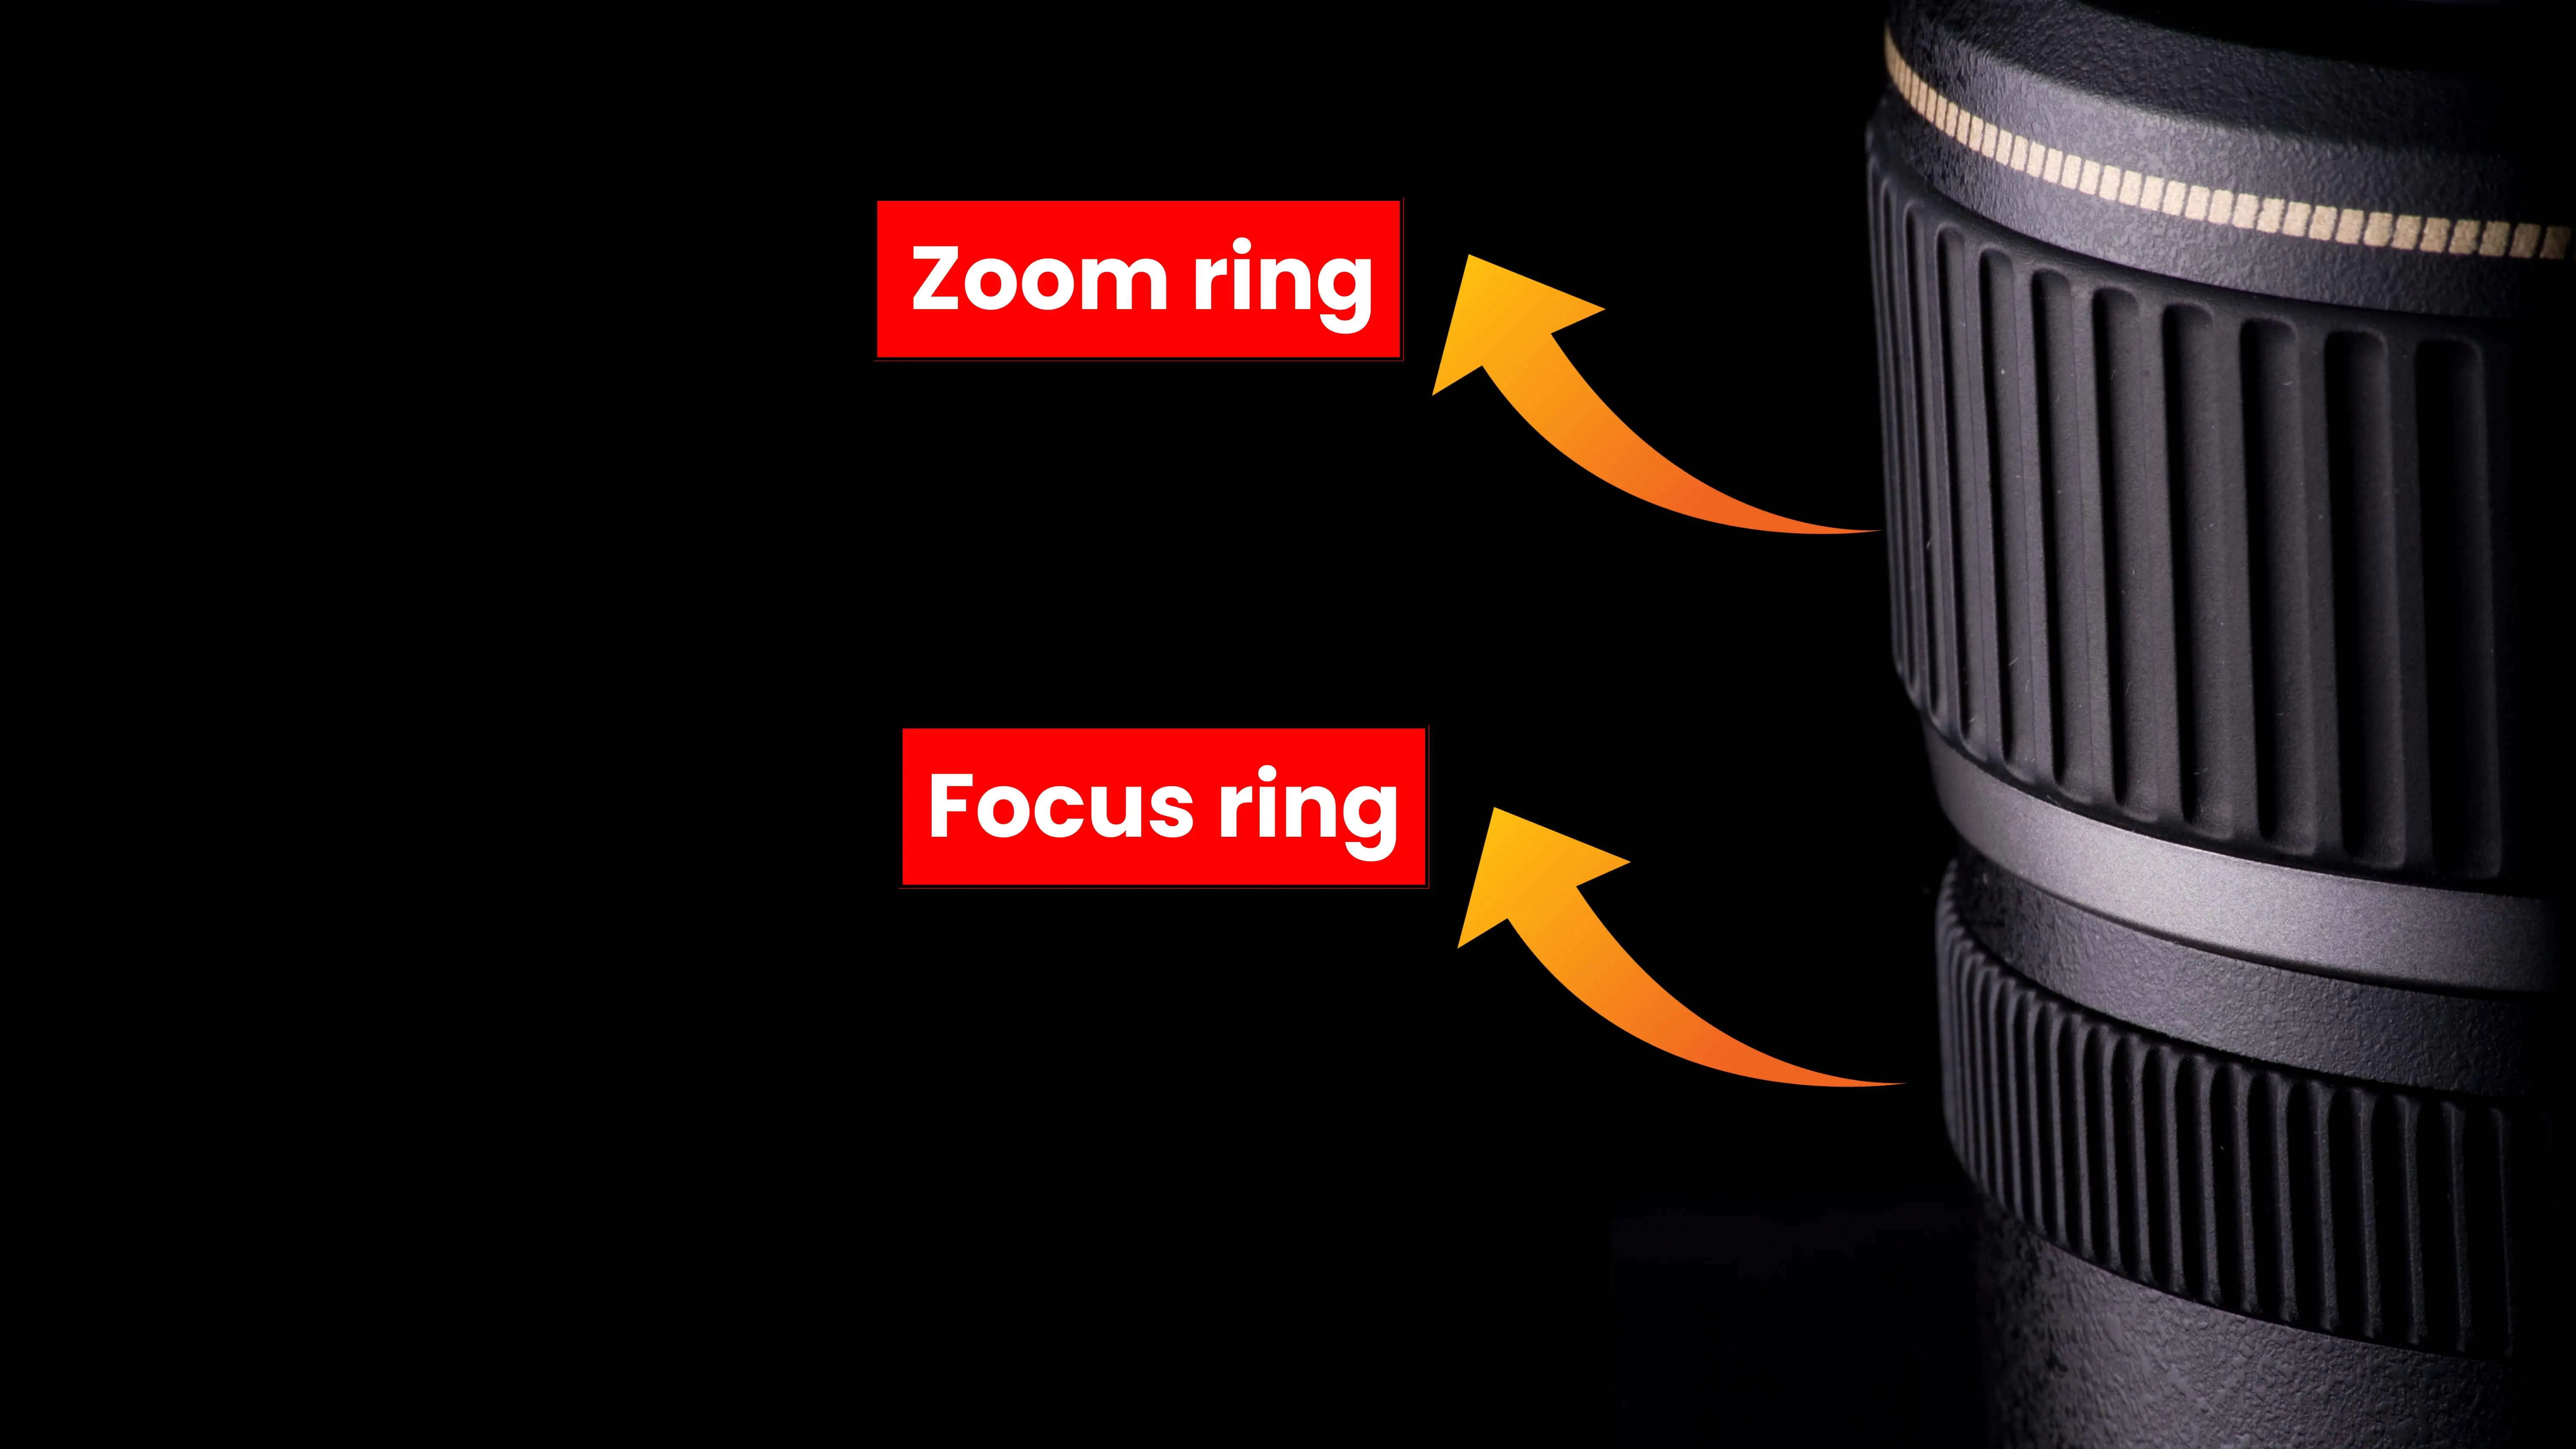
3) Zoom Ring
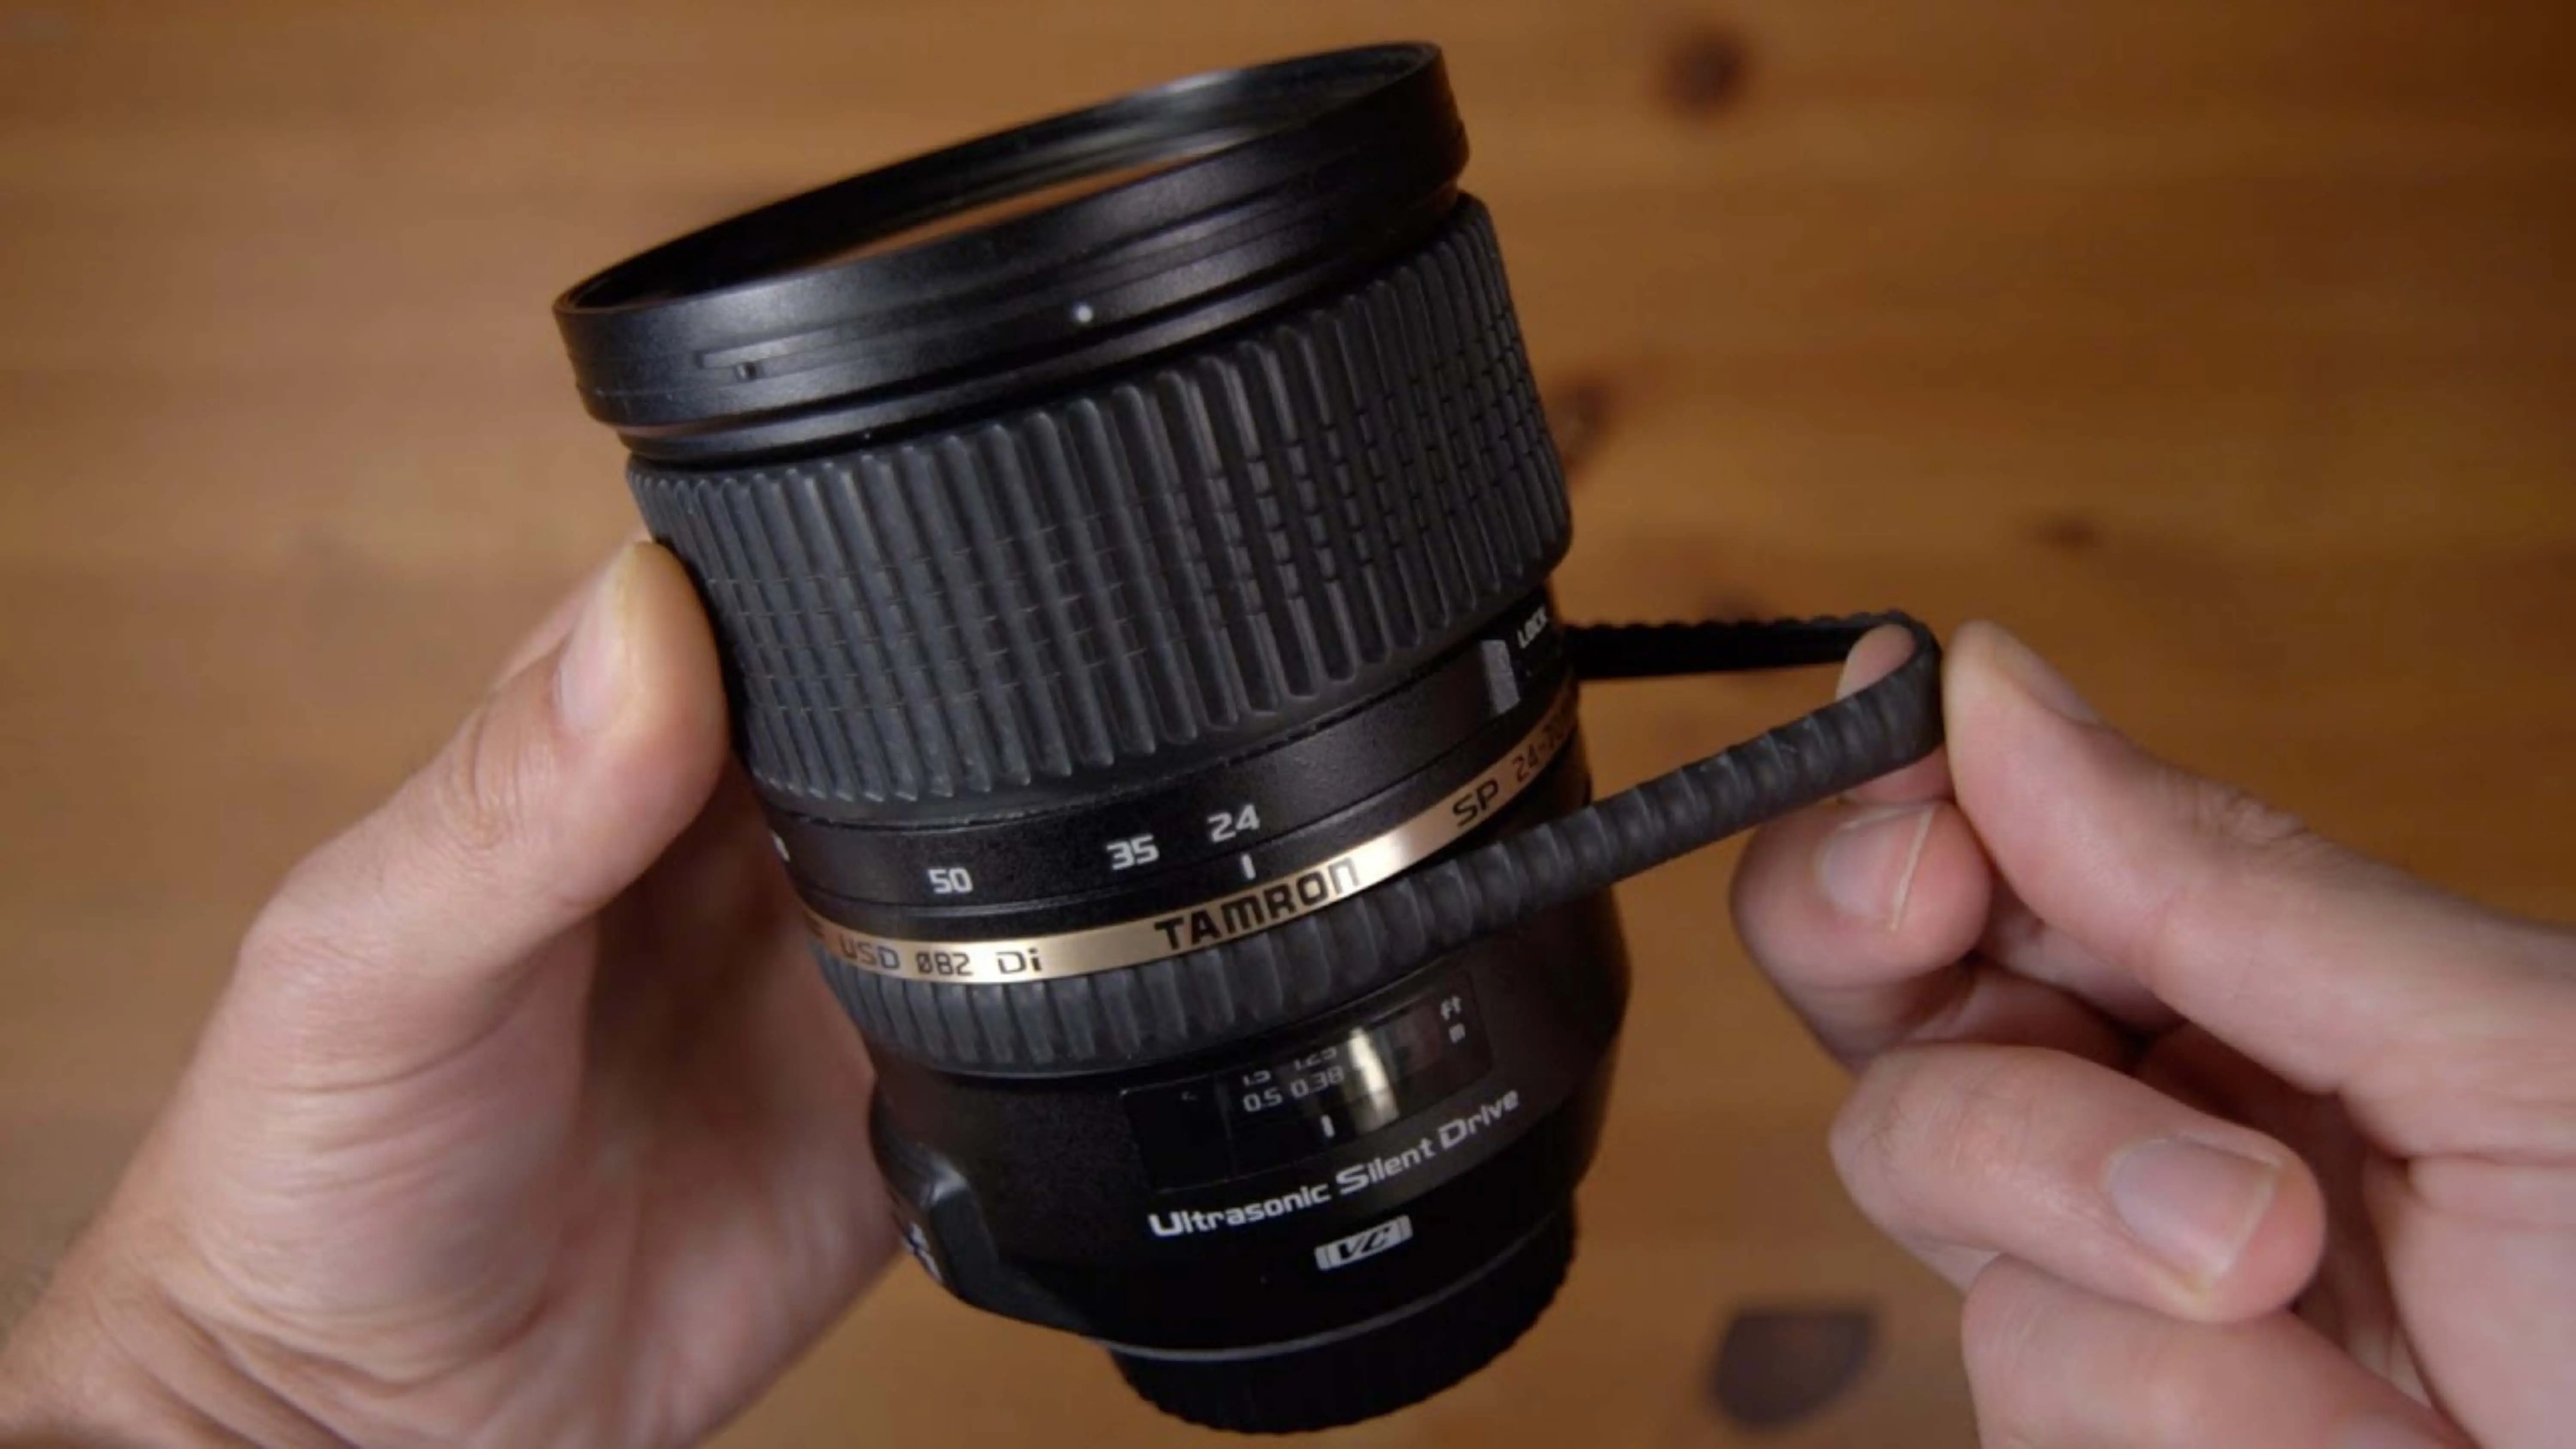
Many digital cameras and video recorders have a zoom adjustment ring that allows you to change the focal length while shooting. This lets you zoom in or out on your subject in real time.
For example, a 4X zoom lens can make your subject four times larger or smaller in the frame.
4) Focus Ring
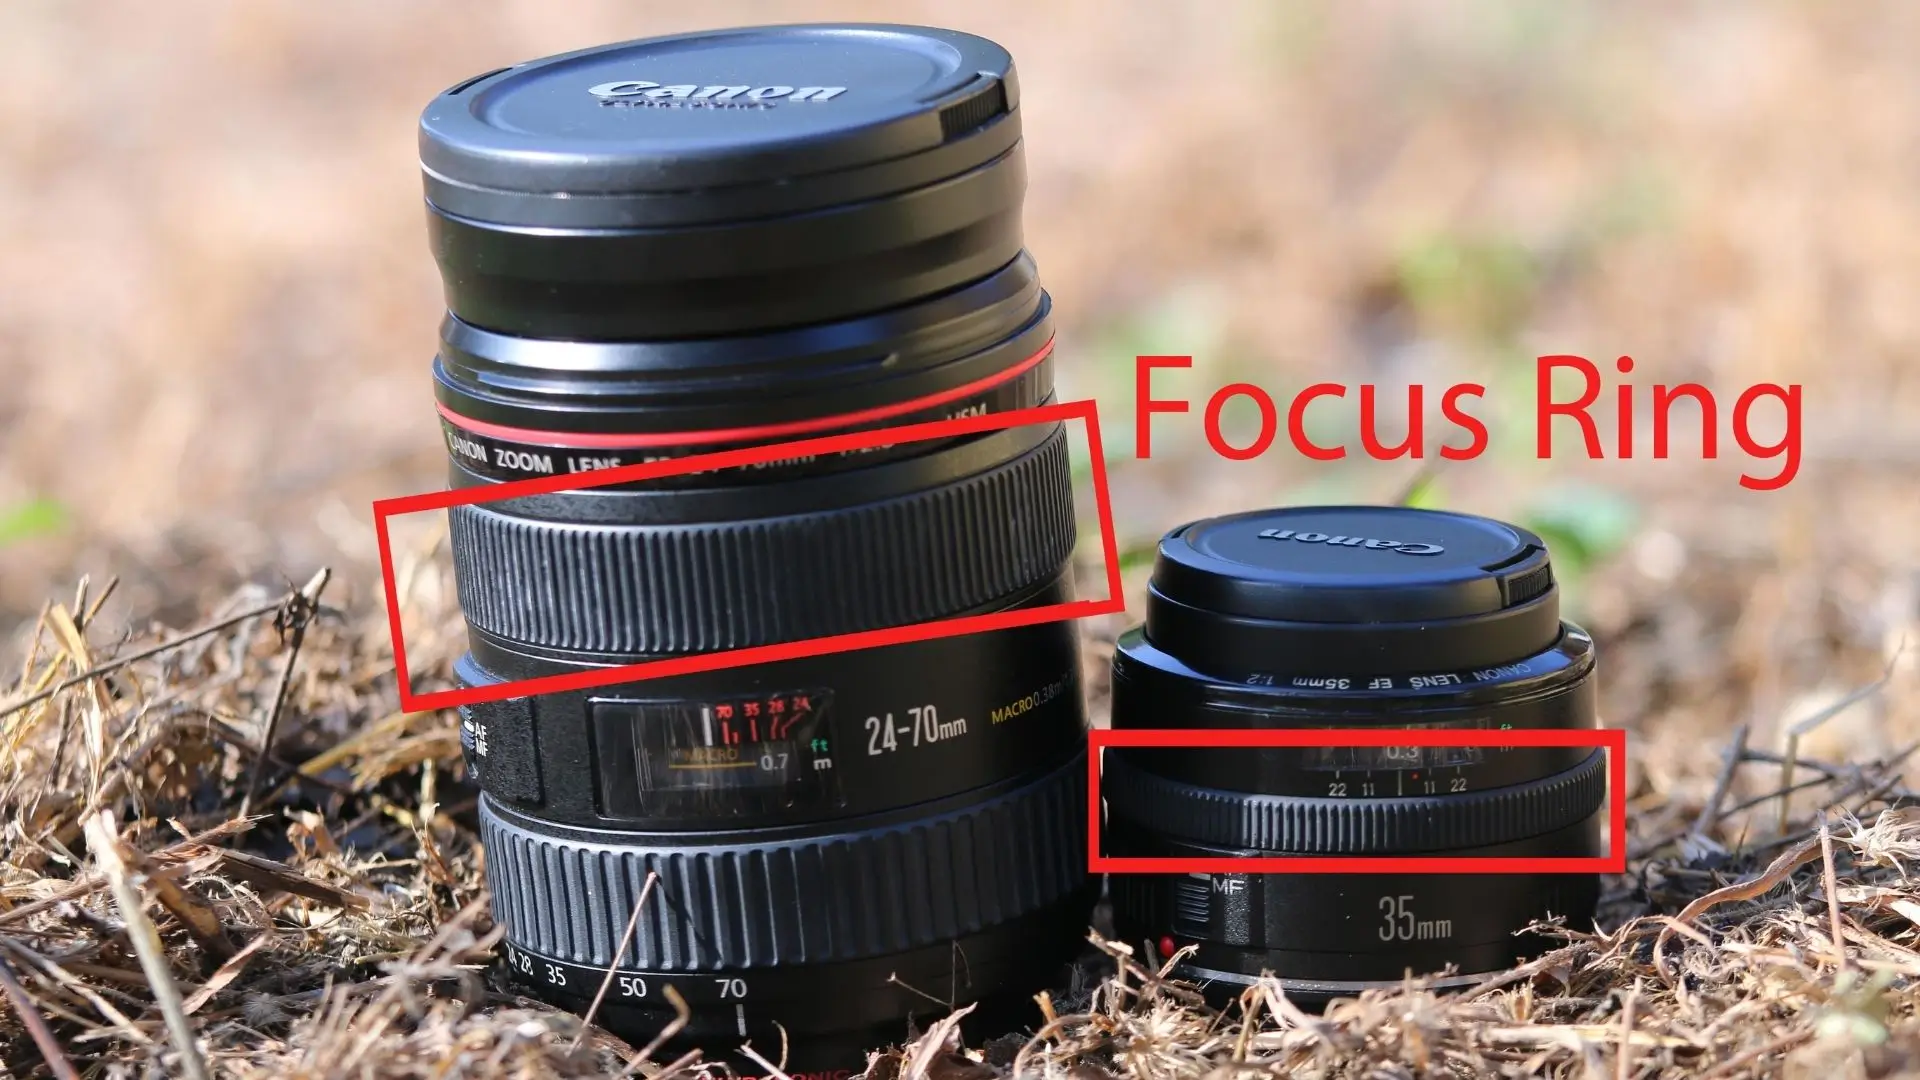
The focus ring is used to make sure your subject is sharp in the viewfinder and in the final image. Manual focusing used to be more common before autofocus technology became widespread.
Nowadays, manual focusing requires skill and sometimes additional tools like tripods to get the best results.
5) Lens Name
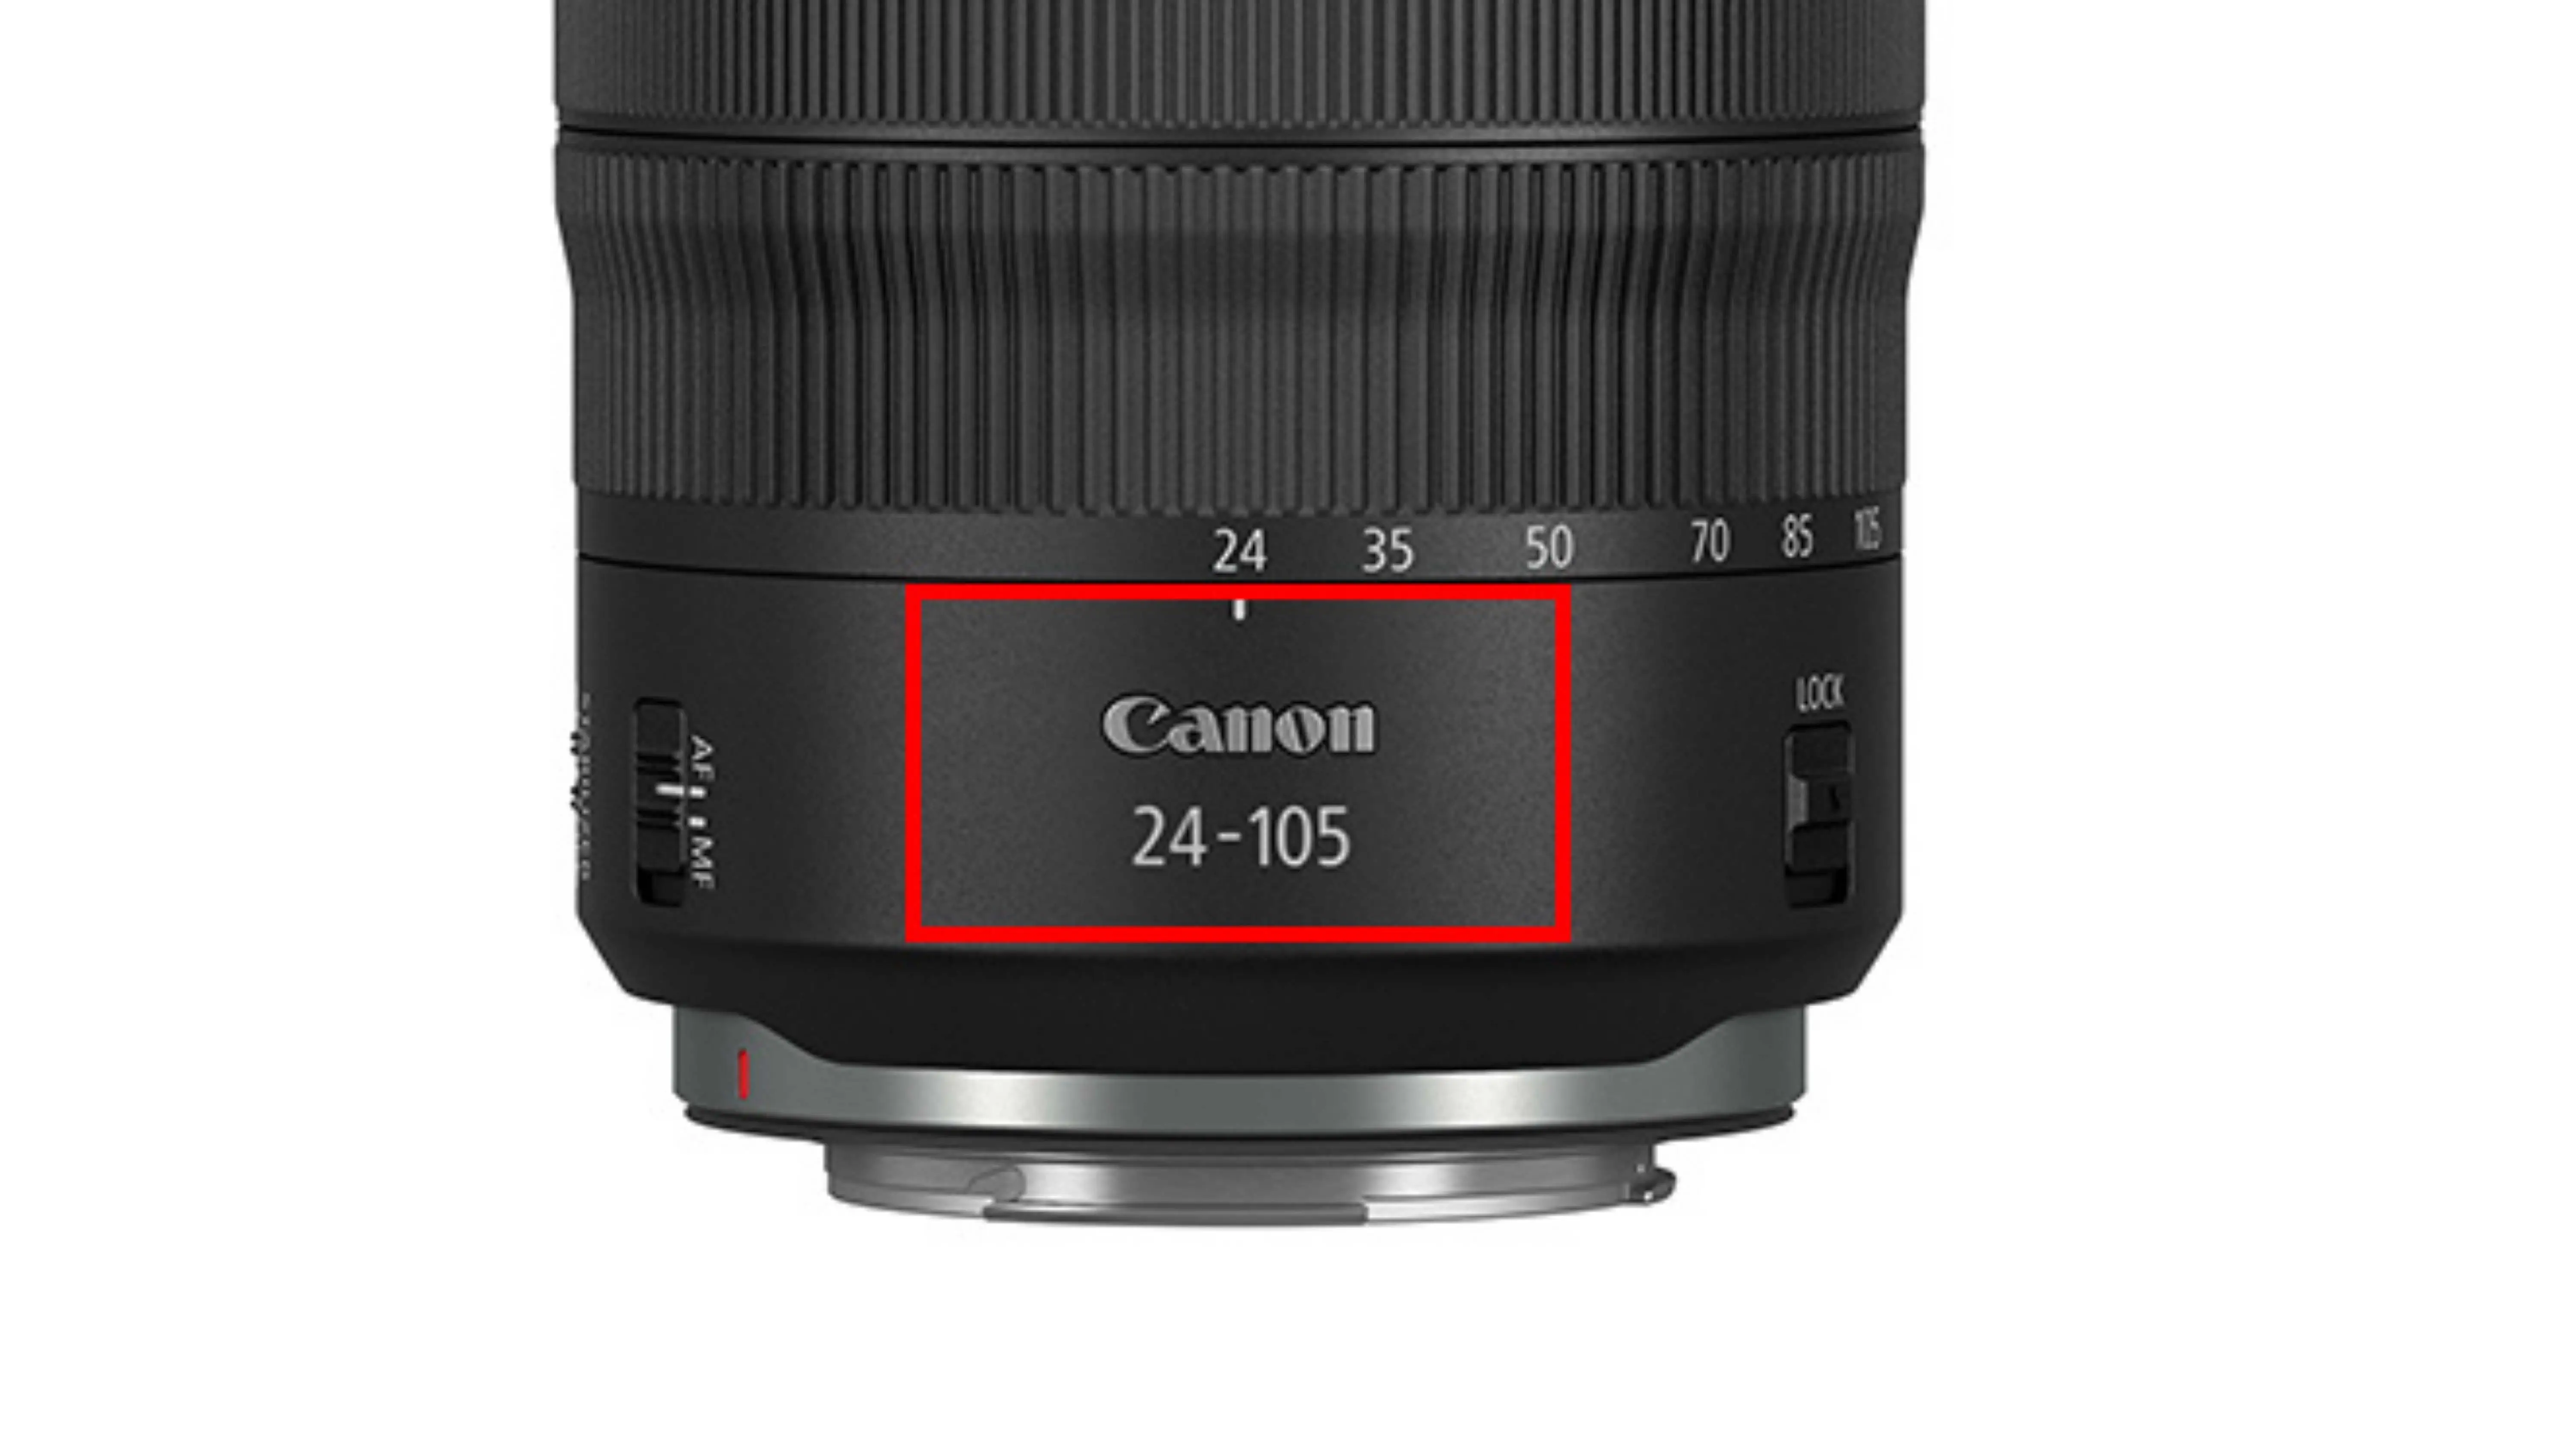
Each lens has a unique name that helps you identify it. The lens name is usually engraved on the lens itself by the manufacturer.
6) A/M Switch
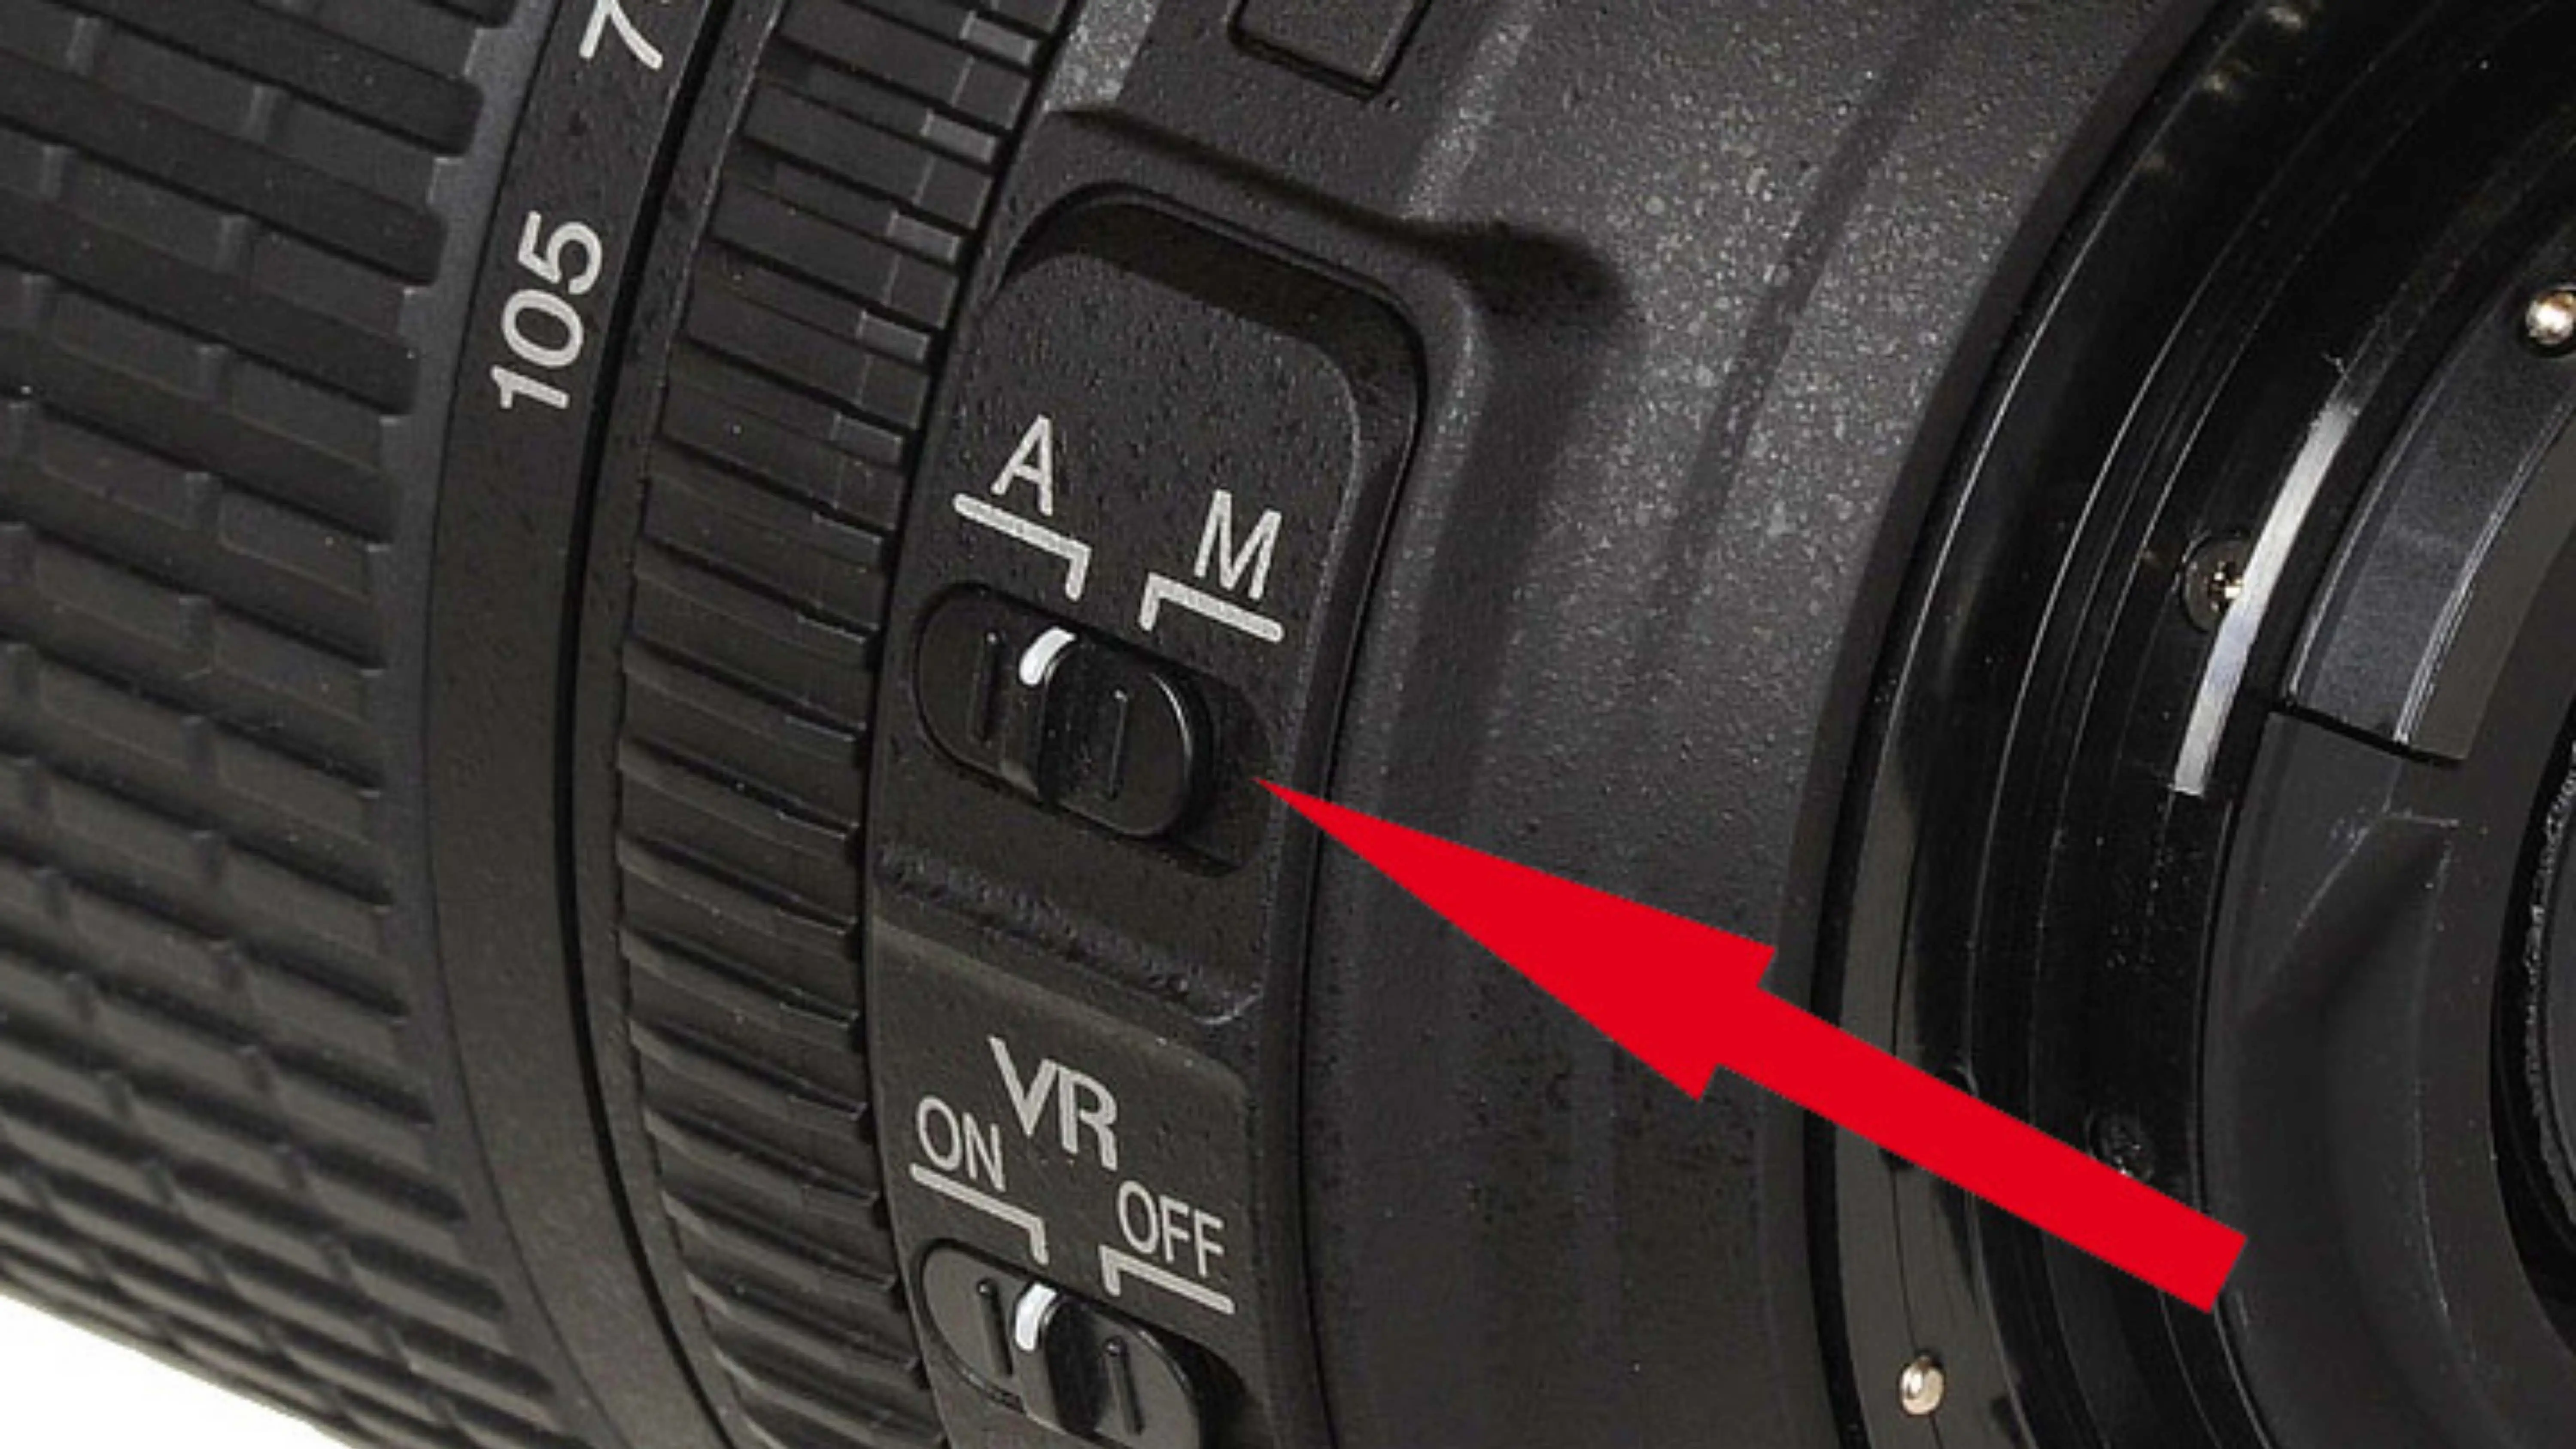
The A/M switch on the lens allows you to switch between auto-focus and manual focus modes. This can be helpful for beginners who want to start with auto-focus and gradually learn how to use manual settings.
Some lenses may have additional components, but these basic parts will give you a good understanding of how lenses work and how small details can make a big difference in your photos.
Understanding Camera Lens Terminology
Decoding Lens Names
When it comes to camera lenses, the name can tell you a lot about what the lens can do. Most lens names follow a specific format: brand name, lens type, focal length (in mm), maximum aperture, and other features or abbreviations.
For example, the Nikon AF-S 24-70mm f/2.8 E ED VR lens is a professional zoom lens from Nikon. The Canon EF 24-70mm f/2.8 L II USM lens is a similar option from Canon. The focal length and maximum aperture are key factors that determine the type of pictures a lens can capture.
Abbreviations after the lens name provide additional information. For example, the VR designation on a Nikon lens indicates vibration reduction for better handheld photography. However, some abbreviations are more about marketing than actual features.
Common Lens Abbreviations
AF
Older autofocus lenses use the AF abbreviation, while newer AF-S lenses have an internal Silent Wave motor for smoother and quieter focusing.
AF-P
AF-P lenses use a stepping motor for smooth and quiet focusing, making them ideal for video recording.
AF-D
AF-D lenses provide distance data to the camera body, but this designation is no longer used on modern Nikkor lenses.
EF-M
EF-M lenses are designed for Canon EOS M mirrorless cameras and cannot be used on EF mount cameras.
STM
STM lenses feature a Stepper Motor for quiet focusing, making them great for video recording.
ZA
Zeiss Alpha lenses are high-quality lenses designed for Sony cameras.
DT
DT lenses are made for APS-C cameras and can be used on full-frame Sony cameras in crop mode.
Each brand has its own set of acronyms, so it's important to look up what each abbreviation means for a specific lens.
Understanding Maximum Aperture
The maximum aperture of a lens determines how much light it can let in. Lenses with wider apertures can capture more light, allowing for better photos in various lighting conditions. However, lenses with wider apertures tend to be more expensive.
Aperture is like adjusting a window in a dark room to let in more or less light. The maximum aperture is the widest opening a lens can have, while the minimum aperture is the narrowest. It's important to consider how you will use the aperture before investing in a lens with a larger opening.
While most lenses have a minimum aperture of f/16, the maximum aperture is more crucial for determining the lens's capabilities. Extremely narrow apertures can lead to blurry and dark images.
Depth of Field
Depth of field is all about how much of a picture is in focus compared to what is out of focus. It depends on the distance to the subject, the focal length, and the aperture of the camera.
Aperture and Depth of Field
A big aperture, like F/2, will make most of the foreground and background blurry. This is great for portrait photography where the person should stand out. On the other hand, a narrow aperture, like F/11, will make more of the image clear. This is useful in landscape photography where everything in the scene is important.
Focal Length and Depth of Field
The depth of field changes as you move closer or farther away from the subject. A lens with a shorter focal length will give you a deeper depth of field.
Focal Length
The focal length of a lens tells you how much of the scene it can capture. It is measured in millimeters (mm) and different lenses have different focal lengths. There are categories like telephoto, wide-angle, and ultra wide-angle lenses.
Focal Length and Camera Shake
Longer focal lengths, like telephoto lenses, can cause image shaking. This happens when the camera moves while taking a picture. Image-stabilized lenses can help reduce this problem.
Camera Sensor
The camera sensor collects light and turns it into images. The size of the sensor affects how much light is used to create the image. Bigger sensors can capture more data and produce higher-quality photos.
Camera Sensor and Image Quality
A bigger sensor can capture more of the picture, but it may require a bigger lens and camera. The size of the sensor also affects resolution, depth of field, low-light performance, and overall image quality.
Image Quality
Image resolution is measured in megapixels. A higher resolution doesn't always mean better quality. Larger sensors can capture more detail and perform better in low-light conditions.
Factors Affecting Lens Quality
When looking at lenses, it's important to consider multiple factors that can impact their performance. Here are some key elements to keep in mind before buying a lens.
Sharpness
Sharpness, also known as acutance, refers to how clear an image appears. It's important to have sharpness in a lens so that you can see all the fine details in your photos. The sharpness of a lens depends on the materials used to make it, as well as factors like focal length, focus distance, and aperture.
Keep in mind that sharpness may not be consistent across the entire image. The center of the photo is usually sharper than the edges, and corners may be out of focus at maximum apertures. However, for most photographers, this is not a major concern.
Flare
Flare is an unwanted artifact that can appear in photos when light is diffused or reflected in a lens system. This can happen due to internal reflections and imperfections in the lens material. Zoom lenses and lenses with multiple components are more prone to flare because they have more surfaces where light can scatter.
Distortion
Lens distortion occurs when a lens is unable to preserve straight lines in a photo, resulting in curved objects appearing bent or warped. Wide-angle lenses are more likely to distort images in order to capture a wider field of view. It's important to consider distortion when choosing a lens for your photography needs.
Sample Variation
Sample variation refers to the idea that not all copies of a particular lens will have the same level of quality. Some lenses may have variations in image quality, even within the same model. It's important to be aware of sample variation when reading reviews or purchasing a lens, as you may not get the same results as others.
Chromatic Aberration
Chromatic aberration, also known as color fringing, occurs when a lens is unable to focus all color wavelengths onto the same focal plane. This can result in blurry images or colored edges around objects, especially in high-contrast settings. Lens dispersion is the main cause of chromatic aberration, and it's important to consider this factor when choosing a lens for your photography needs.
Best Lenses for Beginners Explained
Canon EF-S 35mm f/2.8 Macro IS STM
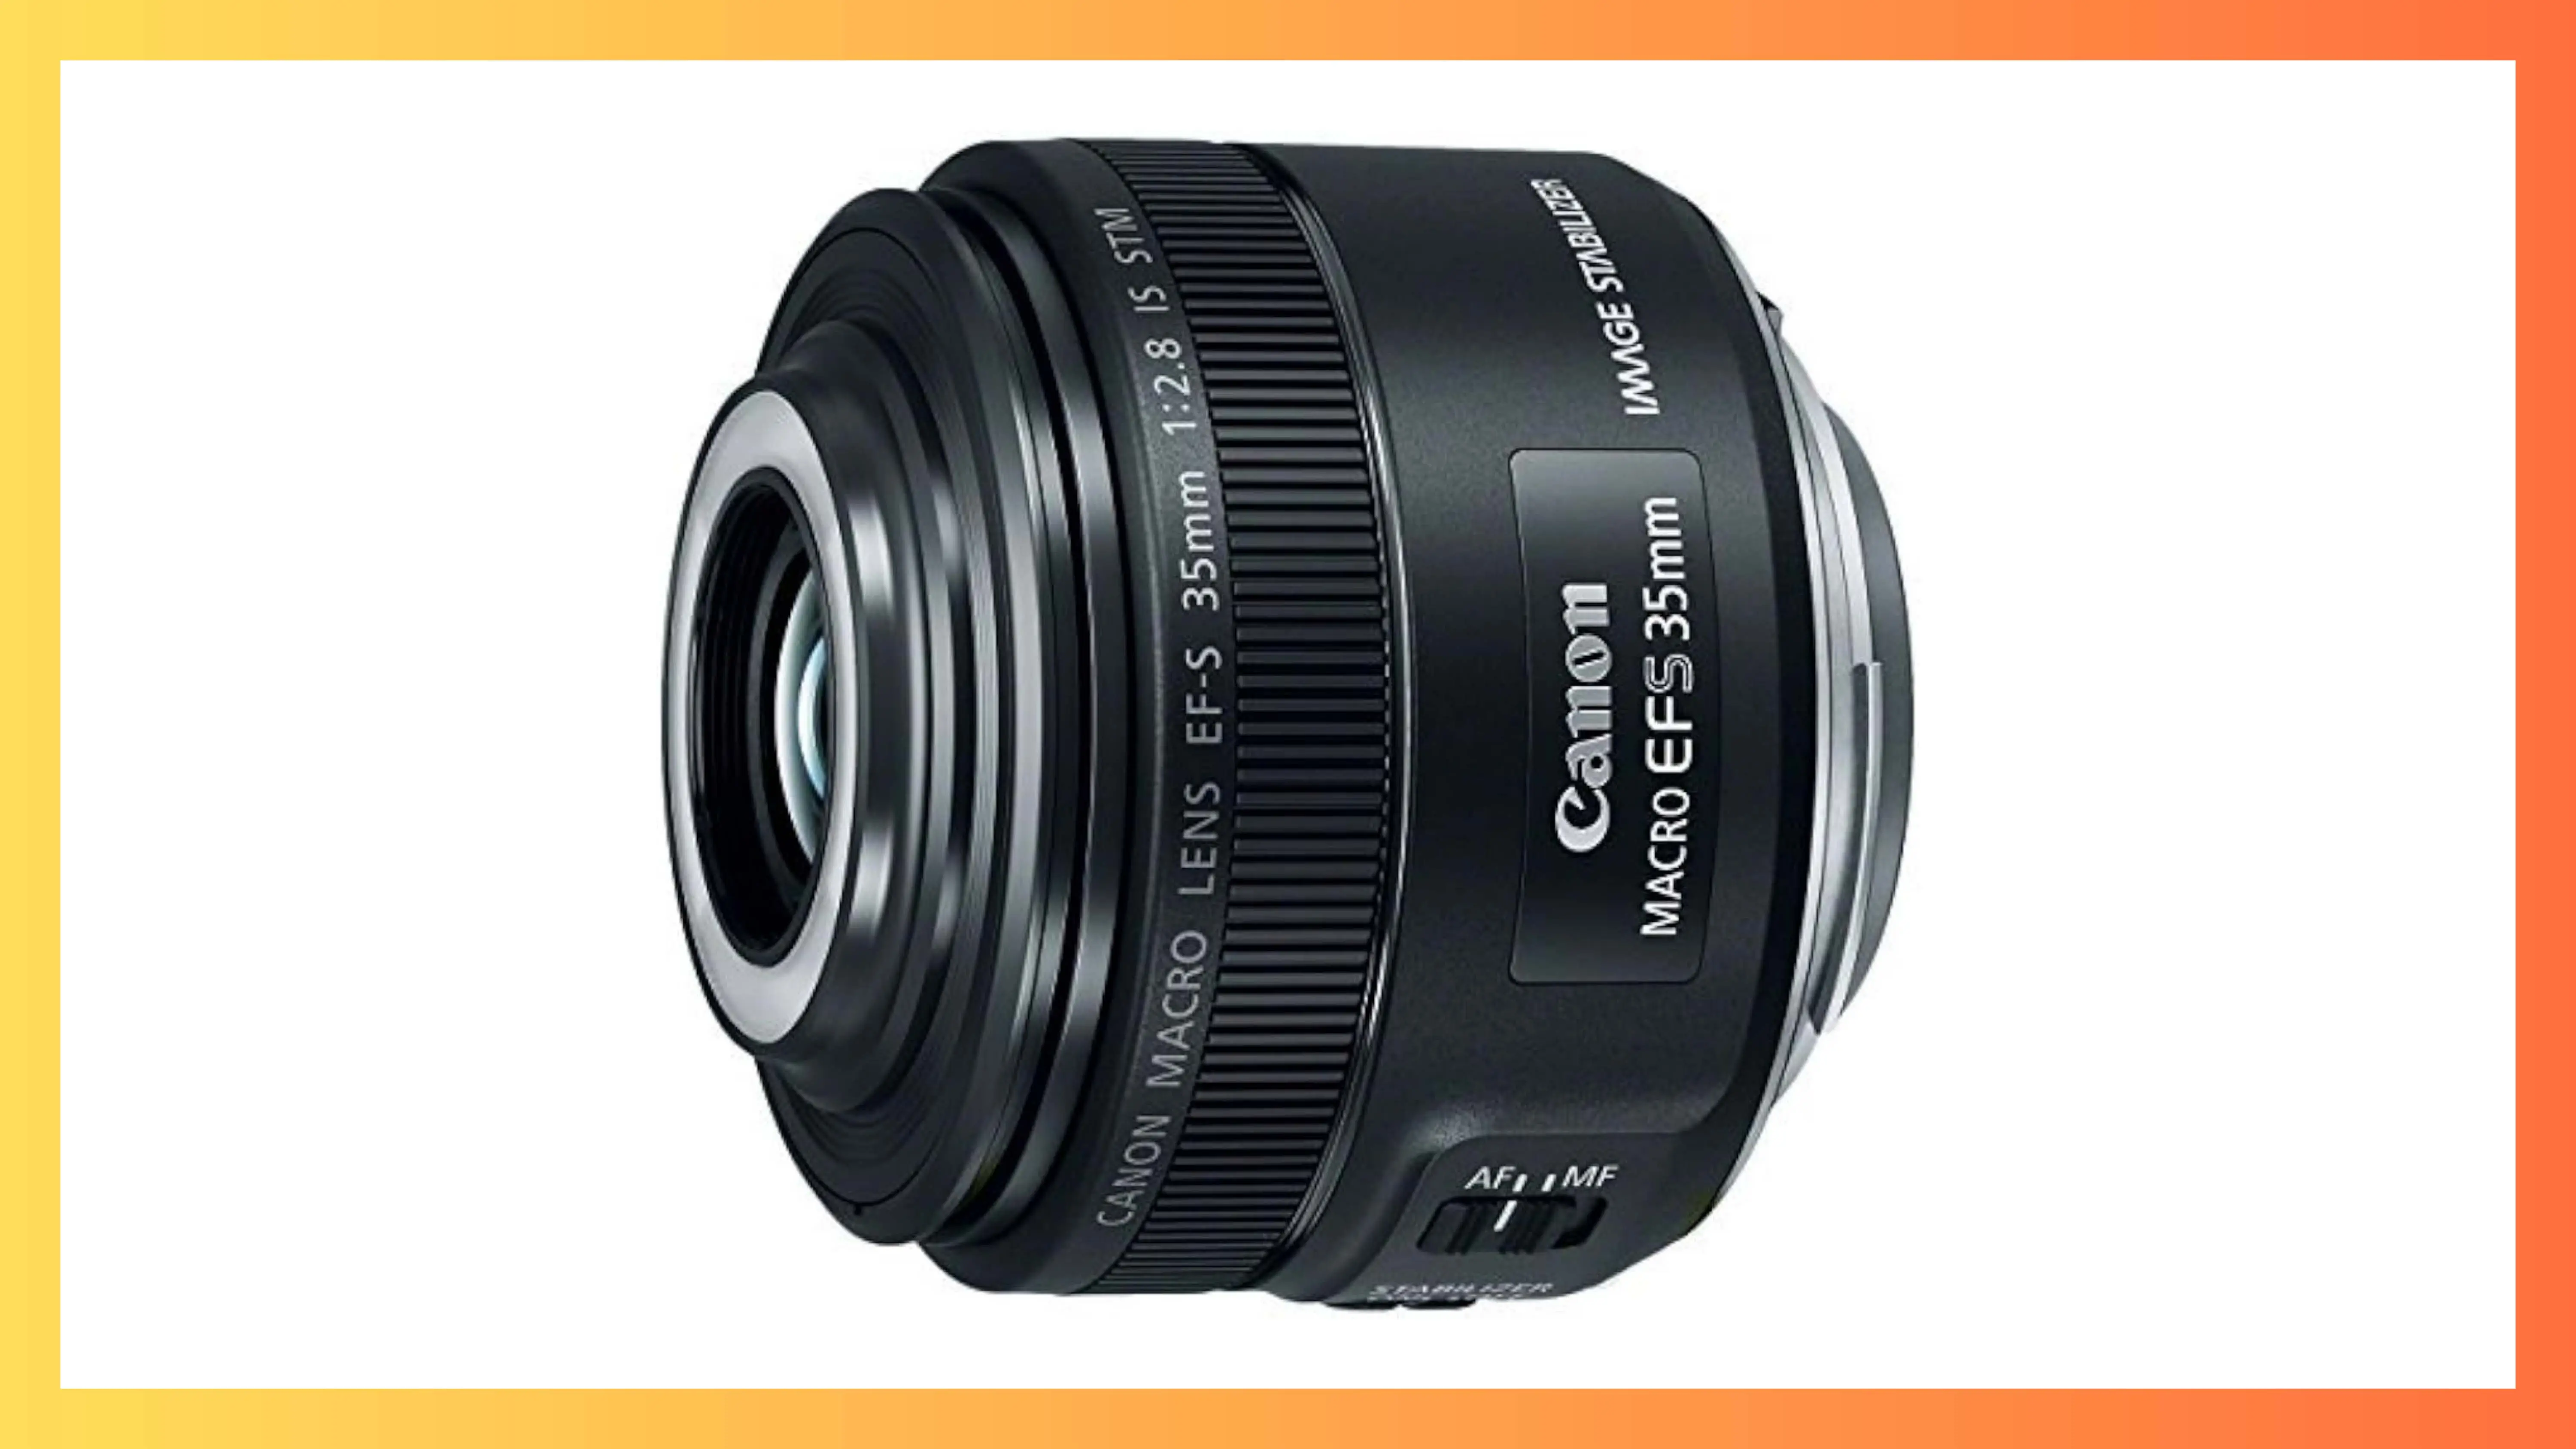
If you want to capture tiny details up close, like insects or flowers, the Canon EF-S 35mm f/2.8 Macro IS STM is a great choice. It has a built-in Macro Lite that lets you control the lighting for your close-up shots. Plus, it's small and lightweight, making it easy to carry around.
Canon EF-S 24mm f/2.8 STM
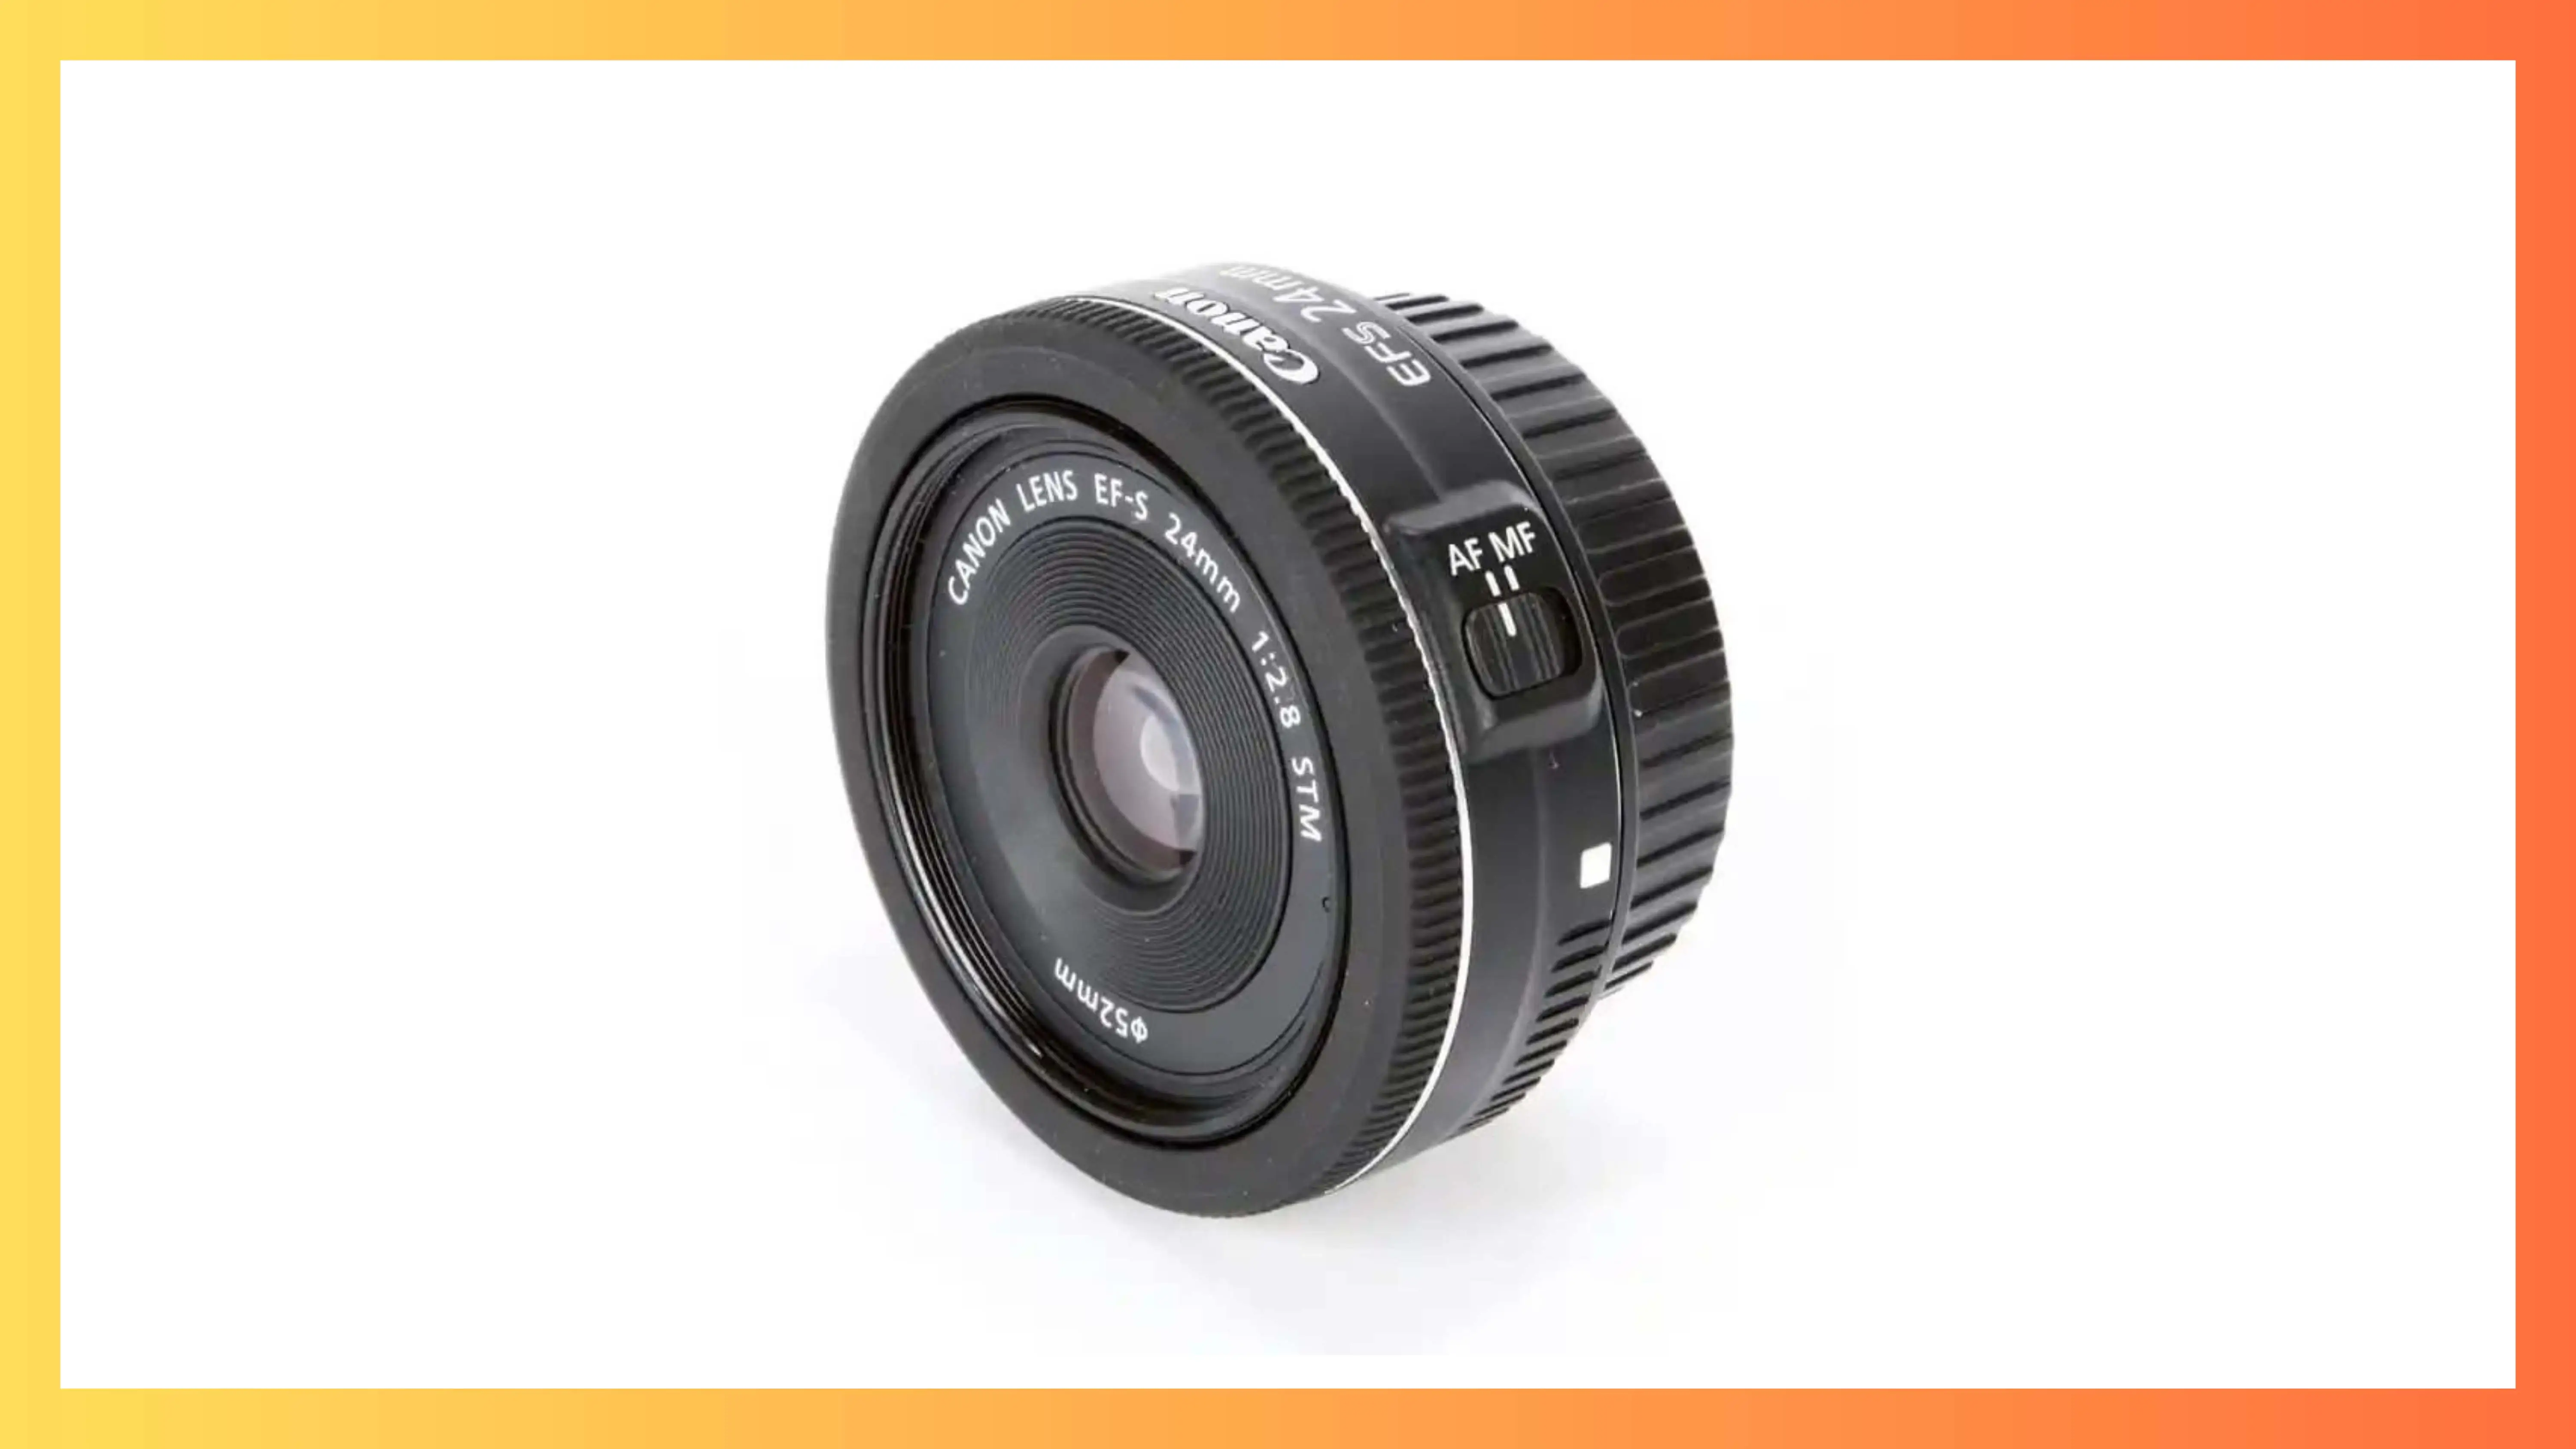
The Canon 24mm lens is super lightweight and easy to use. It has full-time manual focus, so you can adjust the focus even when using autofocus. This lens is perfect for shooting portraits and still-life photos.
Nikon AF-S 50mm f/1.8G
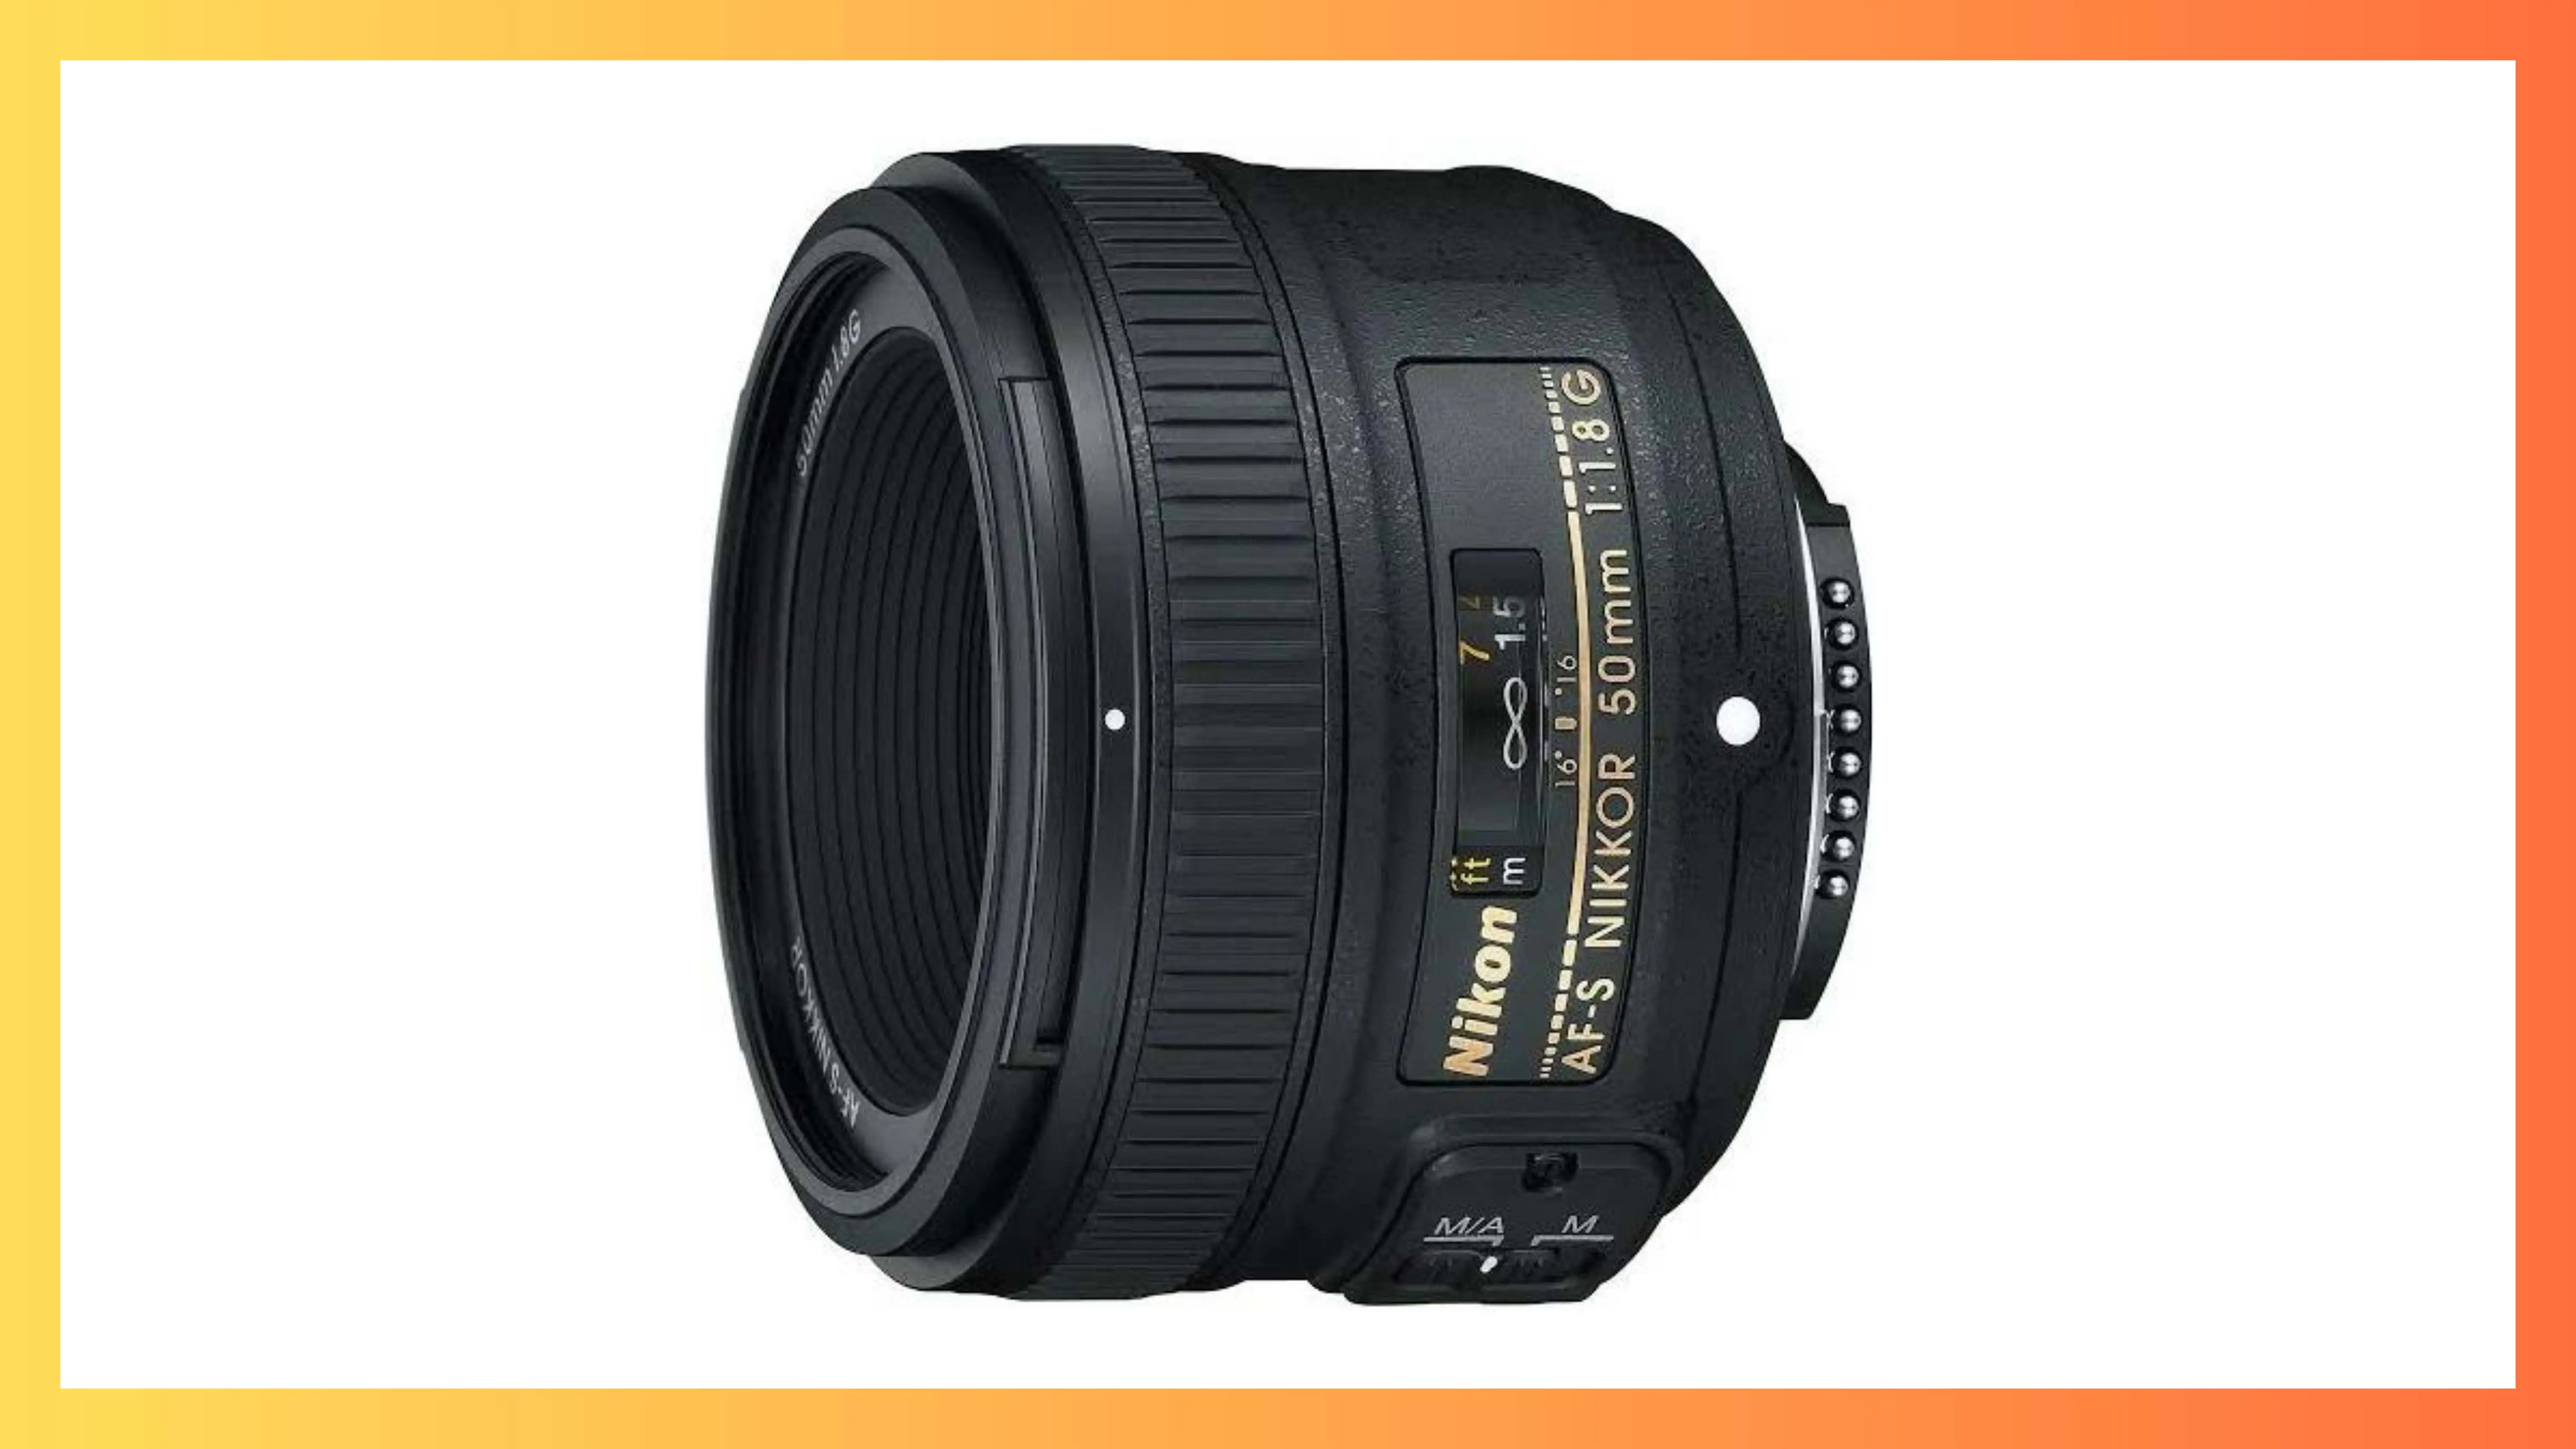
The Nikon 50mm lens is great for low-light situations and produces beautiful background blur. It's perfect for taking portraits and food photos. Plus, it has a Silent Wave Motor for smooth and quiet autofocus.
Nikon 35mm f/1.8G AF-S DX
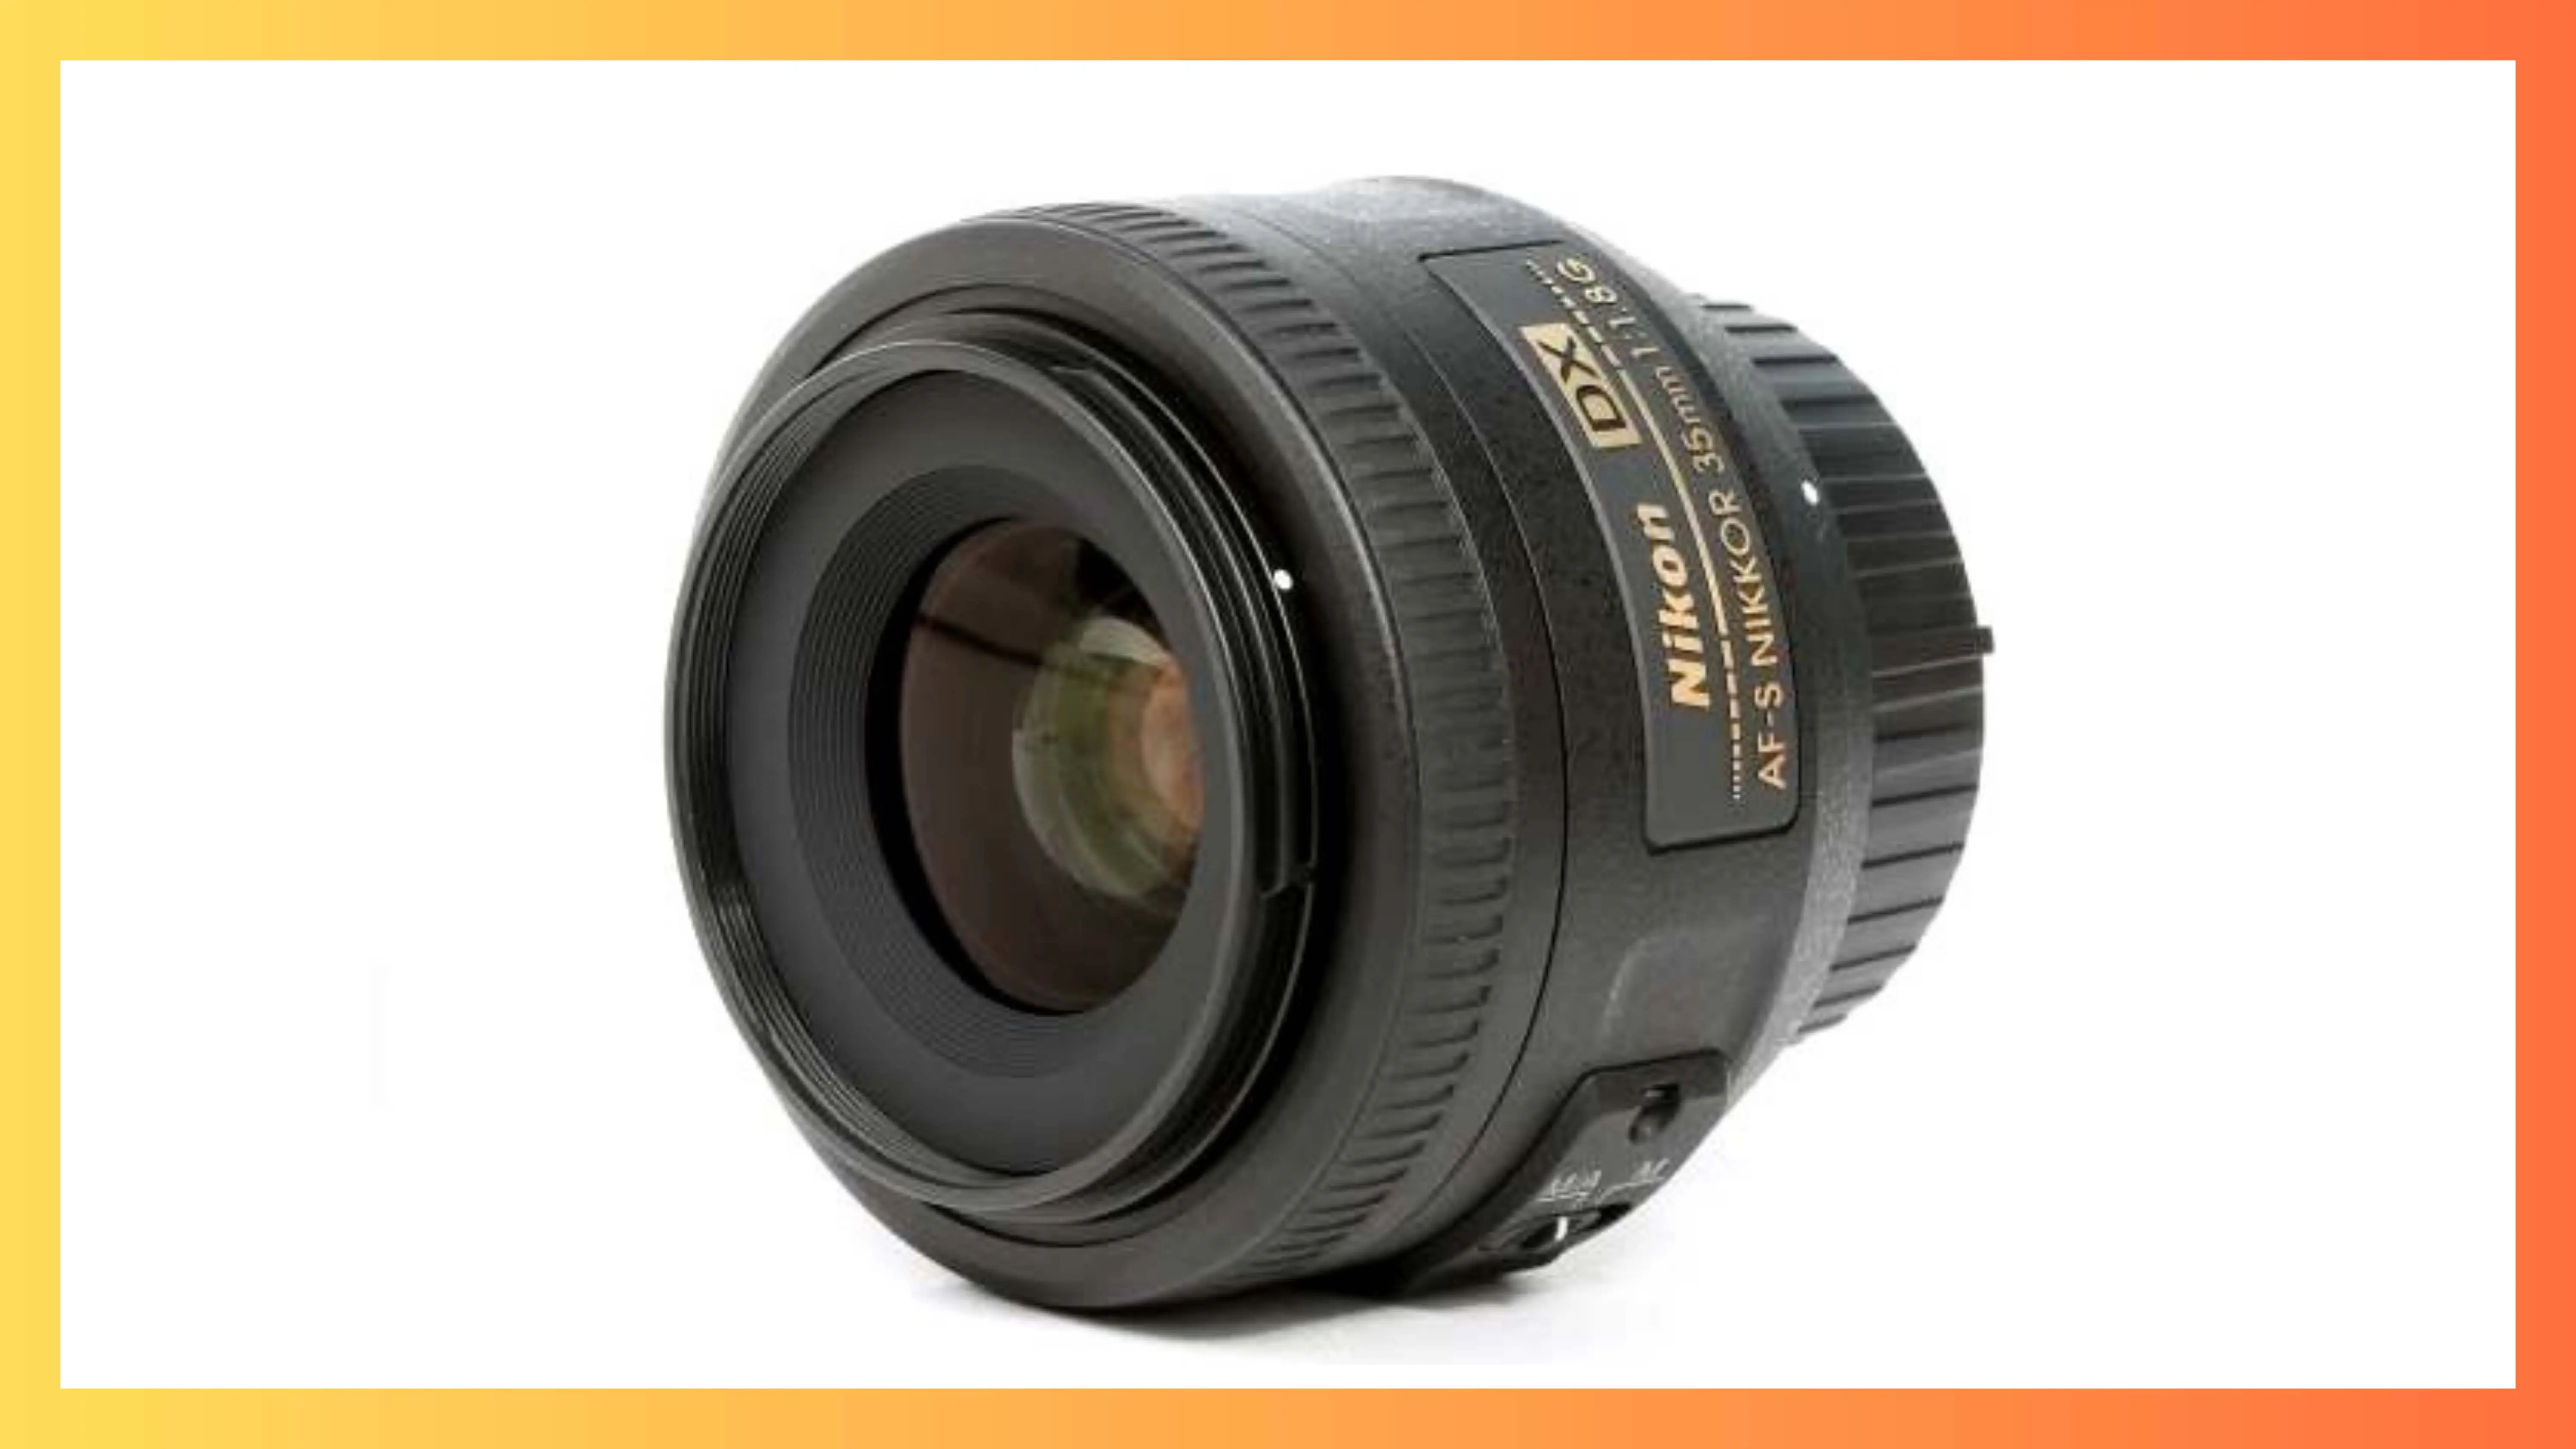
The Nikon 35mm lens can capture lifelike images similar to what you see with your own eyes. It's portable, affordable, and lightweight, making it perfect for travel photography. The autofocus is fast and accurate, thanks to the Silent Wave Motor.
Nikon AF-S DX 12-24mm f/4G IF-ED
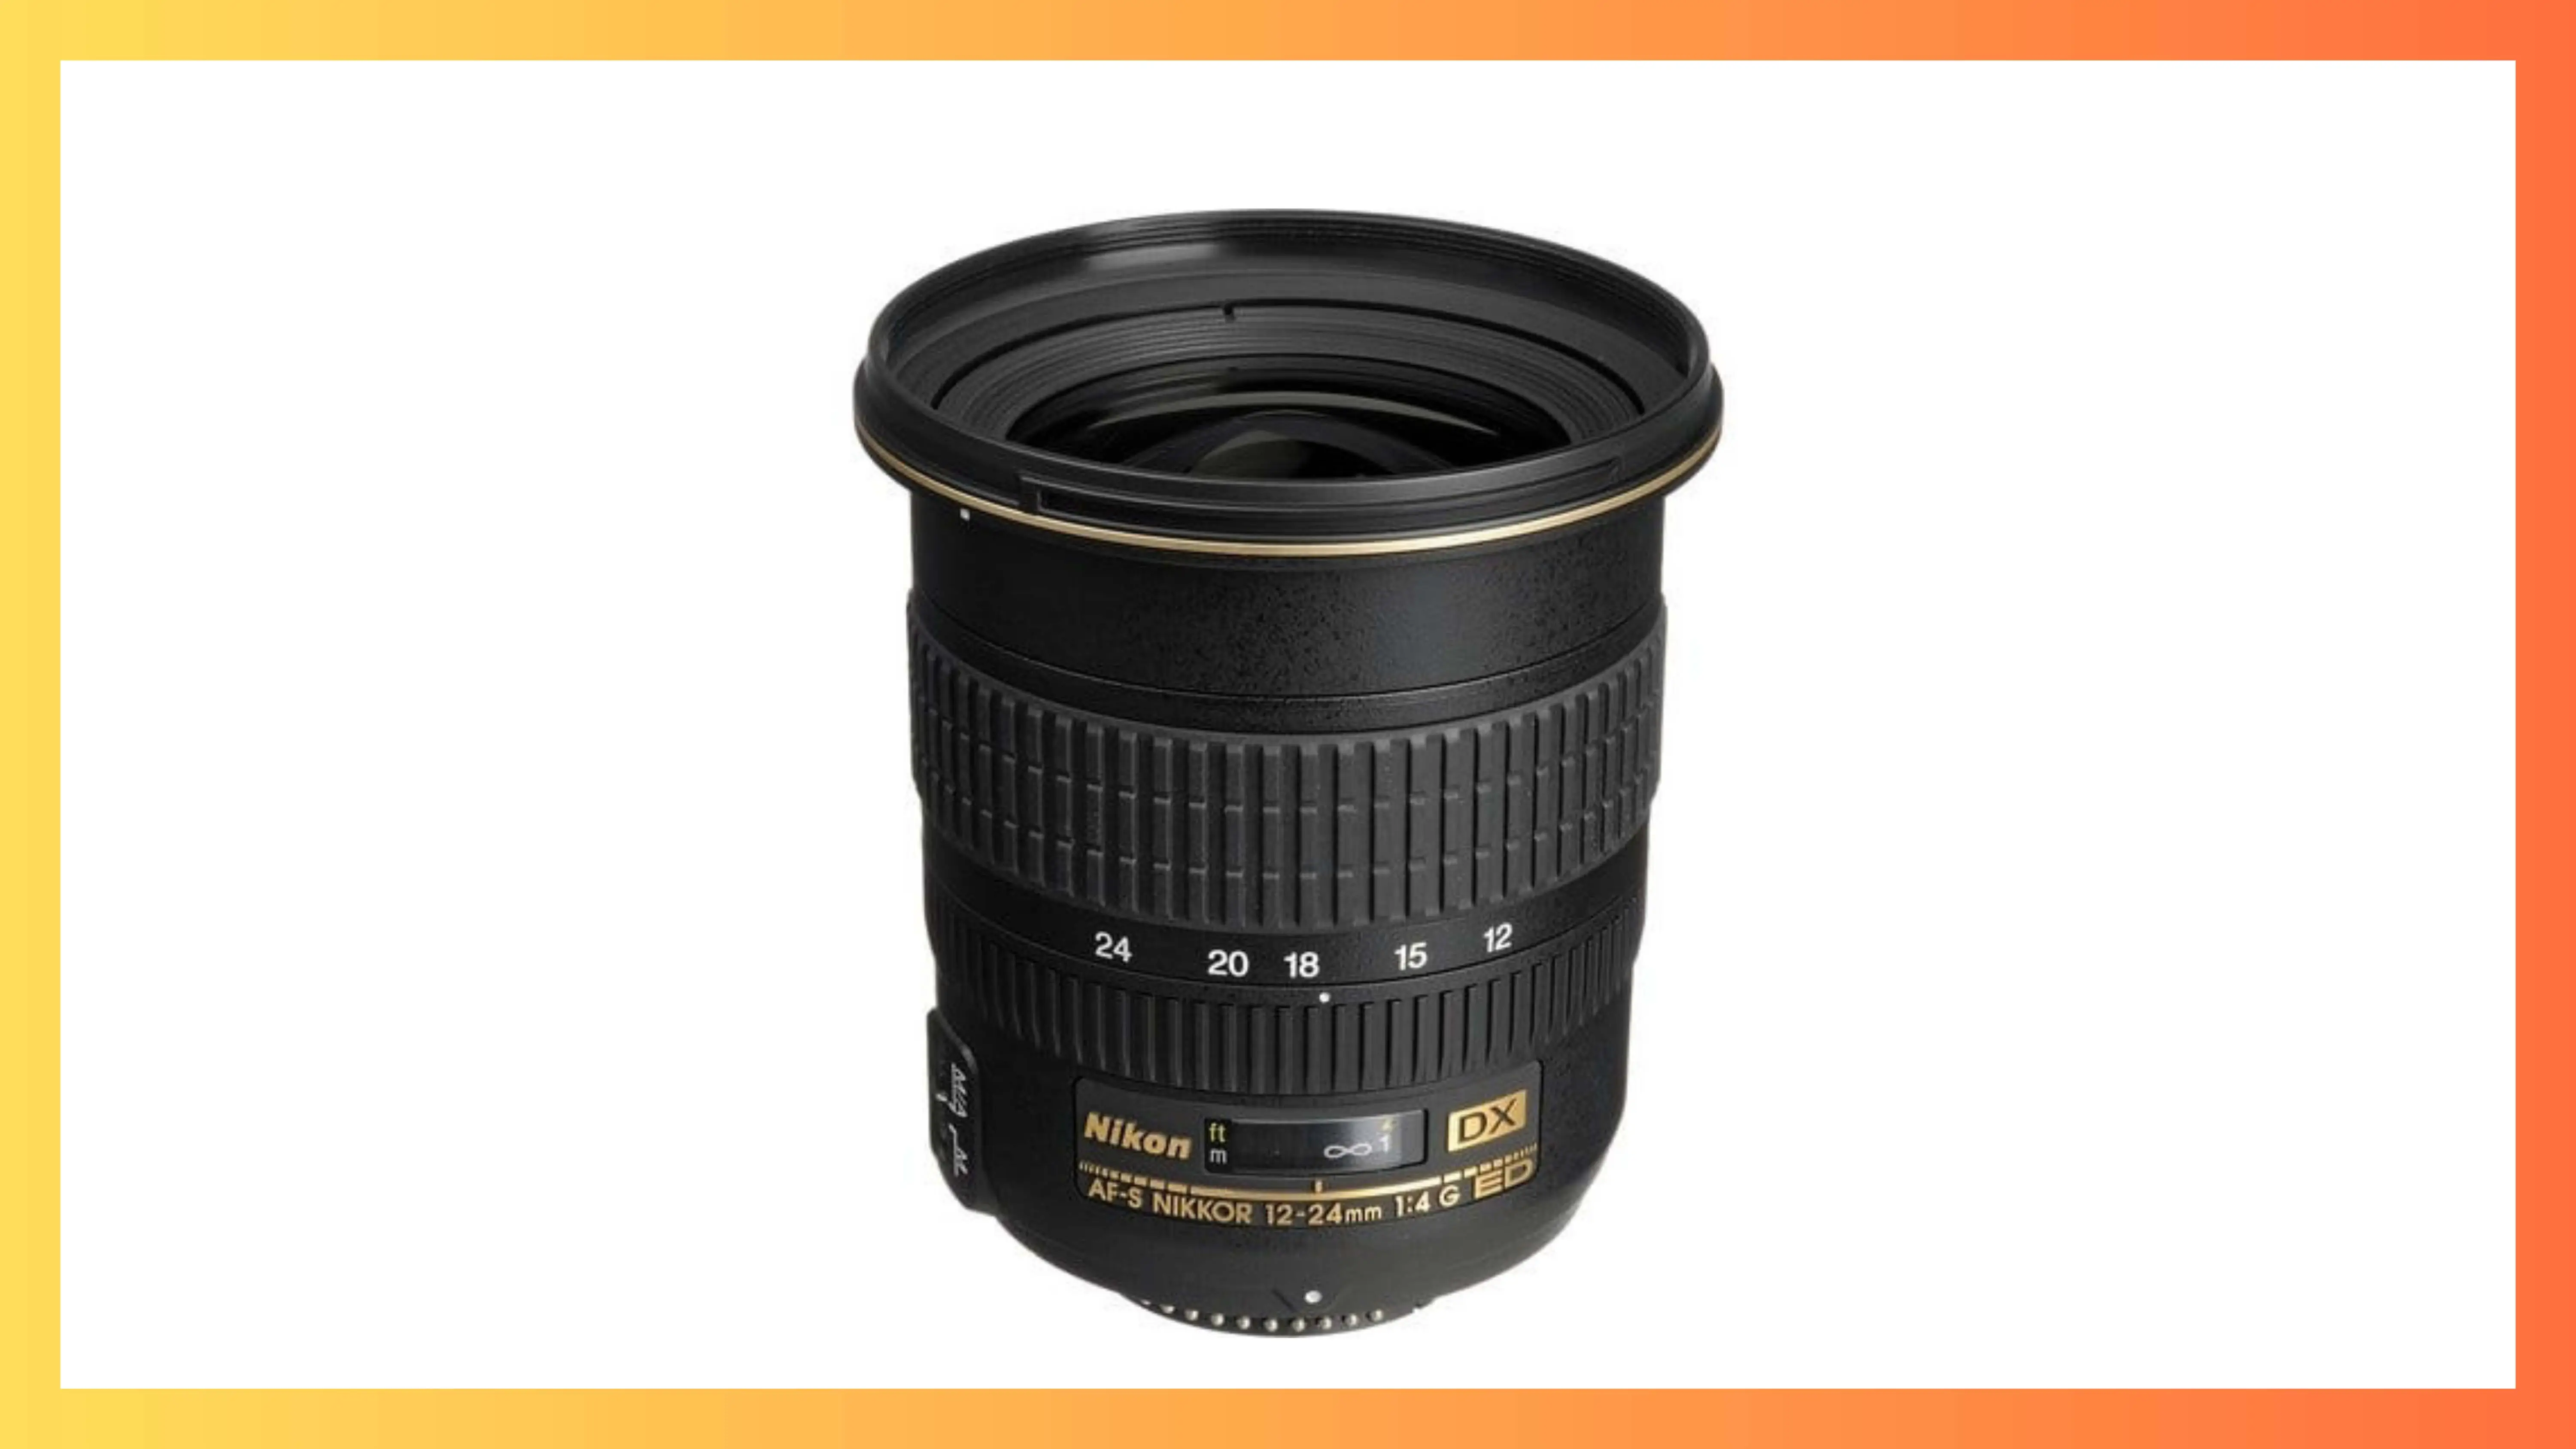
This ultra-wide-angle zoom lens is great for capturing big landscapes and tight spaces. It's perfect for travel and architectural photography. The lens is tough, light, and delivers sharp, color-rich photos.
Conclusion
When choosing a lens, consider factors like sharpness, size, weight, and price. Each lens has its own strengths and weaknesses, so pick one that fits your needs and budget. Happy shooting!
FAQs
Q1. How do I know what lens to use on my camera?
Ans. To know what lens to use on your camera, consider the type of photography you are doing, the distance between you and the subject, and the lighting conditions to determine the focal length and aperture needed for the shot.
Q2. What are the 4 types of camera lens?
Ans. The 4 types of camera lenses are prime lenses, zoom lenses, wide-angle lenses, and telephoto lenses. Prime lenses have a fixed focal length, zoom lenses allow you to change the focal length, wide-angle lenses capture a wider field of view, and telephoto lenses allow you to zoom in closer to your subject.
Q3. What is ISO in camera?
Ans. ISO in camera refers to the sensitivity of the camera's image sensor to light. It controls how bright or dark the image appears and is measured in numbers, with higher numbers indicating higher sensitivity to light.
Q4. Is 18-55mm lens good for beginners?
Ans. Yes, an 18-55mm lens is a good lens for beginners as it is versatile and can be used for a wide range of photography styles, including portraits, landscapes, and everyday snapshots. It is also relatively affordable and lightweight, making it a good option for those who are just starting out in photography.
Q5. What is mm in camera?
Ans. In camera, mm (millimeter) refers to the focal length of the lens, which determines the angle of view and magnification of the subject. It measures the distance from the lens to the camera's image sensor, and affects the image's perspective, depth of field, and compression.
Q6. What type of lens is CCTV?
Ans. The type of lens used in CCTV cameras can vary, but common types include fixed, varifocal, and zoom lenses.
You might also be interested in


FAQ’s
I recommend checking out our detailed step-by-step guide on How to Use a Free Photo Editor. It covers everything from downloading and installing to using the essential tools and techniques for enhancing your photos.