How to Change Background Color in Photoshop?
Learn how to easily change the background color in Photoshop with these simple step-by-step instructions. Transform your images and designs with just a few clicks using this helpful tutorial.
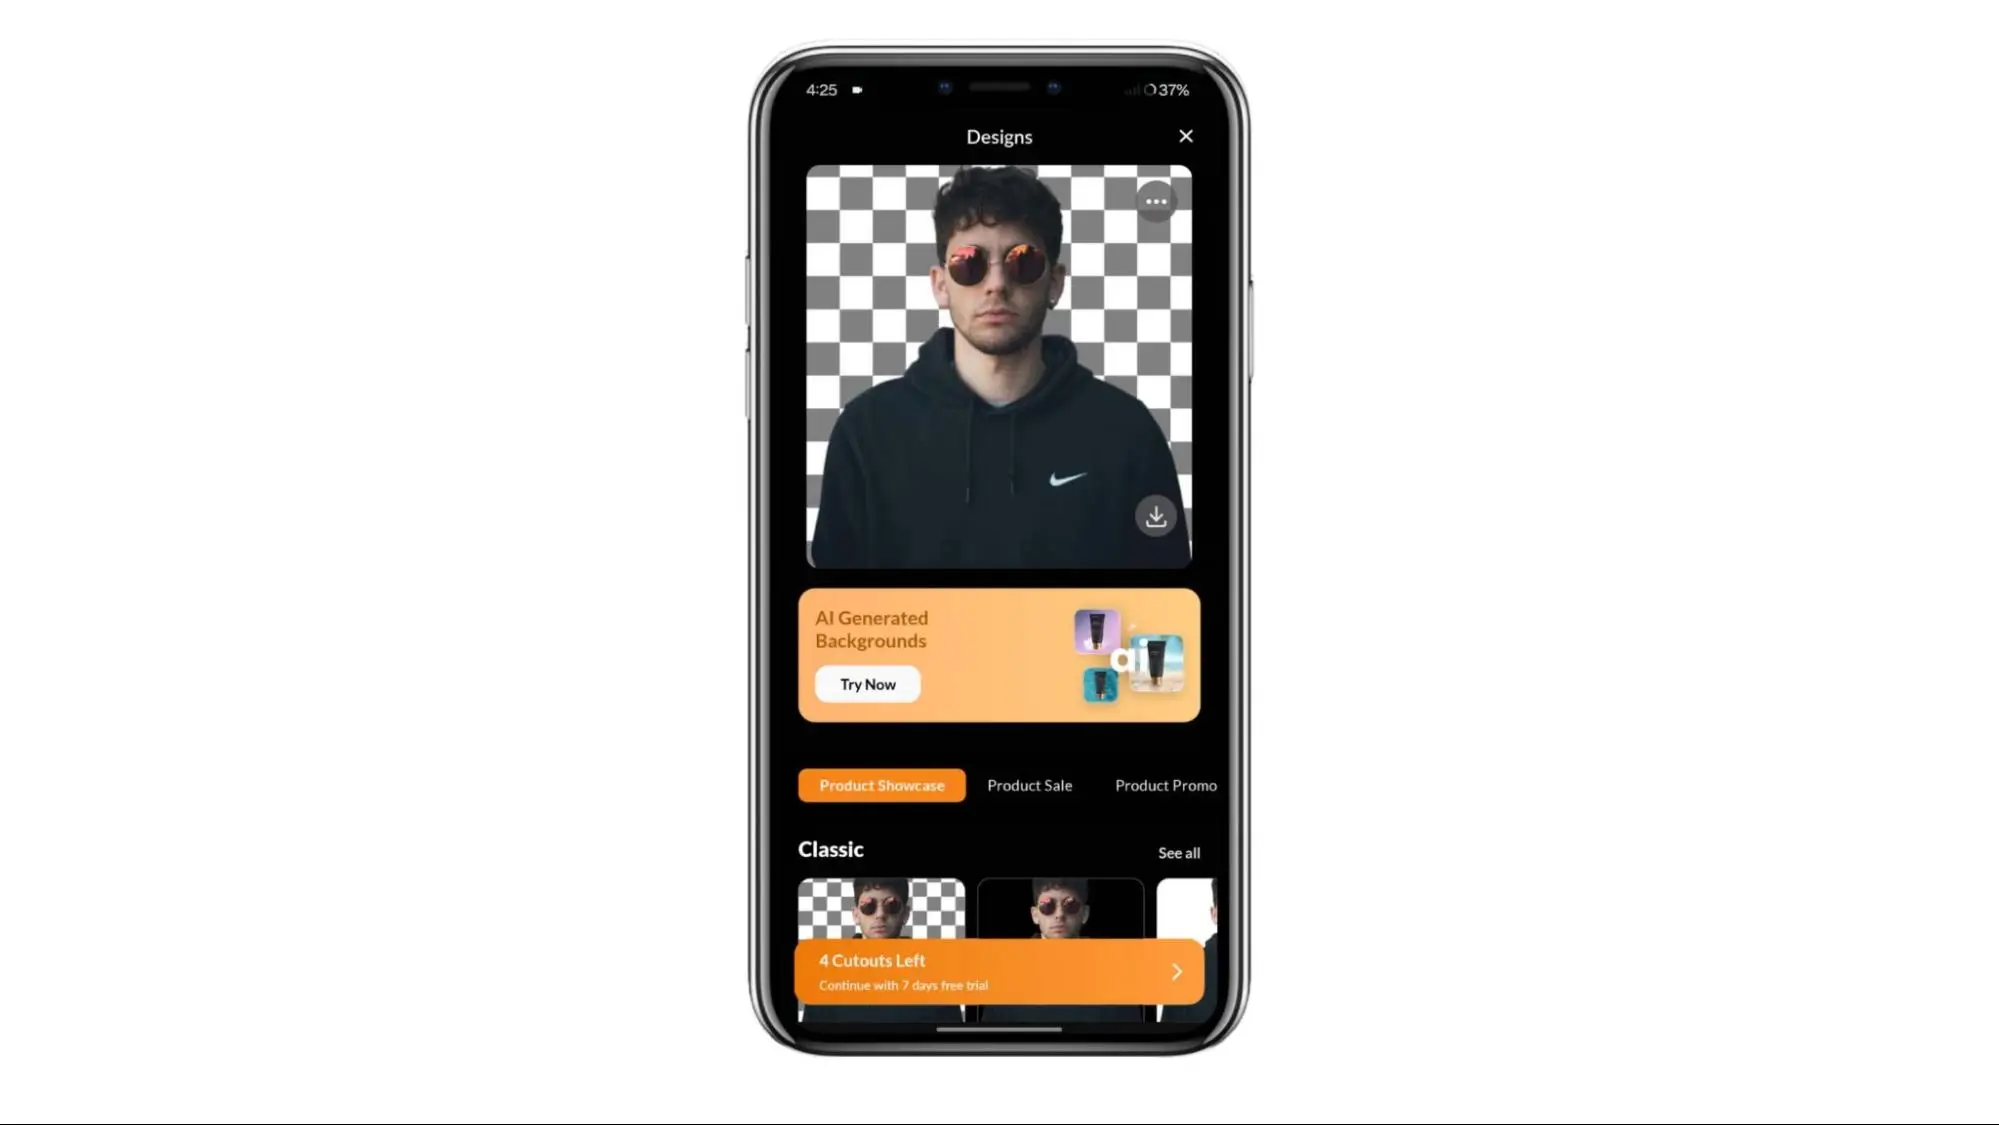
Download the app, NOW!


.png)

.png)


PhotoCut - A Game Changer!
Explore endless tools and templates at your fingertips to customize your new image using the PhotoCut app. They love us. You will too.
.webp)
CAPTAIN SYKE

So much easy to use than the other apps that I have encountered. I'm so satisfied. I fished to clear the background less than a minute! Keep it up🙌🏻
.webp)
Lee Willetts (Dr.Drone Doomstone)
Great app, used alongside text on photo, you can create some great pics. Hours of fun.
.webp)
Bran Laser
I always erase and cut something with this it is very op there is no bug and I made a picture for my channel very nice install it now!
.webp)
ZDX Gaming
The Best Photo Editor .. Not Many Can Actually Cut Pictures Perfectly Like this App been looking for something like this for a long time 💔😂 Nice App I recommend it Giving it 5 star
.webp)
Small Optics
Best app of this type out there, it does nearly all of the work for you.. Great work developers.
.webp)
Emilia Gacha
It's really useful and super easy to use and it may be the best background eraser app!
.webp)
kymani ace
This is a really nice app I love how it let's me do lots of edits without paying for anything and there isn't even a watermark, very good app.
.webp)
Nidhish Singh
Excellent apps and doing all the work as expected. Easy to use, navigate and apply to any background after cut out.
.webp)
Adrian
Been using this app for many years now to crop photos and gotta say, really does what it's supposed to and makes photo's look realistic. Recommend it very much.
.webp)
Indra Ismaya
Easy to use, very usefull
.webp)
Barbie Dream
I love this app! You can edit and change the background i been using it for months for my video! Keep it going.
.webp)
Kaira Binson
Ouh..finally i found a good app like this..after instalking 6-8 apps ..i finally get the right one...easy..free...so cool...but maybe pls..adjust your ads..in this app..thanks☺
.webp)
Tara Coriell
I payed for premium but it was only a 1 time payment of 5.29 and I love this app. There are a lot of nice features

Engels Yepez
Great app for edit photos, it include an interesting IA function for apply effects to your pics

Azizah ahmad
This apps is awesome compared to other photo cut apps. I have tried several photo cut apps but all of them was bad. And finally i found this app, super easy to use, have feature smart cut and smart erase. Awesome !!
.webp)
Galaxy Goat
The app is incredible! I erased a background and added it into a new background in less then 20 seconds. Normally it takes 10-20 minute's on other apps. Highly recommend
.webp)
Victor Maldonado
I been having a few issues with app can't zoom in like before and its not like it use to what happen i paid for this app not liking the new upgrade
.webp)
Lynsiah Sahuji
more accurate in removing background, didn't required so much effort. love this! ❤️


Are you ready to take your photos and designs to the next level with Adobe Photoshop's amazing background color change feature? With just a few simple steps, you can transform a plain white background into a burst of vibrant color, adding a whole new dimension to your visual projects. Whether you want to switch out colors, add transparent or textured backgrounds, or create stunning gradients for that perfect ombre effect, the possibilities are endless!
Set the Tone: Choosing a Background Color from the Start
When you start a new project in Photoshop, selecting a custom background color sets the stage for your entire design. In the new document menu, you can choose the background color that best fits your creative vision. This color will serve as the foundation for your design, seamlessly blending with other elements you add to your composition. This initial step helps streamline your design process and ensures a cohesive and intentional aesthetic right from the beginning.
Adding Color to an Existing Image in Photoshop
If you want to change the background color of an existing image in Photoshop, follow these steps:
Navigate to the Layers Panel:
Open the Layers panel in your design where you'll make the necessary adjustments.
Create a New Filter Layer:
Start by creating a new filter layer to change the background color.
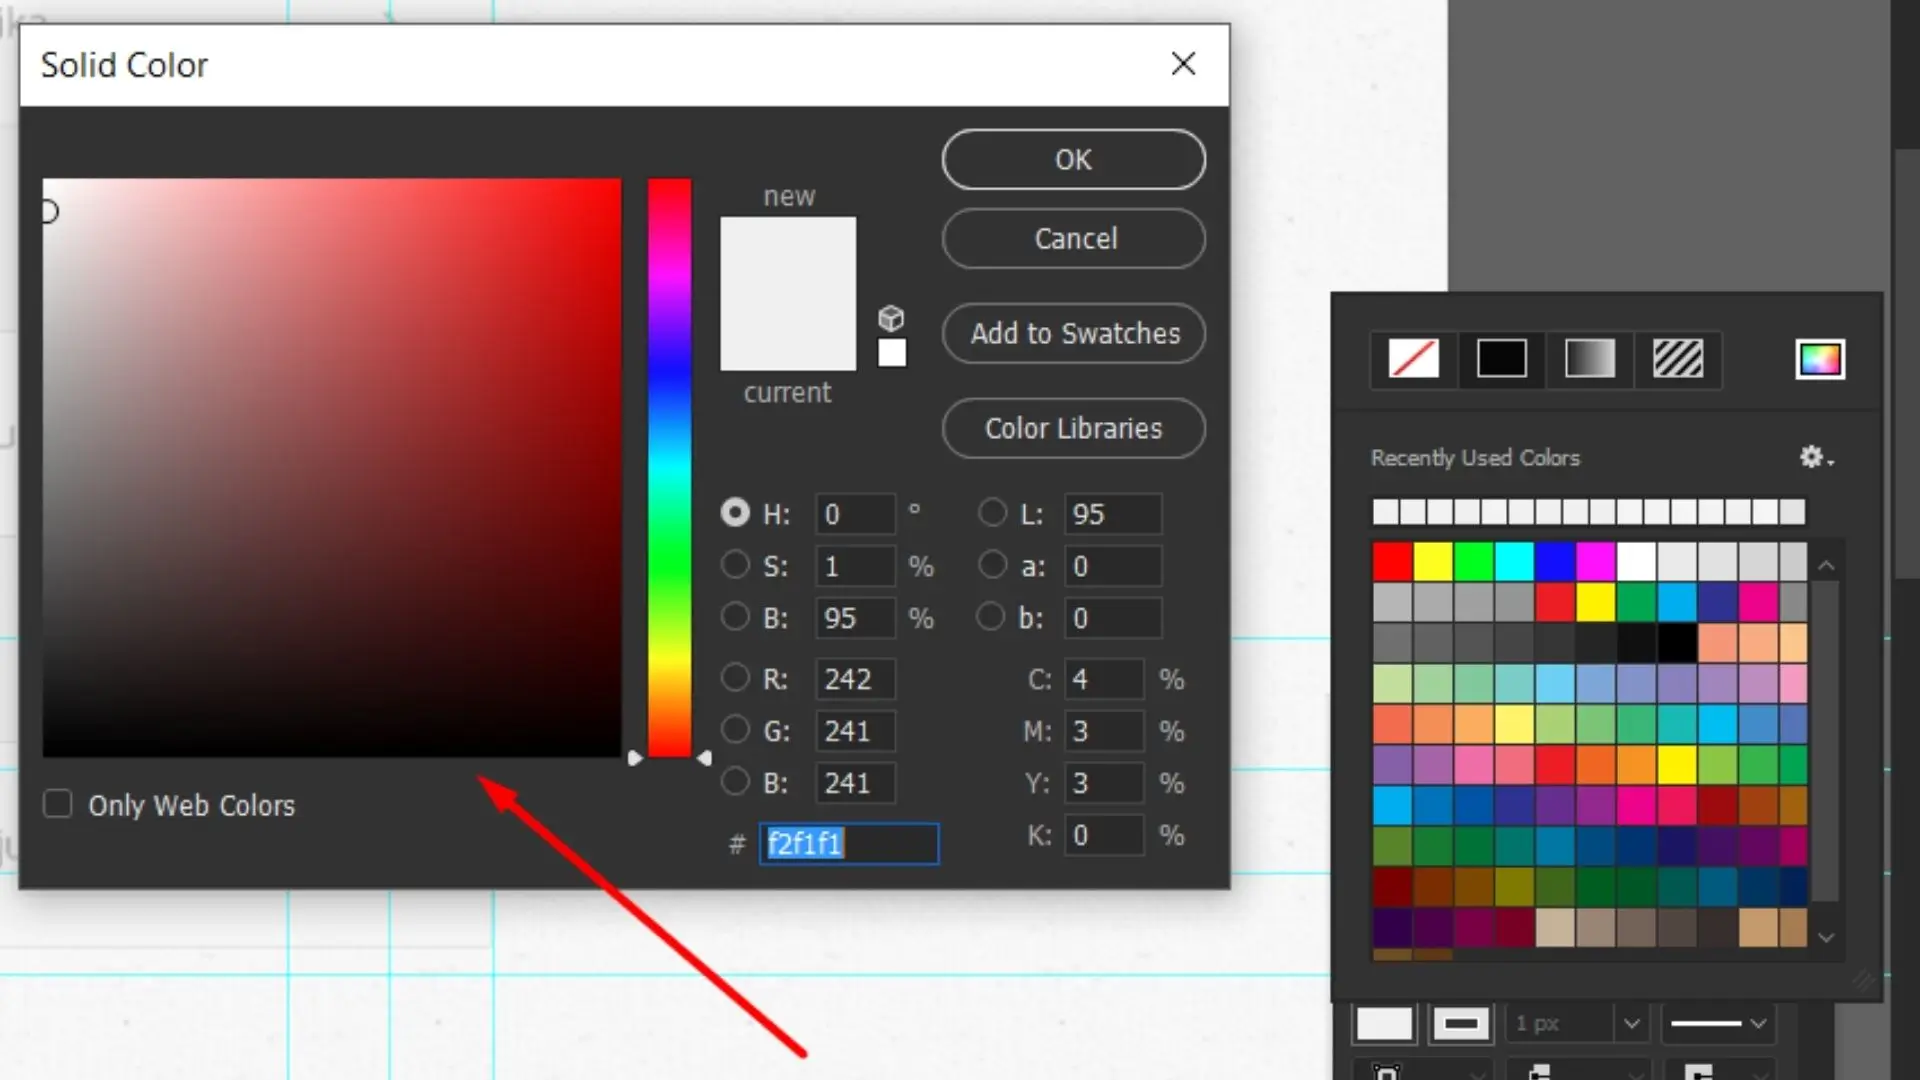
Right-Click for Solid Color:
Right-click on the new filter layer and choose Solid Color to introduce a vibrant hue to your background.
Name Your Layer:
Give your new layer a name for easy reference and organization in your project.
Select a Color from the Palette:
Choose a color from the palette window that aligns with your creative vision. This color will become the new background color for your image.
By following these steps, you can breathe new life into your designs, effortlessly changing the background color and creating visually striking compositions. Whether you want subtle enhancements or bold transformations, this method allows you to infuse your images with a personalized and captivating color palette.
The Magic of Layer Masks: Effortless Background Changes in Photoshop
Layer masks are a powerful tool in Photoshop that make background changes easy, even with non-transparent images. This technique, known as nondestructive editing, lets you alter background colors without affecting the foreground, preserving the integrity of your images.
With layer masks, you can make portions of the image visible or transparent without permanently deleting any information. This flexibility allows for precise editing and seamless background changes.
Foreground Selection:
To use layer masks for background changes, select the foreground subject using tools like the Quick Selection tool or Magic Wand. Highlight the subject you want to keep in focus.
Inverting the Mask:
After selecting the subject, apply a layer mask and choose Invert Mask from the menu. This step reveals the background while preserving the selected subject.
Precision with Brush Tool:
Use the Brush tool for finer adjustments to the mask. This tool lets you reveal or conceal parts of the image with precision, giving you complete control over the background changes.
Embrace the simplicity and precision of layer masks in Photoshop for effortless background color alterations. This nondestructive approach ensures that your creative decisions are flexible and easily reversible, opening up endless possibilities for your visual storytelling.
Masterful Background Editing: Unveiling Photoshop's Layer Masks and Selection Tools

Discover the power of Photoshop's layer masks and selection tools for background editing. Learn how to refine backgrounds with non-destructive editing techniques and unleash your creativity with precision using these essential tools.
Start by using the Select Subject tool in Photoshop to quickly highlight the main subject in your image. Let Photoshop's AI do the work for you with just one click!
Discover the Object Selection Tool
Make selections effortlessly with the Object Selection tool in Photoshop. This tool simplifies the process, whether you're selecting people, cars, furniture, pets, or clothes. Click to confirm your selection and streamline your editing process!
Perfect Your Selection with the Select and Mask Workspace
Refine your selections with Photoshops Select and Mask workspace. Use tools and sliders to fine-tune your selection, smooth out edges, and eliminate color fringes for a polished finish.
Enhance with the Brush Tool: Achieving Seamless Blending
Use the Brush tool to blend your subject with a new background or achieve crisp edges. Adjust the brush opacity for gradients or defined edges, revealing or concealing parts of the image with precision.
Mastering Background Color Changes in Photoshop: A Comprehensive Guide
Introduction
Hey there! Are you ready to learn how to change the background colors in your images using Photoshop? This guide will show you different methods to make quick adjustments or precise modifications. Whether you're using a Windows or macOS computer, you can follow along and transform the background colors of your pictures like a pro!
Step 1: Selecting the Background
1.1 Use the Magic Wand Tool
If you want to quickly select parts of the background that are different from the foreground, the Magic Wand tool is your go-to. Just click and hold Shift to select different areas of the background easily.
1.2 Try the Lasso Tool
For a more detailed selection, check out the Lasso tool. You can choose from different variations like standard, Polygonal, and Magnetic to draw around the background elements with precision.
1.3 Explore the Masking Tool
If you want super precise selections, the Masking tool is your best friend. You can paint your selection with a brush for meticulous adjustments and combine it with other methods for even better results.
Step 2: Changing Background Color
2.1 Change Hue
To change the overall color palette of the background while keeping the lighting levels intact, press Ctrl+U to access the Hue and Saturation menu. Adjust the Hue slider to see the magic happen!
2.2 Paint Over It
If you want a solid color background or a gradient effect, create a new layer, select the Fill Tool, and start painting within your selection. It's easy and fun!
These techniques offer a wide range of possibilities for transforming background colors in your images. With Photoshop, you can let your creativity shine and make your pictures stand out!
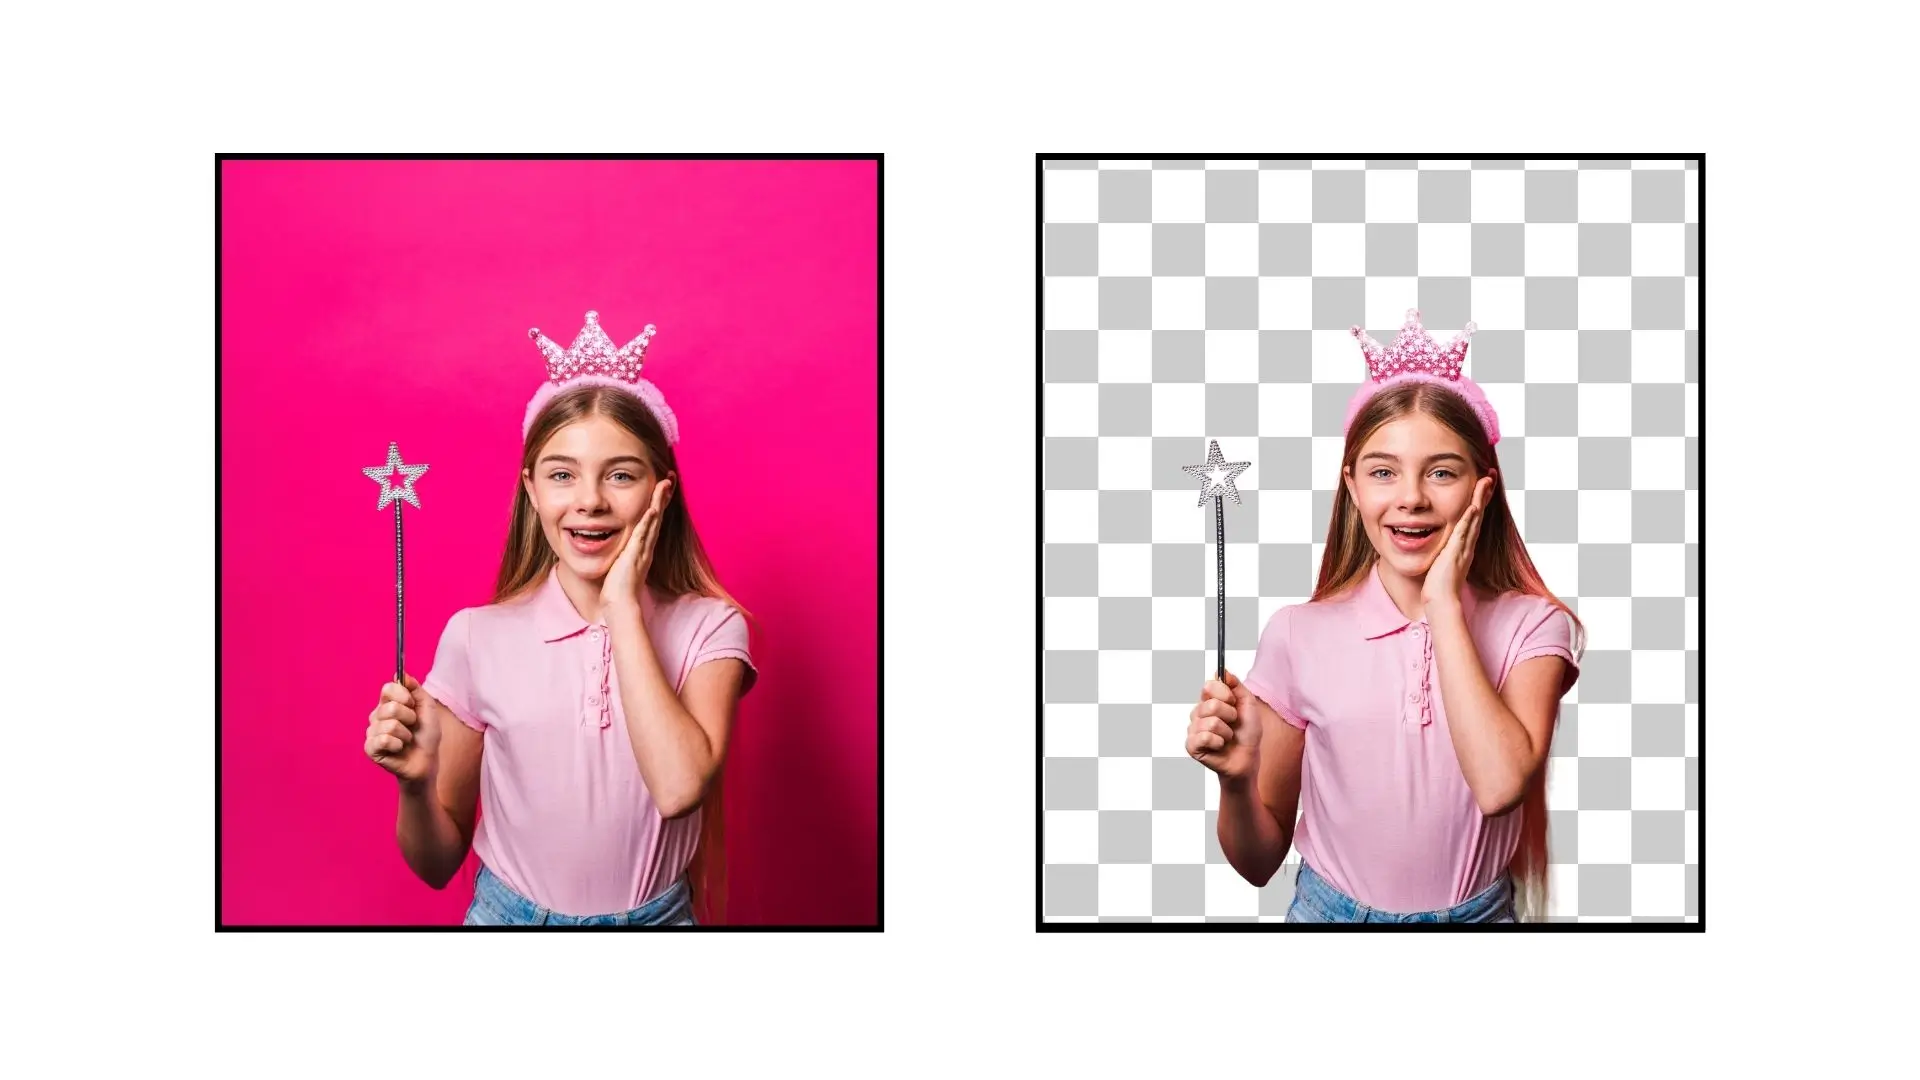
How to Change background using Photocut?
Changing backgrounds in your images can be a breeze with Photocut. Let's walk through the steps to make it happen!
Step 1: Visit Photocut
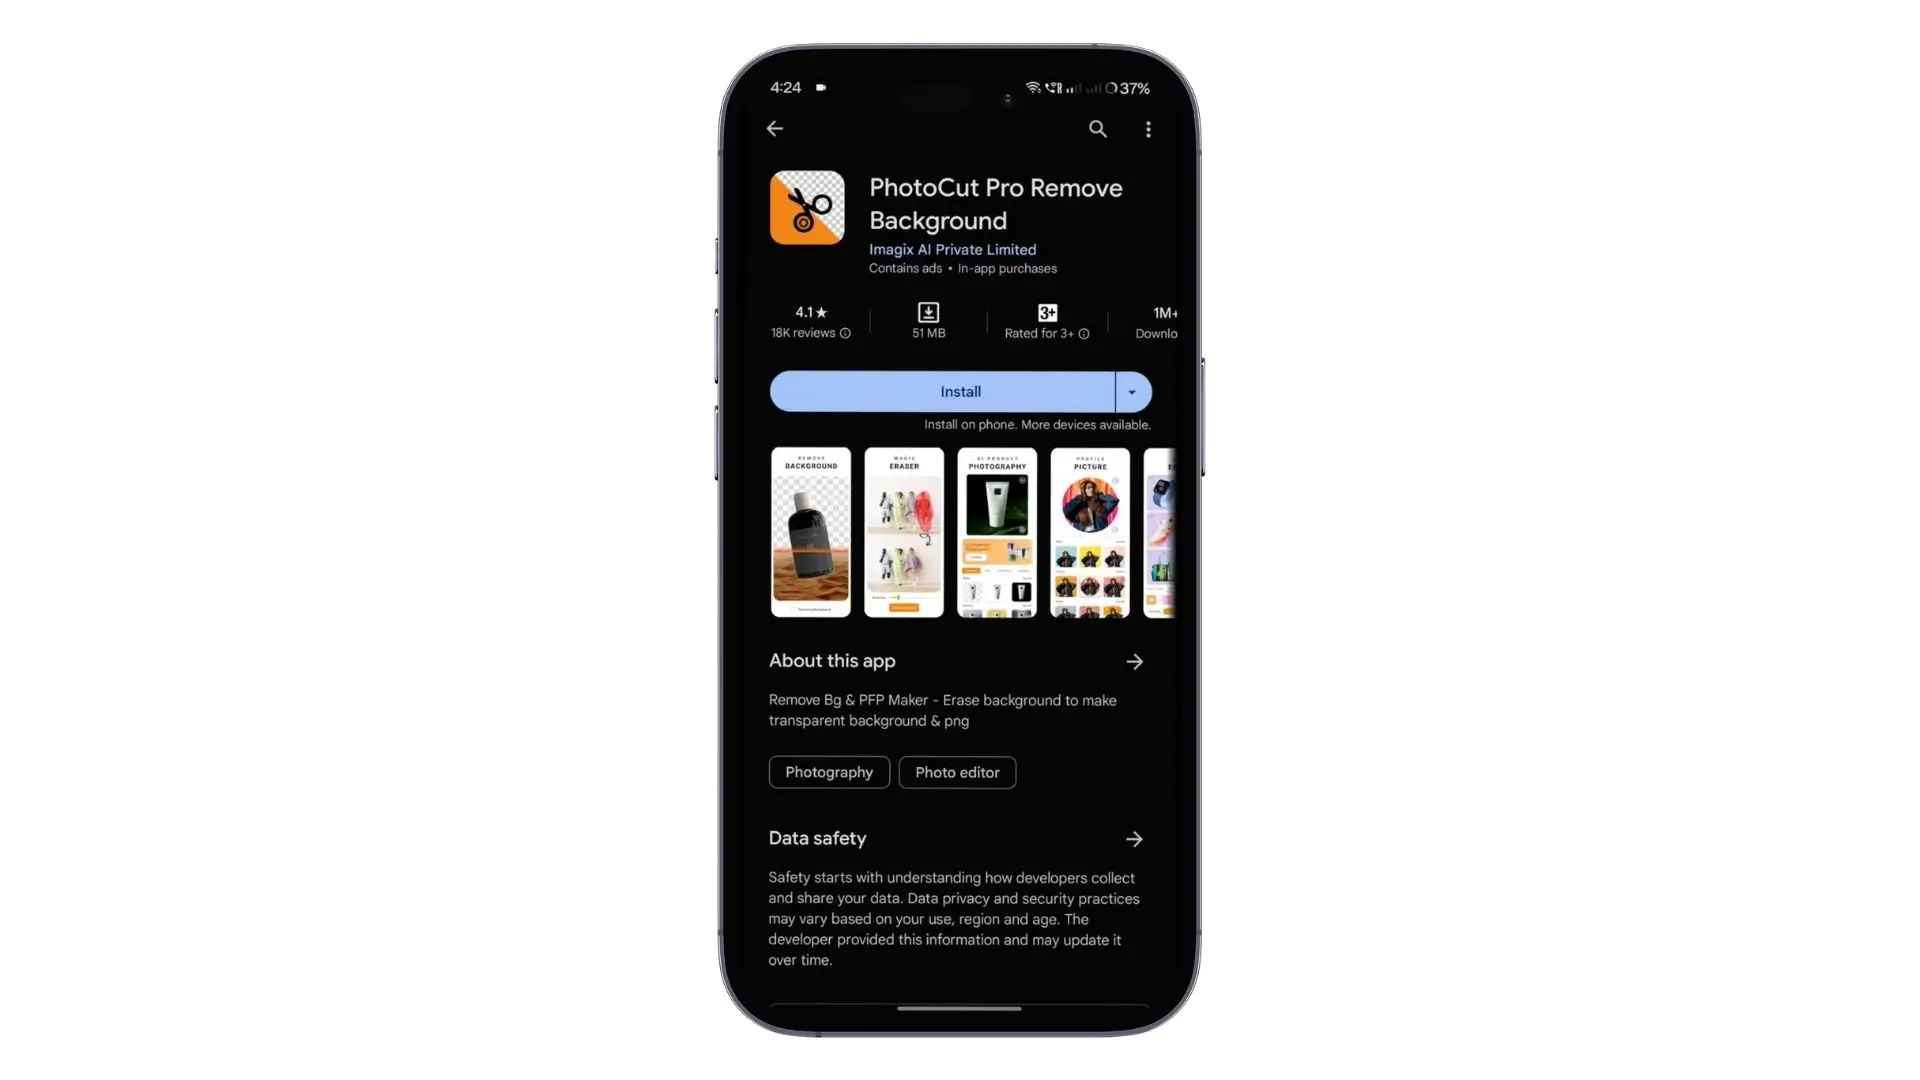
Head over to the Photocut website to access their background removal tool. It's user-friendly and perfect for beginners and pros alike.
Step 2: Upload Your Image
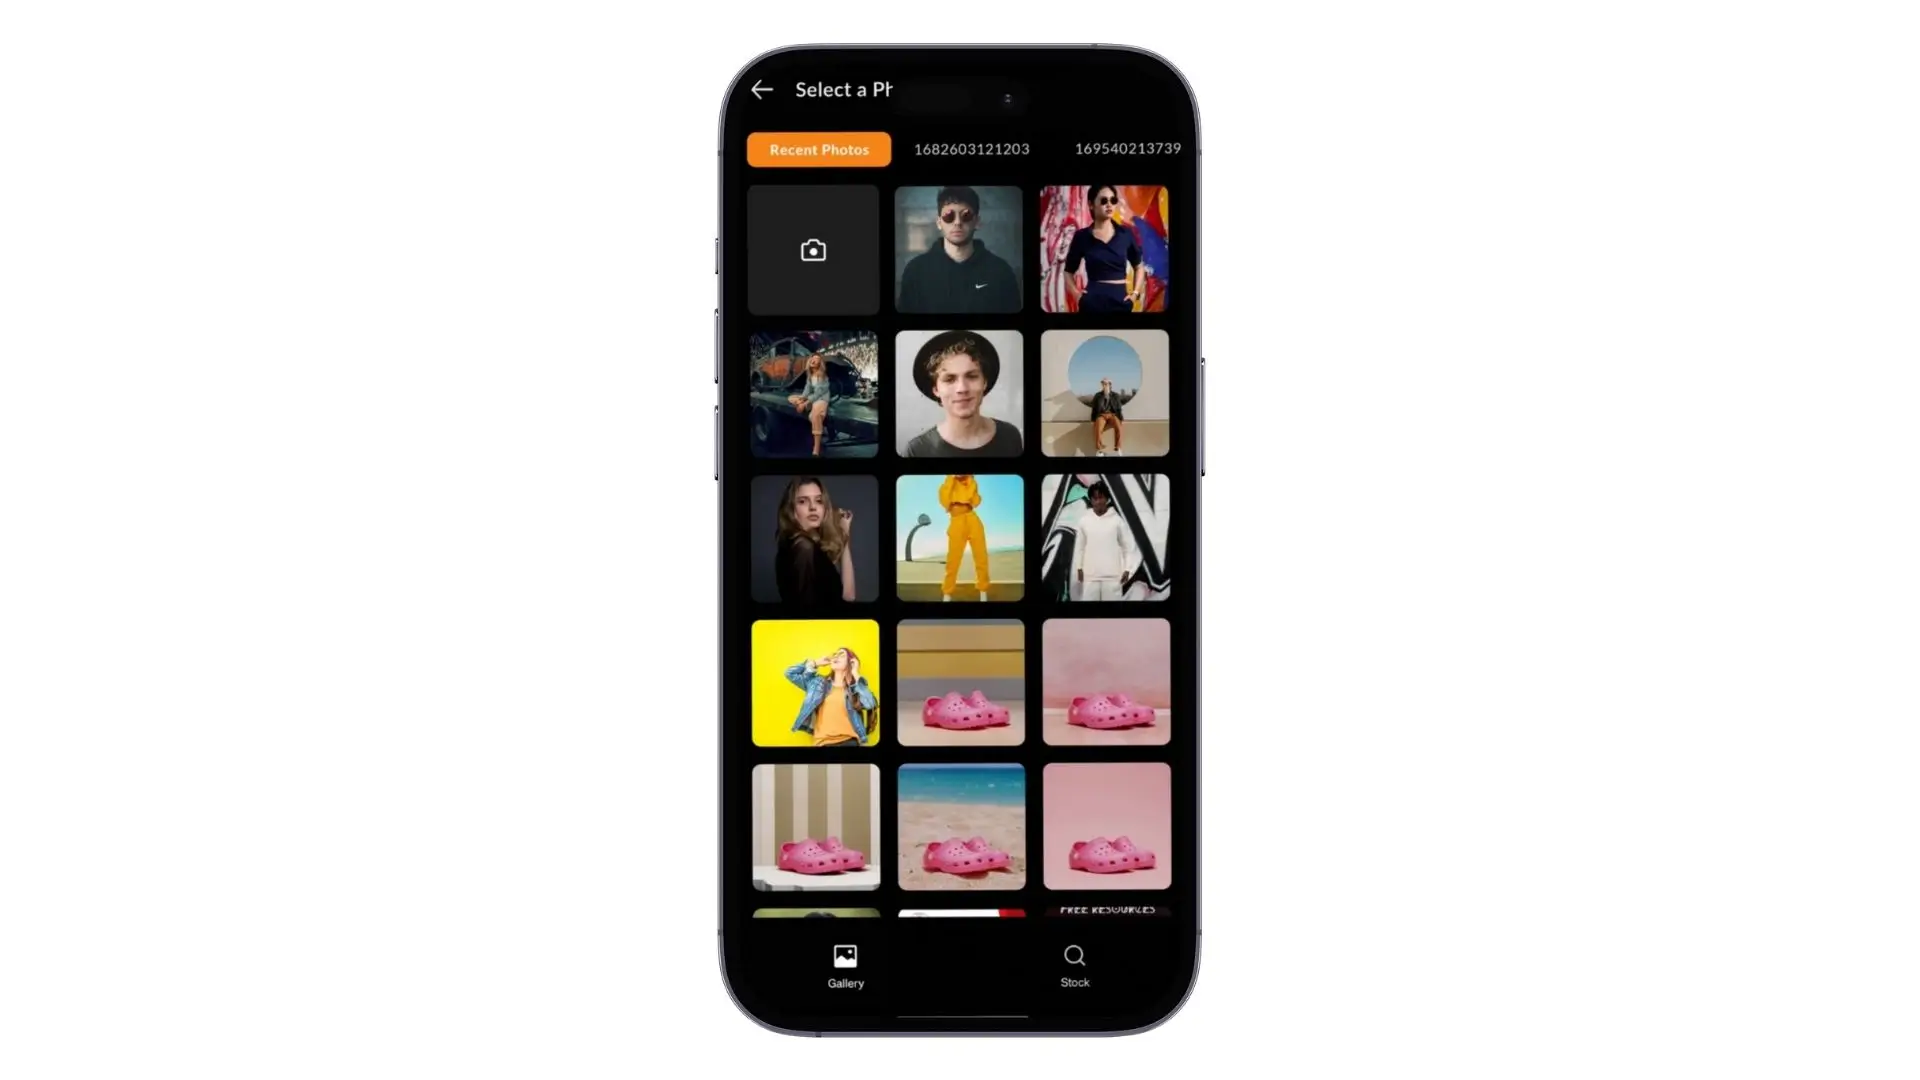
Drag and drop your image onto the site or select it from your device. Photocut's AI algorithms will work their magic and remove the background, leaving your subject front and center.
Step 3: Refine Your Result
Use the eraser tool to make detailed adjustments or bring back parts of the background if needed. Photocut gives you options to fine-tune the removal process for a perfect result.
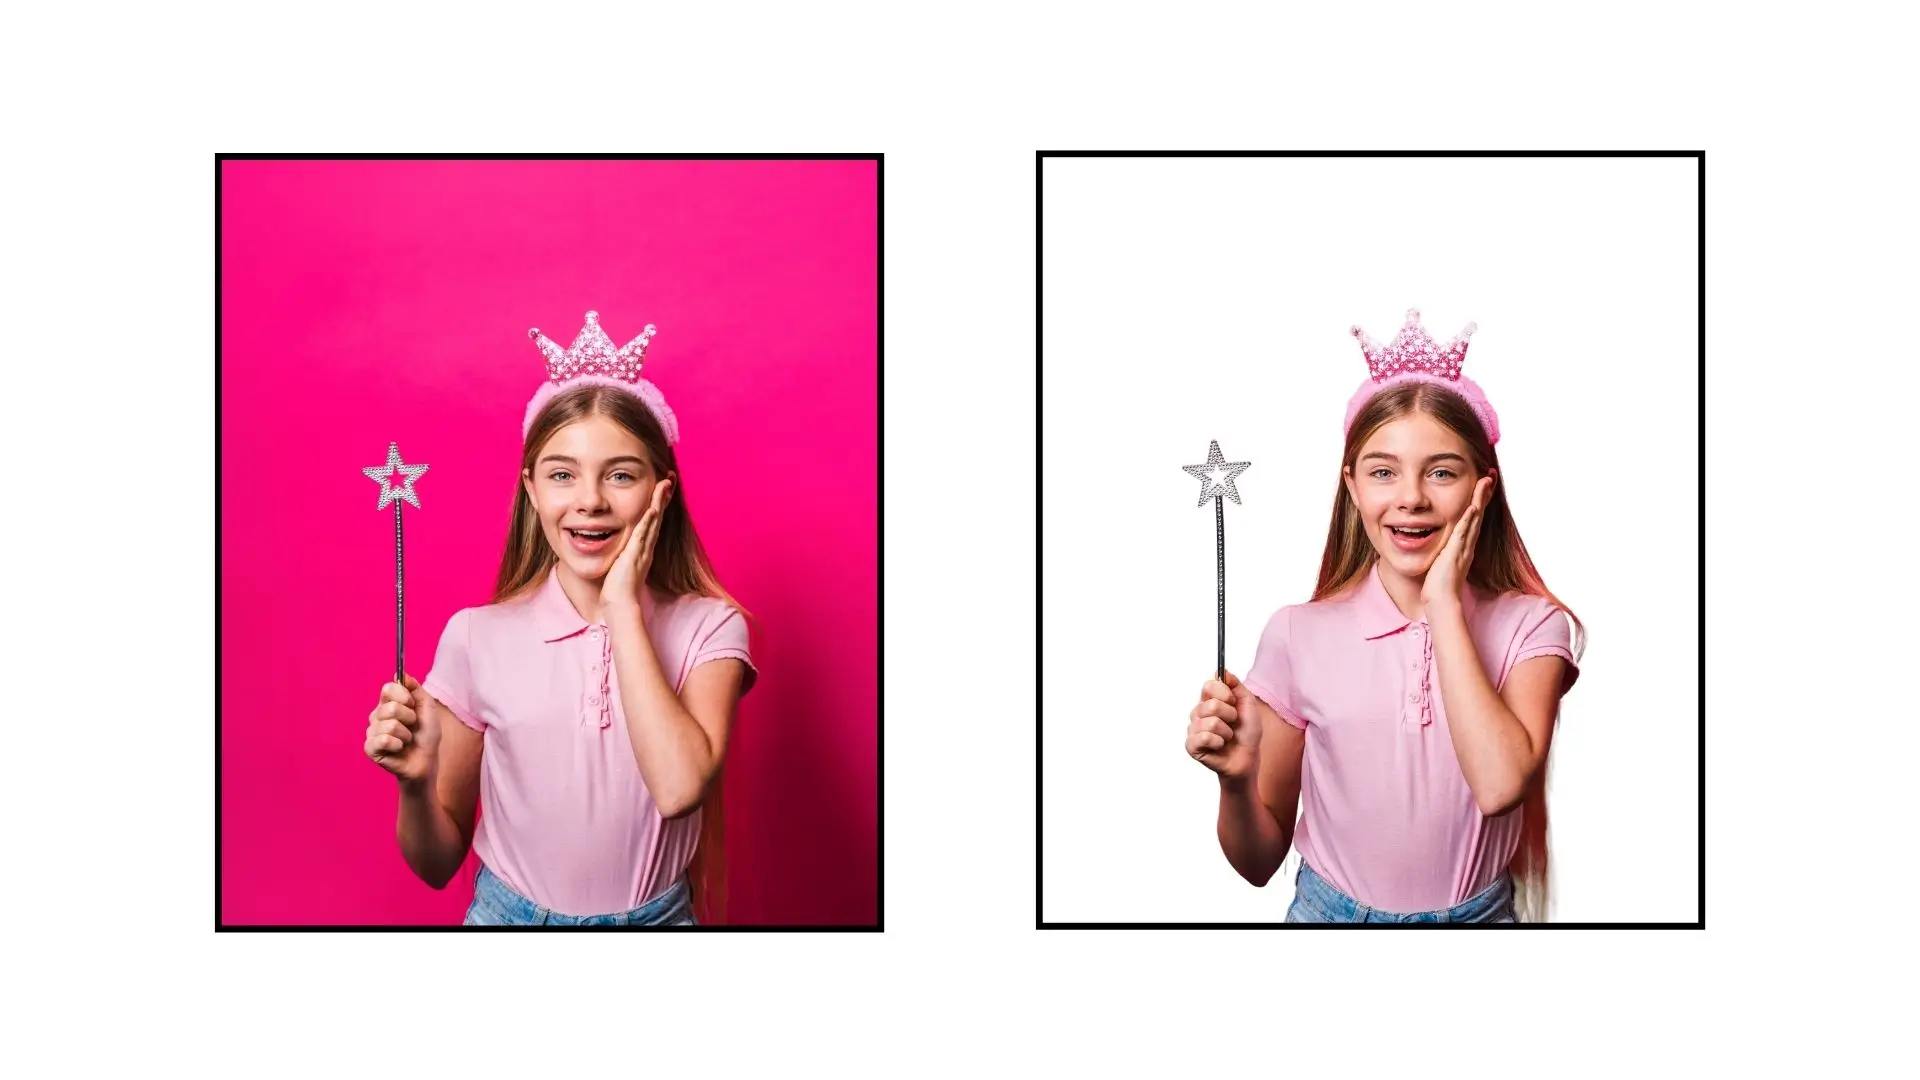
Step 4: Select a New Background
After removing the background, choose a new one from Photocut's gallery or upload your own. You can customize the backdrop to fit your style, whether it's a solid color, a gradient, or a specific image.
Step 5: Download Your Transformed Image
Once you're happy with the changes, download your newly transformed image with the updated background. Photocut supports common image formats like JPEG and PNG, so you're all set!
With Photocut, changing backgrounds is easy and fun. Whether you're a photographer, designer, or content creator, you can take your images to the next level with this handy tool.
FAQs
Q1. How do I quickly select the background in Photoshop?
Ans. Use the Magic Wand tool for swift selections, especially when there are clear differences between the foreground and background.
Q2. What if the Magic Wand tool isn't precise enough for my background?
Ans. Try the Lasso tool variations for a more detailed selection tailored to your image.
Q3. How can I achieve super-precise background selections?
Ans. Opt for the Masking tool for meticulous adjustments and precise background selection.
Q4. Once I've selected the background, how can I change its color in Photoshop?
Ans. Access the Hue and Saturation menu by pressing Ctrl+U and adjust the Hue slider to change the color palette.
Q5. Can I create a blank color background in Photoshop?
Ans. Yes, create a new layer, select the Fill Tool, choose your color, and start painting within your selection.
Q6. Is there a way to remove the background color entirely before adding a new one?
Ans. Convert the image to grayscale, then use the Hue and Saturation menu to add color back with a uniform background color.
You might also be interested in


FAQ’s
I recommend checking out our detailed step-by-step guide on How to Use a Free Photo Editor. It covers everything from downloading and installing to using the essential tools and techniques for enhancing your photos.