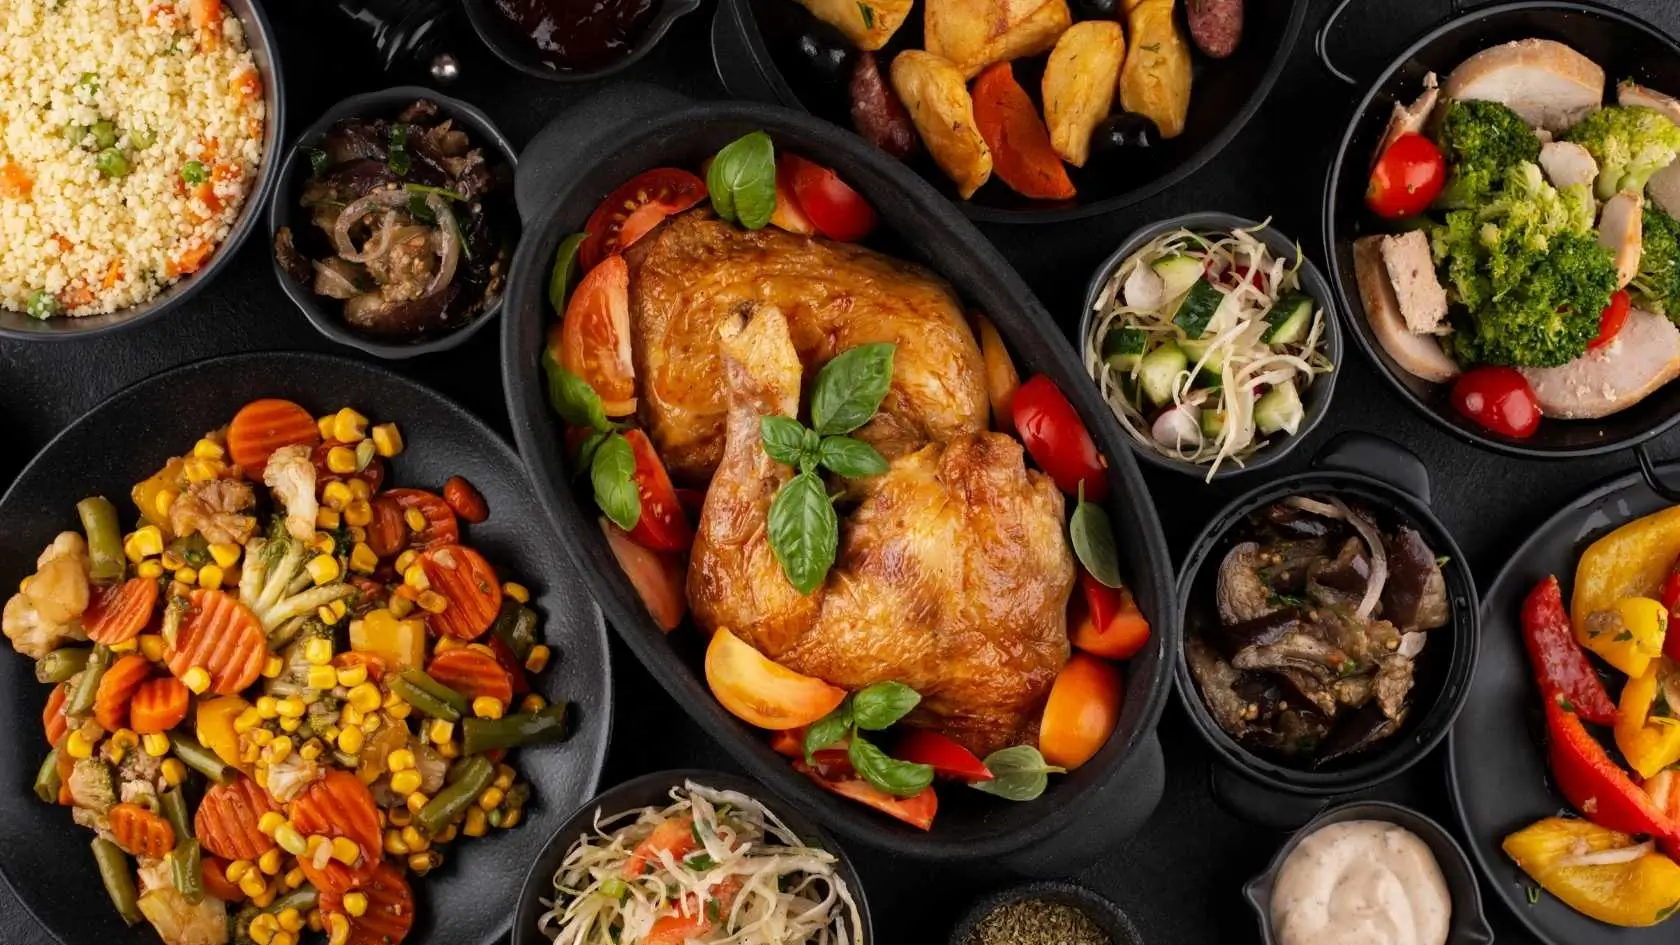
Food Photography Tips for Middle Schoolers
Enhance your food photography skills with our tips designed for middle schoolers. Learn how to capture delicious moments behind the lens!
Download the app, NOW!


.png)

.png)


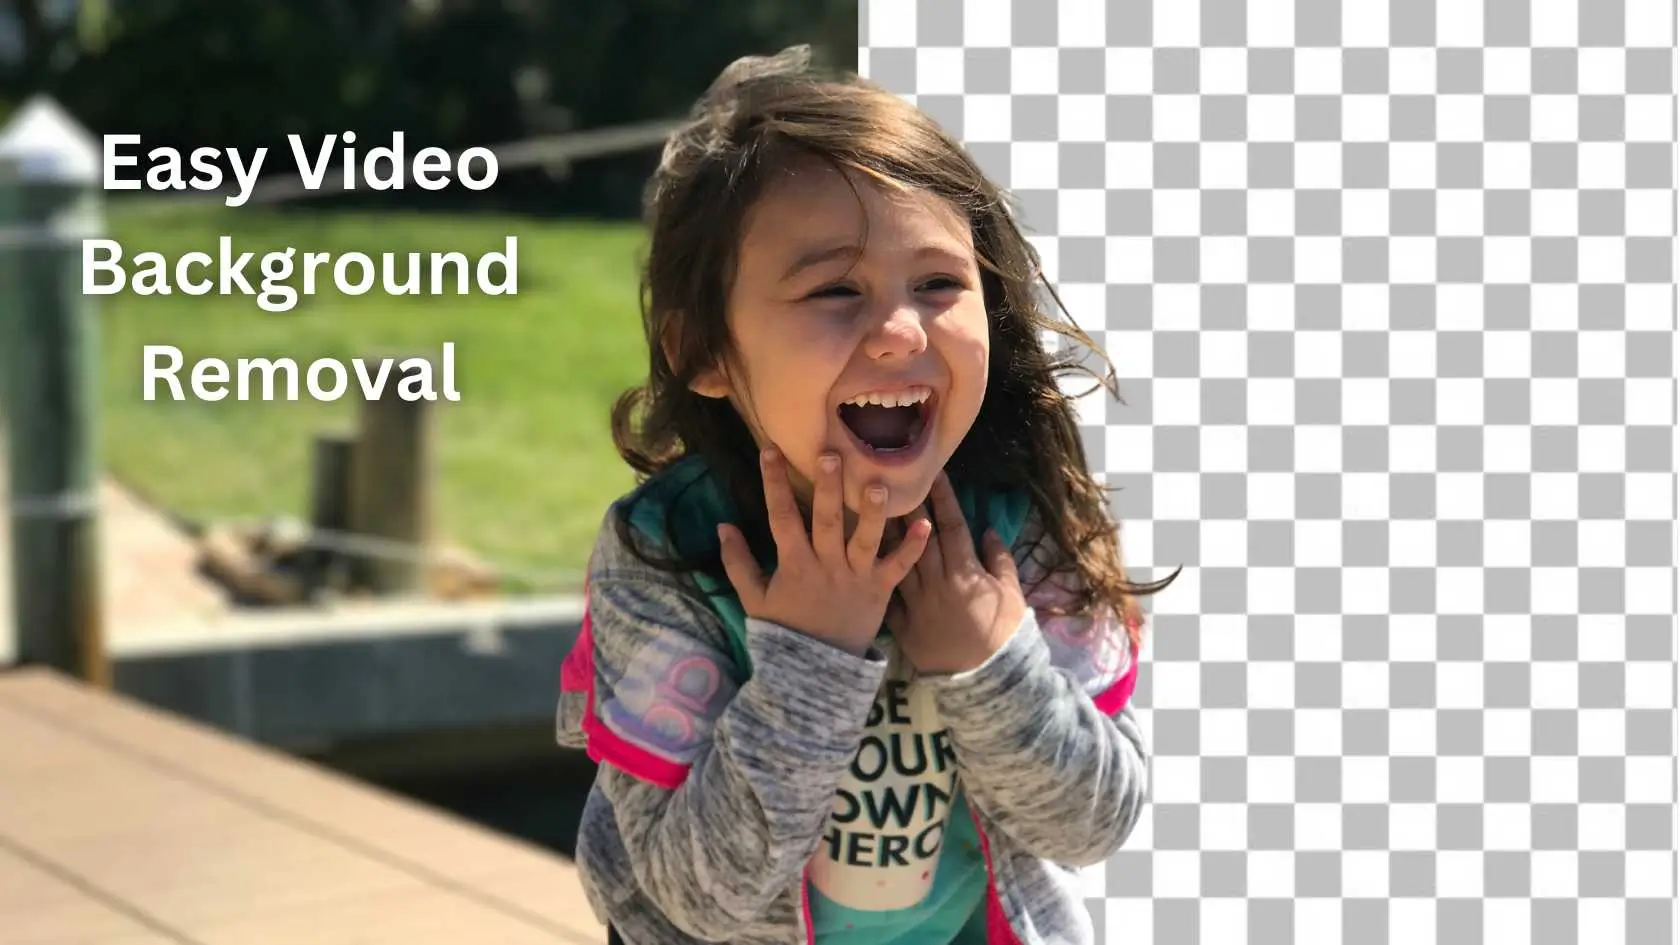
PhotoCut - A Game Changer!
Explore endless tools and templates at your fingertips to customize your new image using the PhotoCut app. They love us. You will too.
.webp)
CAPTAIN SYKE

So much easy to use than the other apps that I have encountered. I'm so satisfied. I fished to clear the background less than a minute! Keep it up🙌🏻
.webp)
Lee Willetts (Dr.Drone Doomstone)
Great app, used alongside text on photo, you can create some great pics. Hours of fun.
.webp)
Bran Laser
I always erase and cut something with this it is very op there is no bug and I made a picture for my channel very nice install it now!
.webp)
ZDX Gaming
The Best Photo Editor .. Not Many Can Actually Cut Pictures Perfectly Like this App been looking for something like this for a long time 💔😂 Nice App I recommend it Giving it 5 star
.webp)
Small Optics
Best app of this type out there, it does nearly all of the work for you.. Great work developers.
.webp)
Emilia Gacha
It's really useful and super easy to use and it may be the best background eraser app!
.webp)
kymani ace
This is a really nice app I love how it let's me do lots of edits without paying for anything and there isn't even a watermark, very good app.
.webp)
Nidhish Singh
Excellent apps and doing all the work as expected. Easy to use, navigate and apply to any background after cut out.
.webp)
Adrian
Been using this app for many years now to crop photos and gotta say, really does what it's supposed to and makes photo's look realistic. Recommend it very much.
.webp)
Indra Ismaya
Easy to use, very usefull
.webp)
Barbie Dream
I love this app! You can edit and change the background i been using it for months for my video! Keep it going.
.webp)
Kaira Binson
Ouh..finally i found a good app like this..after instalking 6-8 apps ..i finally get the right one...easy..free...so cool...but maybe pls..adjust your ads..in this app..thanks☺
.webp)
Tara Coriell
I payed for premium but it was only a 1 time payment of 5.29 and I love this app. There are a lot of nice features

Engels Yepez
Great app for edit photos, it include an interesting IA function for apply effects to your pics

Azizah ahmad
This apps is awesome compared to other photo cut apps. I have tried several photo cut apps but all of them was bad. And finally i found this app, super easy to use, have feature smart cut and smart erase. Awesome !!
.webp)
Galaxy Goat
The app is incredible! I erased a background and added it into a new background in less then 20 seconds. Normally it takes 10-20 minute's on other apps. Highly recommend
.webp)
Victor Maldonado
I been having a few issues with app can't zoom in like before and its not like it use to what happen i paid for this app not liking the new upgrade
.webp)
Lynsiah Sahuji
more accurate in removing background, didn't required so much effort. love this! ❤️


Food Photography Tips for Beginners
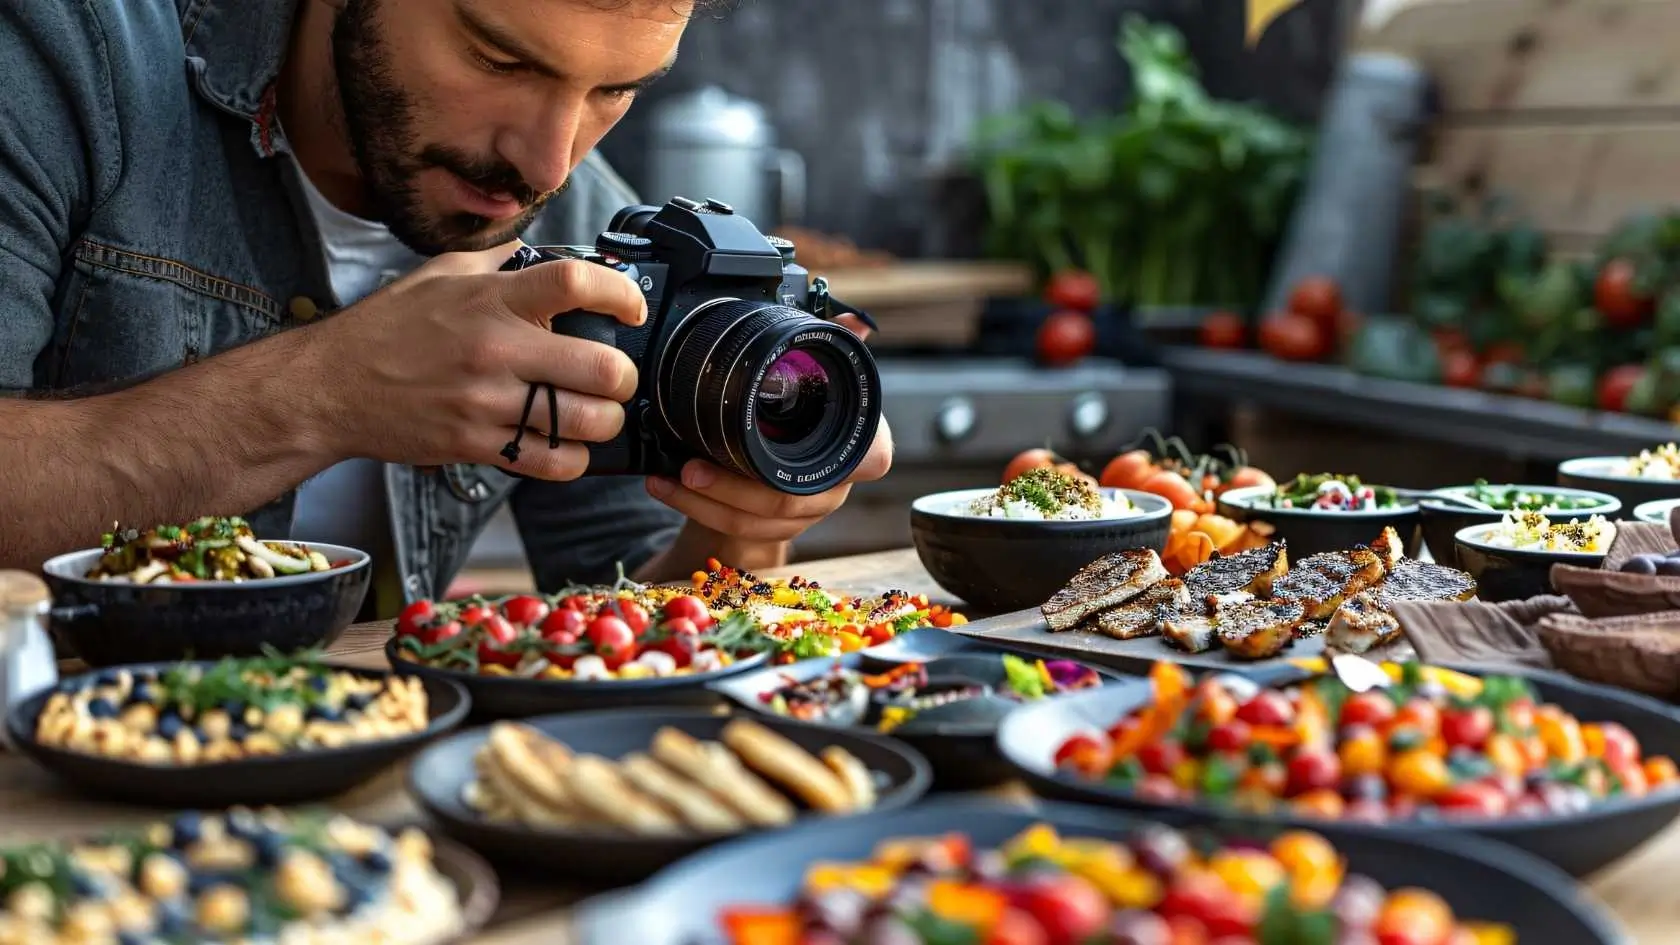
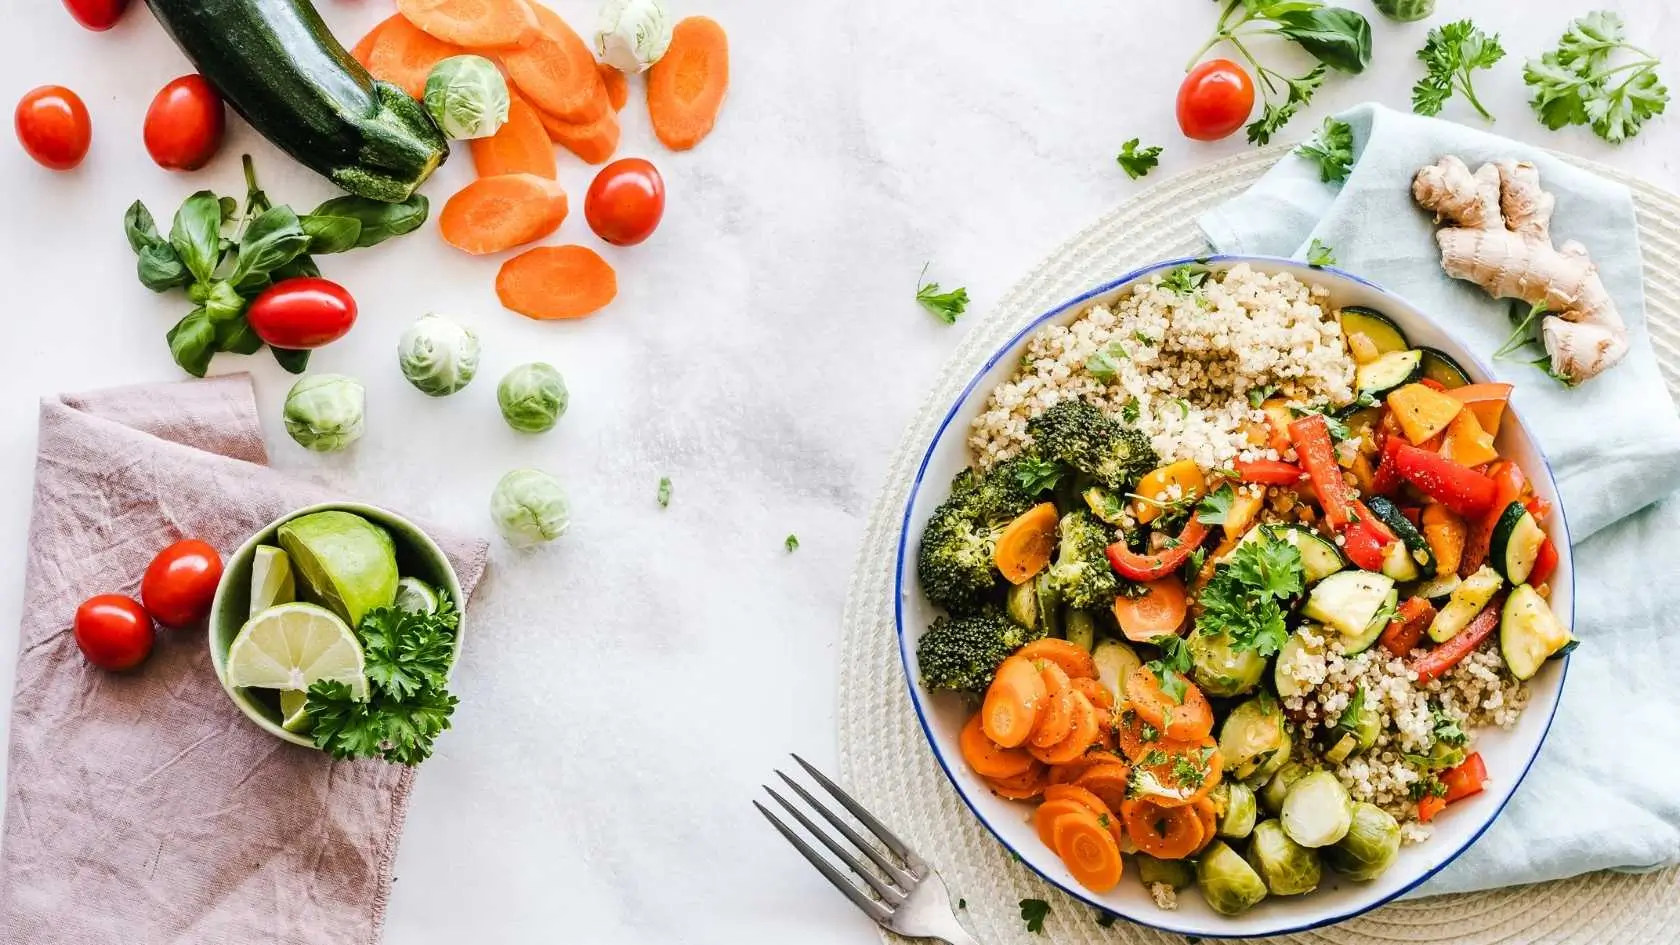
Food photography may seem easy, but there are some important things to keep in mind to take great photos. Whether you're a pro or just want to show off your cooking skills on social media, these tips will help you capture amazing food photos.
Using Harsh Artificial Light
Lighting is super important in food photography. Some people like natural light, while others prefer artificial light for consistency. Avoid using direct flash or overhead tungsten light. Instead, bounce light onto the food using a reflector for the best results.
Not Using Fresh Ingredients
Make sure your ingredients are fresh and in good shape. Dried lettuce or smashed tomatoes can ruin a photo, so use fresh foods for the best results.
Setting The Light On Different Sides
Experiment with different lighting setups like front lighting, side lighting, and backlighting to see what works best for each dish. Backlighting can be tricky but can create a cool effect.
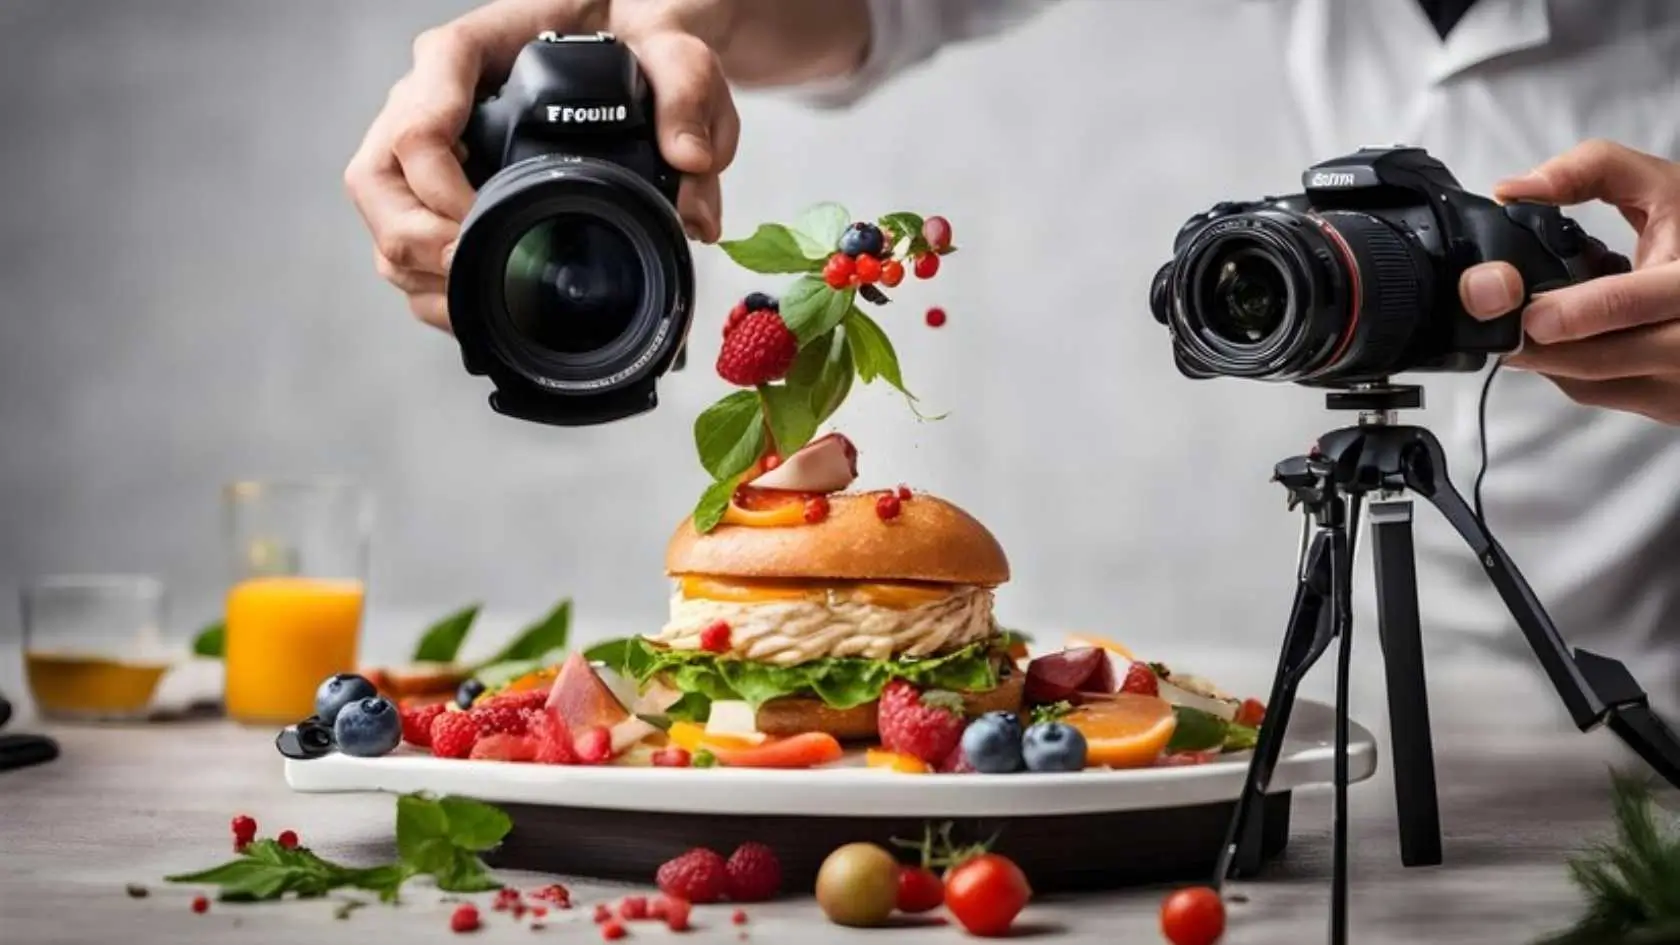
Try to take Pictures from Multiple Angles
Don't be afraid to try different angles when taking photos of food. Different dishes look best from different perspectives, so experiment and get creative!
Can Take Pictures While The Dish Is Being Cooked Too
Start taking photos while the food is being prepared, not just after it's cooked. Sometimes raw ingredients look more interesting than the final dish.
Bumping up the Saturation too much
Be careful not to oversaturate your photos when editing. Try to keep the colors looking natural and appetizing.
Not Taking Photos with Negative Space
Leave some empty space in your photos for logos or text. It can make your photos more versatile.
Using Too Much Food For Plating
Don't overcrowd the plate with food. Keep it simple so the viewer can focus on the dish itself.
Pay Proper Attention To The Props And Styling
Keep your props simple and clean. Let the food be the star of the photo. Add small details like oil or water to make the food look fresh and delicious.
Food Photography Tips for Beginners
Take Pictures Right Away
When your food is served, snap some photos before you start eating. Cutting into a cake or pie can show off the colors and textures inside, making it look even more delicious.
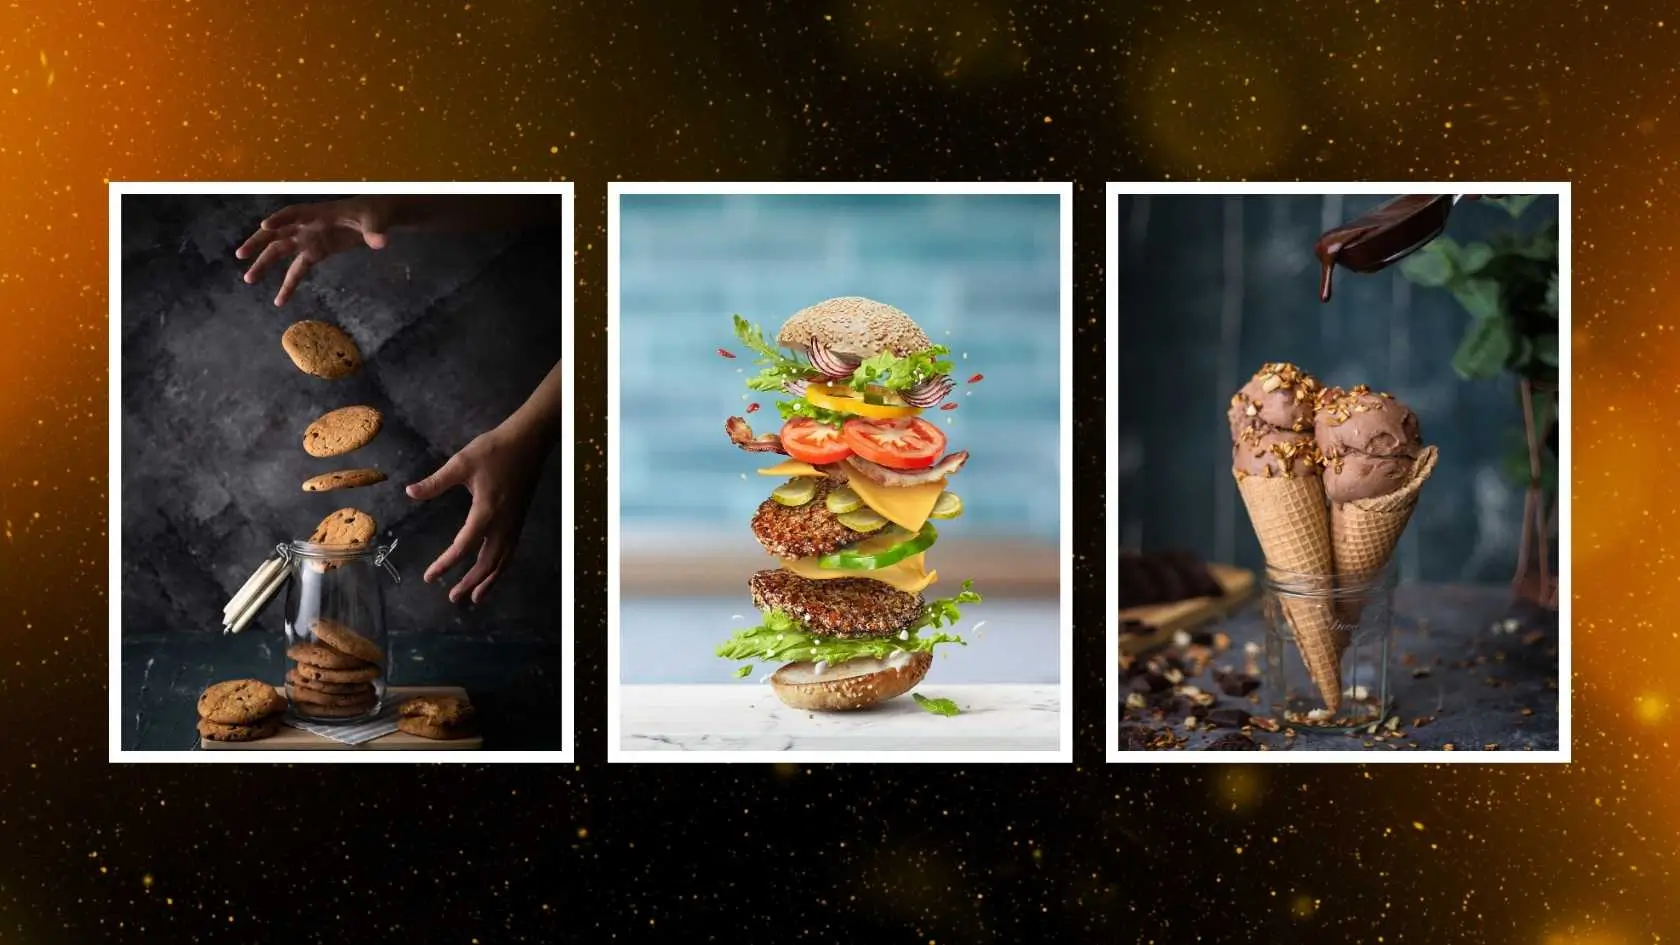
Add Movement
To make your photos more interesting, try capturing some action shots. Pouring sauce over a dish or sprinkling toppings can add life to your pictures.
Letting The Food Sit Around For Too Long
Act Quickly
Some foods, like salads and meats, can start to look unappetizing if they sit out for too long. Be ready to take your photos as soon as the food arrives at your table.
Add Depth to Your Photos
Tell a story with your photos by including props that relate to the dish. Use seasonal decorations like leaves in the fall or Christmas ornaments in the winter to add a festive touch.
Minimize Clutter
Focus on the Food
Avoid clutter in your photos by keeping the focus on the dish itself. Don't zoom in too close or include unnecessary items that distract from the main subject.
How to Style Food for Photography?

Focus on Ingredients
Highlight the key ingredients in your dish by making them stand out in your photos. Add extra toppings or garnishes to make the dish more visually appealing.
Plating
Less is more when it comes to plating food for photos. Leave room around your subject and embrace imperfections for a more natural look.
Composition
Follow basic compositional guidelines like the rule of thirds to create visually appealing photos. Use leading lines and strategic placement of props to draw the viewer's eye to the main subject.
Props
Choose props that enhance the story you're trying to tell with your photos. Avoid props that distract from the dish and opt for items that complement the food instead.
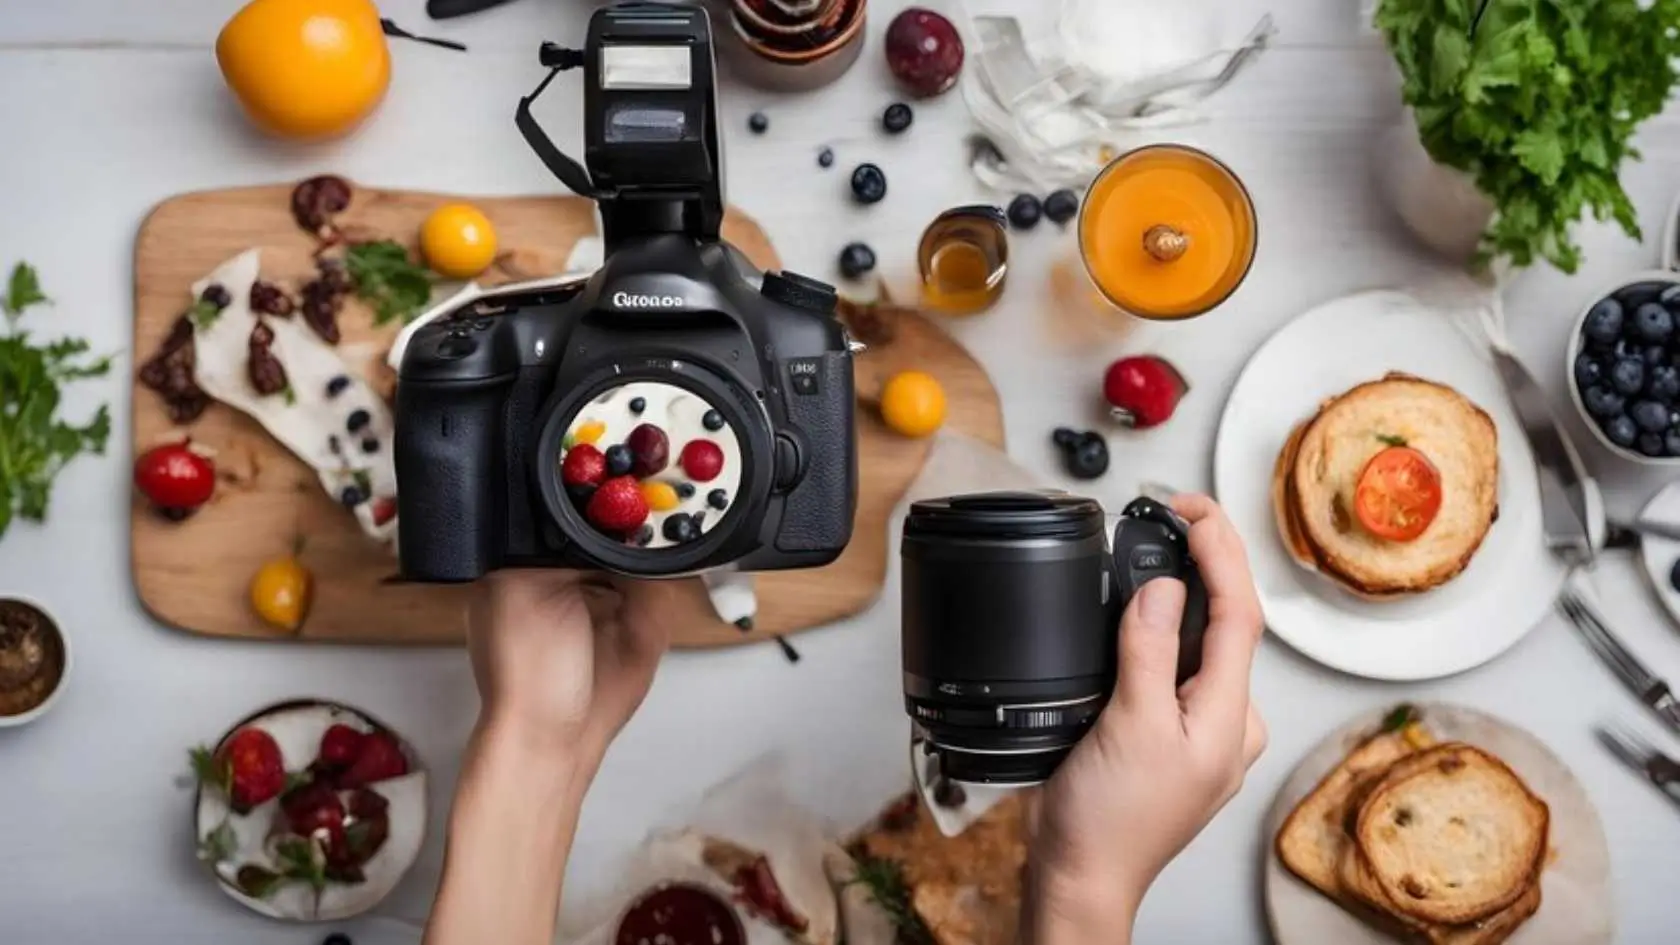
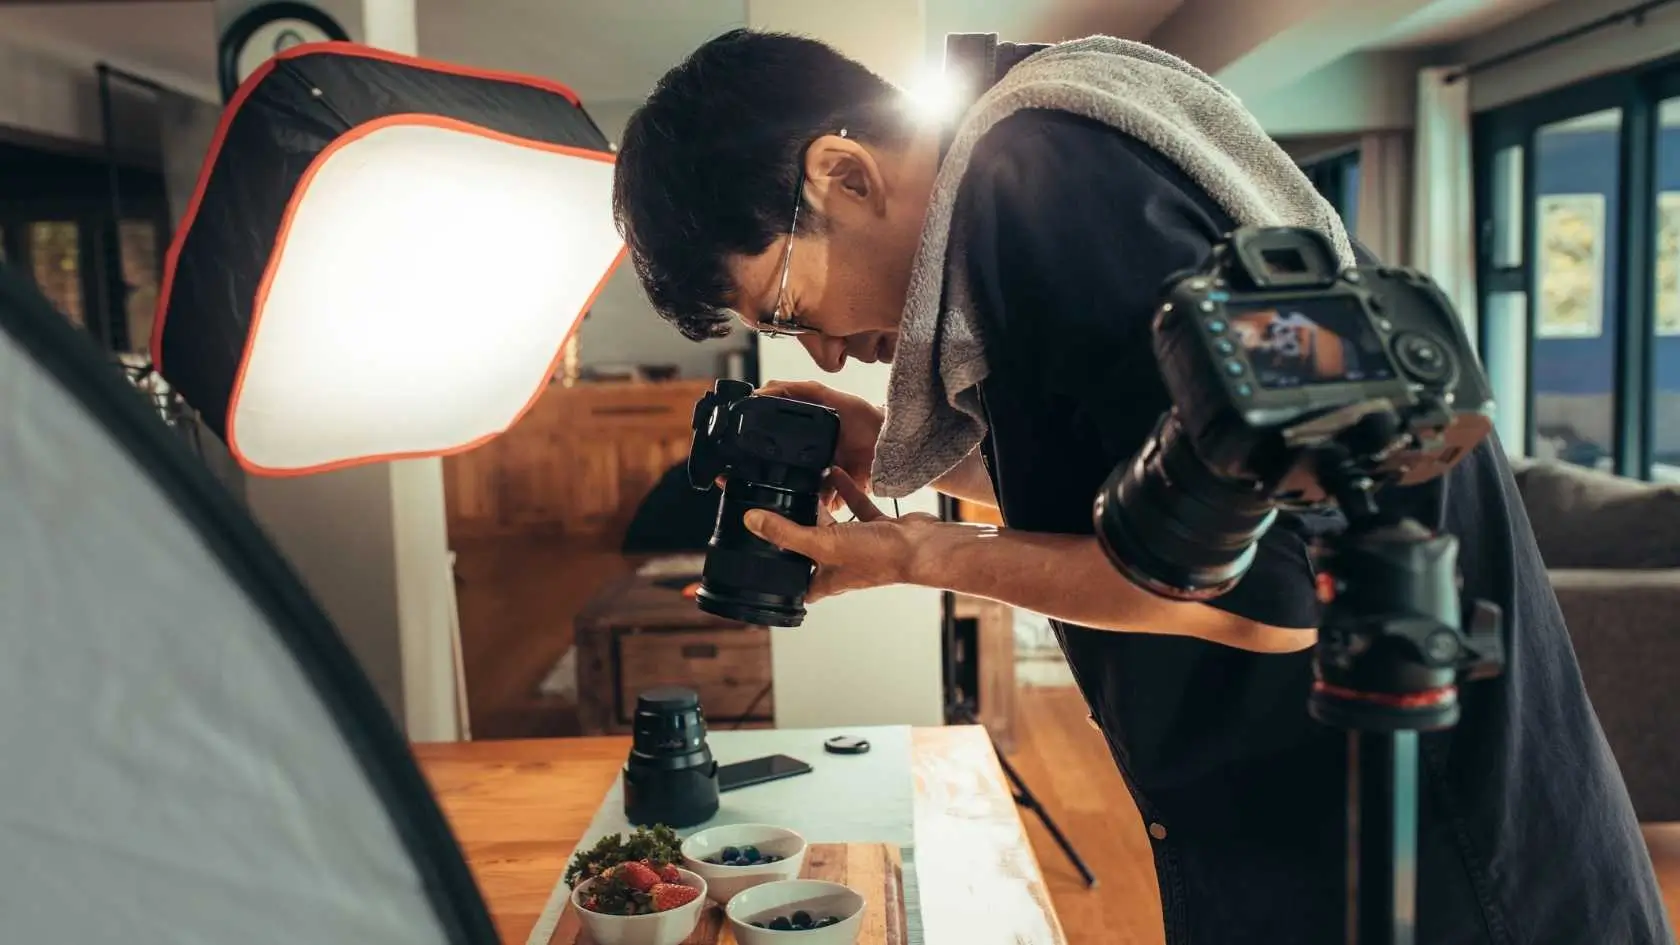
Food Photography Equipment for Beginners
Choosing the right camera
When starting out in food photography, you don't need to break the bank on an expensive camera. A simple point-and-shoot camera will do just fine. Make sure to use the macro setting, read the instruction manual, and practice taking photos. If you're deciding between a Nikon DSLR and a Canon DSLR, both brands offer great options in different price ranges.
Things to consider when choosing a camera
1. Sensor dimensions - Consider how the sensor size may affect the focal length of your lenses. 2. Maximum file size - If you plan on enlarging your photos for posters or books, choose a camera with a large file size that can capture RAW data. 3. ISO gradation - Look for a camera that can produce high-quality images at high ISO settings for low light conditions.
Choosing the right lens
The lens you use is just as important as the camera itself. Fixed lenses are recommended for food photography because they offer more control over the depth of field. Consider the crop factor of your camera when selecting a lens to achieve the desired focal length.
Essential accessories
A tripod can help prevent camera shake and allow for slower shutter speeds in low light. A reflector can also be useful for controlling lighting and making adjustments during the shoot.
Troubleshooting common issues
Blurry photos
Camera shake is a common cause of blurry photos. To remedy this, try holding the camera steadier, using a remote-controlled tripod, increasing the ISO, or using a faster shutter speed.
Color correction
Adjust the white balance in your editing software to correct any color discrepancies in your photos. Shooting in RAW format can make color adjustments easier.
Professional-looking photos
Use lenses that allow for close focusing and edit your images for contrast, levels, and sharpness to achieve a professional look.
Significance of Food Photography
Food photography is important because it can evoke memories, emotions, and cultural connections. A well-captured image of food can convey a mood or experience, making it a valuable tool for businesses and media outlets.
How to do Food Photography at Home
You can practice food photography at home with simple equipment and natural light. Use your smartphone or DSLR camera to capture beautiful images of food items. Experiment with different angles and lighting to create stunning food photos in your own space.
Exploring Different Categories of Food Photography
Commercial Food Photography
Product Photography
Product photography is all about capturing images of food products, like what you see on cereal boxes or online grocery websites. If you work for a company that sells food online, you might be asked to take product photos for their website.
Advertisements
Food businesses need photographers to create appealing images for their ads, whether it's for social media or restaurant promotions. These photos can also have a more lifestyle-focused approach, aiming to create a certain mood rather than just sell a product.
Editorial Food Photography
Recipes/Cookbooks
Cookbooks use photos to show how to make recipes and create a certain vibe. Lifestyle photography in cookbooks can also depict the process of cooking or dining together as a family.
Lifestyle
Food influencers often use lifestyle photos on social media to show how they use food in their daily lives. These photos can feature the food item in a natural setting, like a snack or dessert enjoyed with friends.
Documentary
Documentary food photography tells a story and gives insight into how food is made, where it comes from, and what ingredients are used. It's more natural and less staged than other types of food photography.
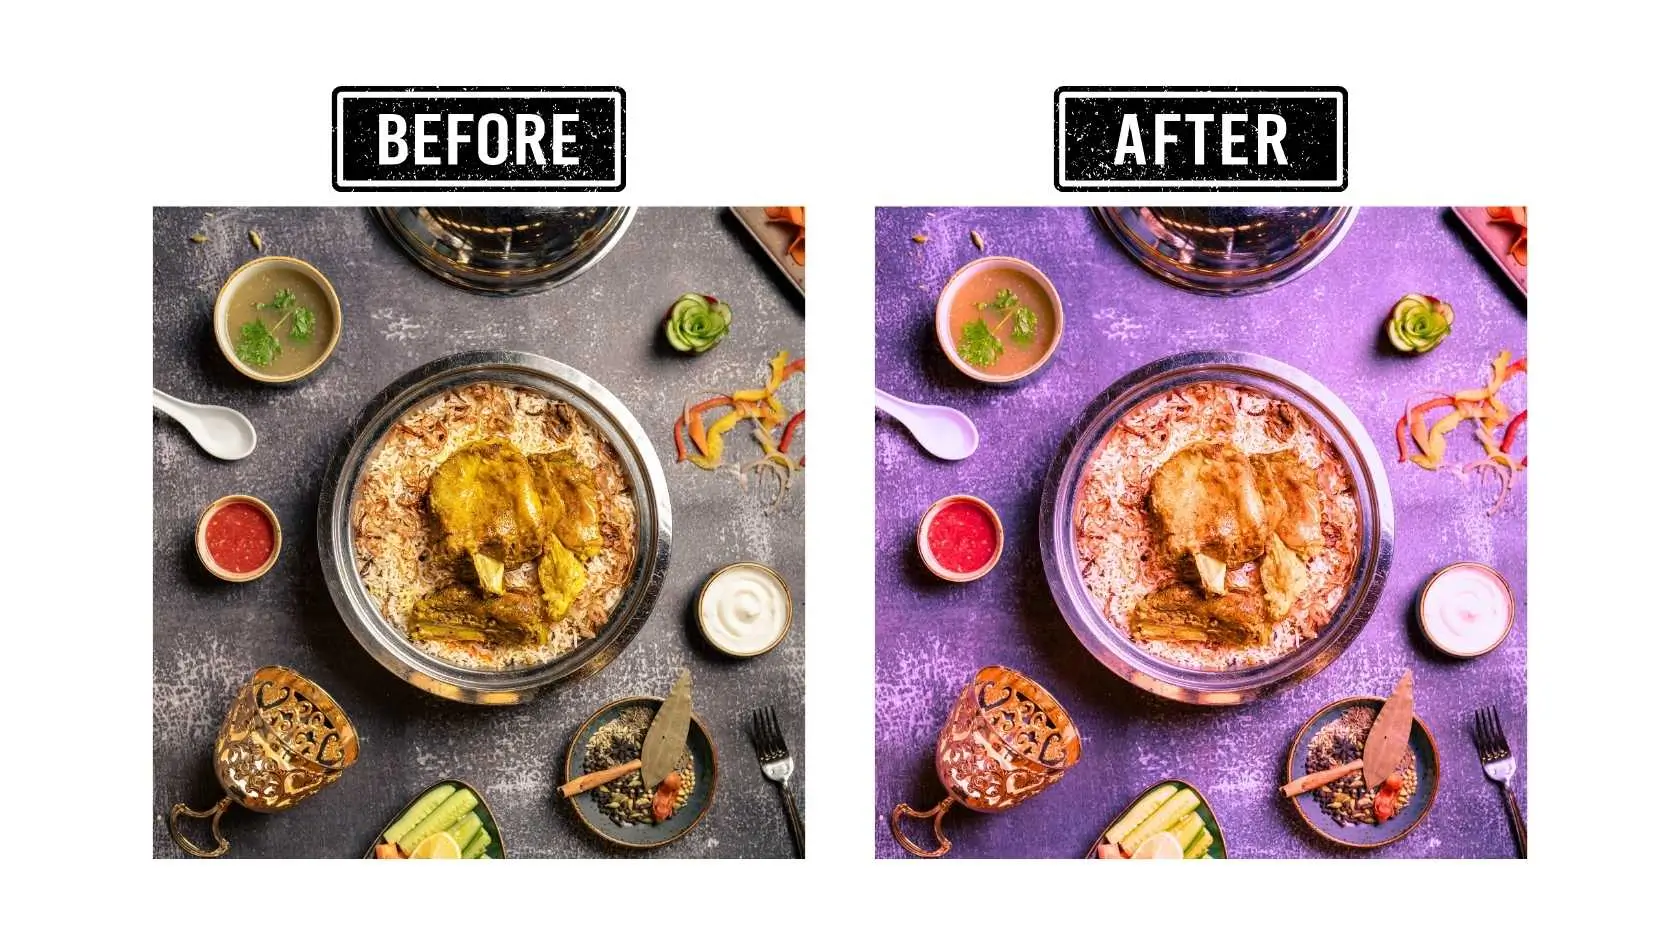
Editing and Post-Processing For Food Photography
Here are some tips for editing and enhancing your food photos:
Adjust the white balance and colors to make your food photos look more appealing. Use tools like PhotoCut to edit backgrounds and colors.
Apply filters to enhance the background of your food photos and make the food stand out. PhotoCut can help you remove, add, or change backgrounds easily.
Create a blurry background to make the food the main focus of your photo. Blurring the background can be done with tools like PhotoCut.
Change the background of your food photos to make them more interesting and clean up any clutter. PhotoCut can help you easily remove backgrounds from your photos.
Creating your Food Photography Portfolio
Having a strong online portfolio is essential for showcasing your work as a food photographer. Use a photography website builder to create a professional portfolio that highlights your style and skills.
Consider the time, tools, and licensing agreements when pricing your food photography services. Hourly rates, equipment costs, and usage rights should all be factored into your pricing strategy.
FAQs
Q1. What are 3 important food photography tips?
Ans. Lighting is key:
Ans. Good lighting is super important for taking yummy food photos. Natural light is the best, but if you can't use that, try getting a good artificial light source.
Composition matters:
Think about how you want to set up your photo and what things to include. Try different angles, backgrounds, and props to make your photos more interesting.
Keep it simple:
Focus on showing off the food and keeping distractions to a minimum. Keep the background and props simple so the food stands out.
Q2. What is important in food photography?
Ans. Lighting, composition, and simplicity are all key in food photography. Good lighting makes your photos look tasty, while thinking about how you set up your shot and keeping things simple can make your photos look even better.
Q3. What camera settings should I use for food photography?
Ans. The best camera settings for food photos will depend on the situation, but here are some general tips: - Use a low ISO setting to reduce noise and keep your photos clear. - Choose a wide aperture (small f-number) to blur the background and focus on the food. - Shoot in RAW format for more control over editing later on.
Q4. What is the best ISO for food photography?
Ans. The best ISO setting for food photos will vary, but it's usually best to use a low ISO to keep your photos looking good. A range of ISO 100-200 is a good starting point. If the lighting is low, you might need to increase the ISO to avoid blurry photos.
Q5. What is the best effect for food photography?
Ans. The best effect for food photos depends on your style and the dish you're photographing. Using a wide aperture to create a shallow depth of field is a popular technique. Enhancing the colors and texture of the food with good lighting and editing can also make your photos look more appetizing.
Q6. How do you boost your creativity in food photography?
Ans. Here are some ways to get more creative with your food photos: - Try different angles and compositions to find new ways to show off your subject. - Play with colors and textures using props and backgrounds. - Get inspiration from other art forms and try new ideas in your own photos.
You might also be interested in


FAQ’s
I recommend checking out our detailed step-by-step guide on How to Use a Free Photo Editor. It covers everything from downloading and installing to using the essential tools and techniques for enhancing your photos.