4 Easiest Ways for Beginners to Blur a Photo Part
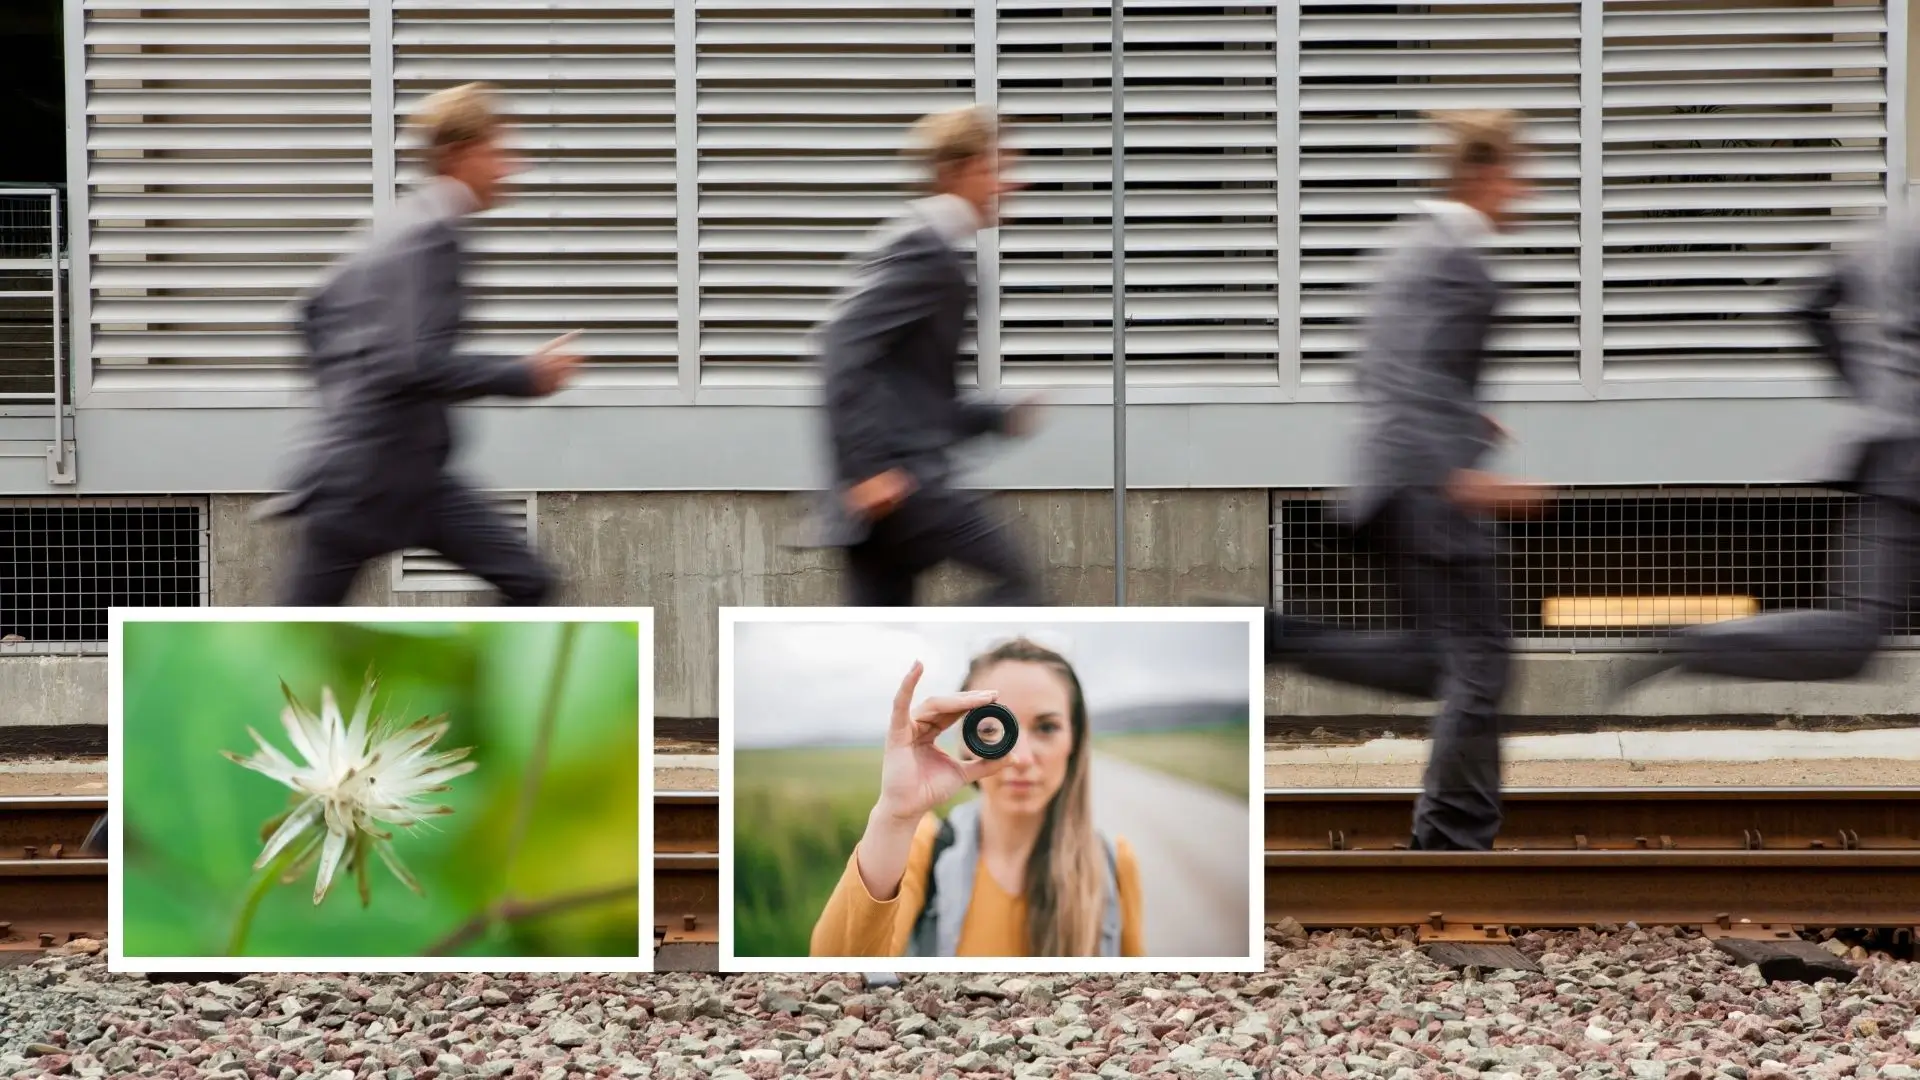
Blurring a part of an image is a good skill to understand for either pointing out or hiding something in the image. Some even use it to give their pictures a nice depth-of-field look. Learning how to blur part of a picture is important. So, how can you easily blur a picture? In this post, I'll show you the four easiest ways to blur part of an image, so keep reading!
Download the app, NOW!


.png)

.png)


PhotoCut - A Game Changer!
Explore endless tools and templates at your fingertips to customize your new image using the PhotoCut app. They love us. You will too.
.webp)
CAPTAIN SYKE

So much easy to use than the other apps that I have encountered. I'm so satisfied. I fished to clear the background less than a minute! Keep it up🙌🏻
.webp)
Lee Willetts (Dr.Drone Doomstone)
Great app, used alongside text on photo, you can create some great pics. Hours of fun.
.webp)
Bran Laser
I always erase and cut something with this it is very op there is no bug and I made a picture for my channel very nice install it now!
.webp)
ZDX Gaming
The Best Photo Editor .. Not Many Can Actually Cut Pictures Perfectly Like this App been looking for something like this for a long time 💔😂 Nice App I recommend it Giving it 5 star
.webp)
Small Optics
Best app of this type out there, it does nearly all of the work for you.. Great work developers.
.webp)
Emilia Gacha
It's really useful and super easy to use and it may be the best background eraser app!
.webp)
kymani ace
This is a really nice app I love how it let's me do lots of edits without paying for anything and there isn't even a watermark, very good app.
.webp)
Nidhish Singh
Excellent apps and doing all the work as expected. Easy to use, navigate and apply to any background after cut out.
.webp)
Adrian
Been using this app for many years now to crop photos and gotta say, really does what it's supposed to and makes photo's look realistic. Recommend it very much.
.webp)
Indra Ismaya
Easy to use, very usefull
.webp)
Barbie Dream
I love this app! You can edit and change the background i been using it for months for my video! Keep it going.
.webp)
Kaira Binson
Ouh..finally i found a good app like this..after instalking 6-8 apps ..i finally get the right one...easy..free...so cool...but maybe pls..adjust your ads..in this app..thanks☺
.webp)
Tara Coriell
I payed for premium but it was only a 1 time payment of 5.29 and I love this app. There are a lot of nice features

Engels Yepez
Great app for edit photos, it include an interesting IA function for apply effects to your pics

Azizah ahmad
This apps is awesome compared to other photo cut apps. I have tried several photo cut apps but all of them was bad. And finally i found this app, super easy to use, have feature smart cut and smart erase. Awesome !!
.webp)
Galaxy Goat
The app is incredible! I erased a background and added it into a new background in less then 20 seconds. Normally it takes 10-20 minute's on other apps. Highly recommend
.webp)
Victor Maldonado
I been having a few issues with app can't zoom in like before and its not like it use to what happen i paid for this app not liking the new upgrade
.webp)
Lynsiah Sahuji
more accurate in removing background, didn't required so much effort. love this! ❤️


Best Ways to Blur a Part of a Photo
There are many ways to blur a photo, from basic needs to accomplished expert status. The following four methods show how to blur a photograph through PowerPoint, Photoshop, an internet tool, and two suggested photo blurring applications.
1. PowerPoint
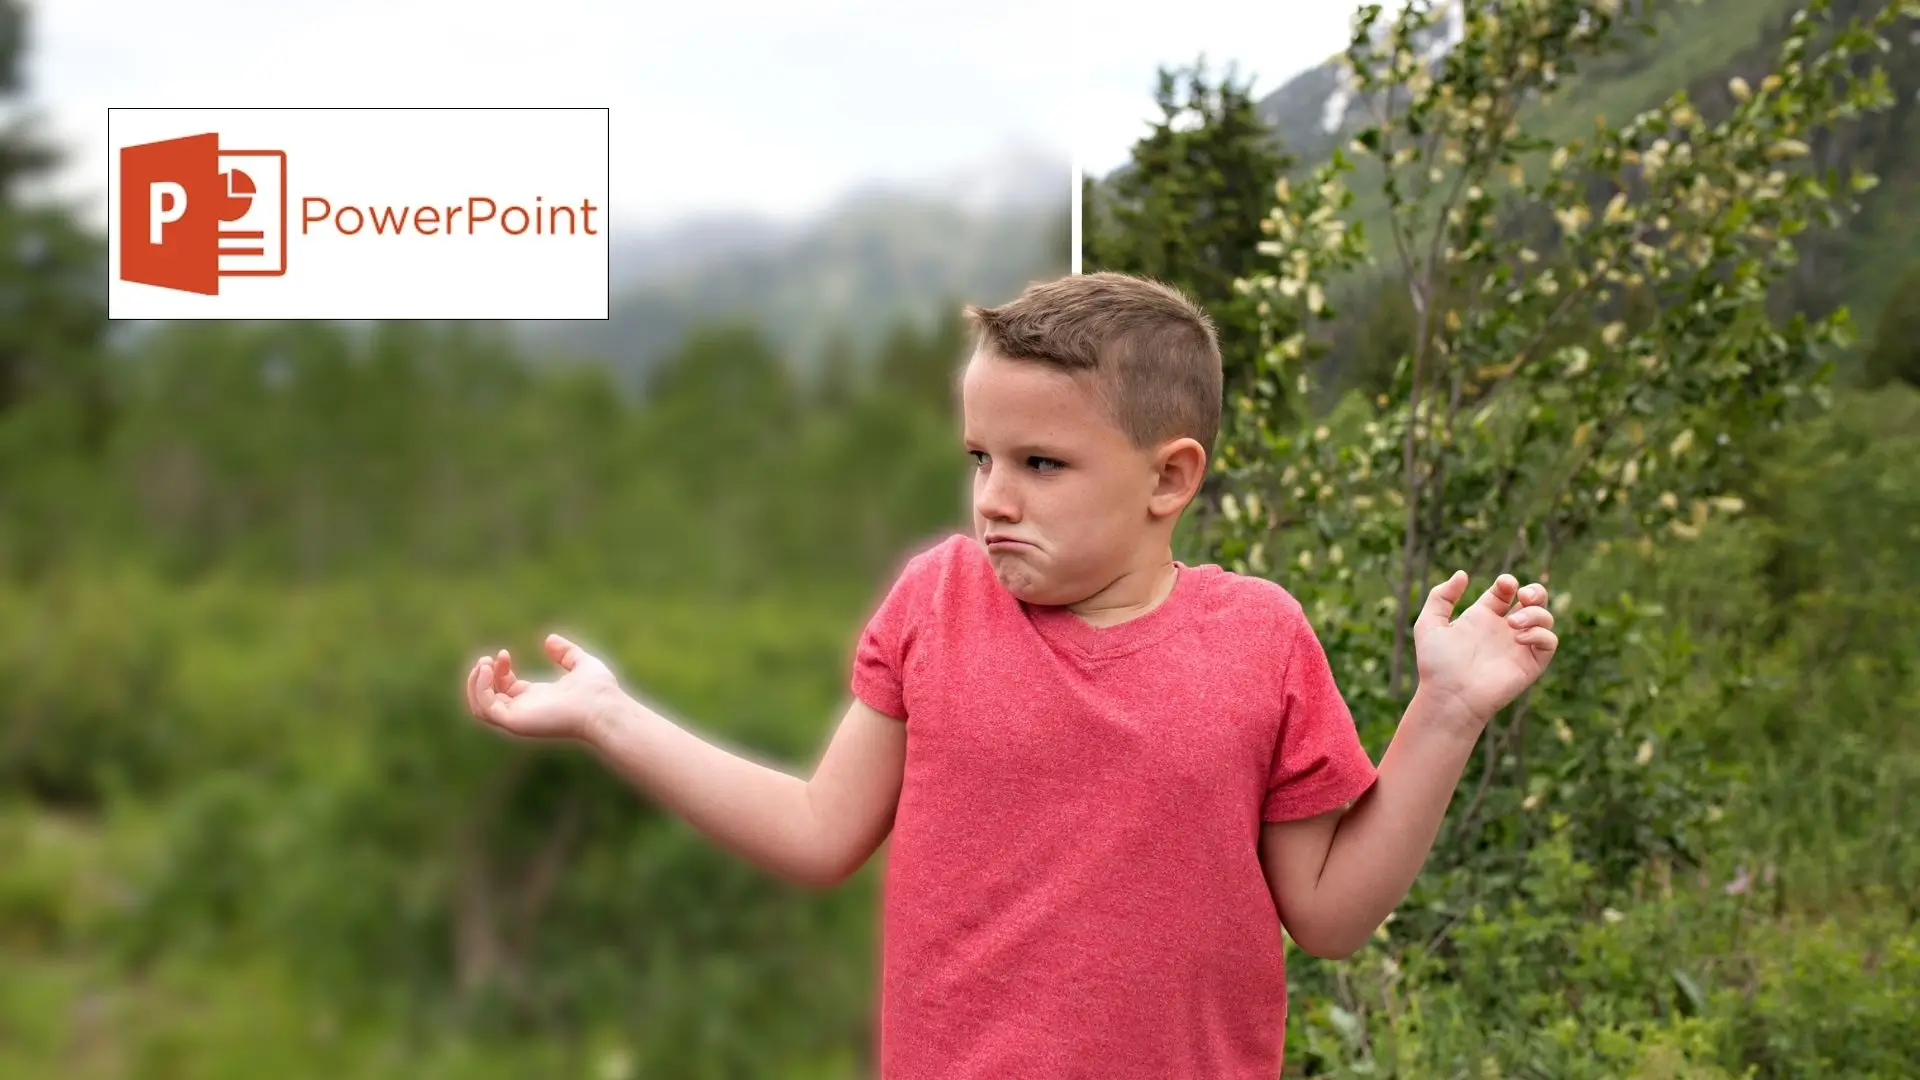
PowerPoint, unbeknownst to you, allows you to blur photos. While the chief purpose of PowerPoint is to provide slideshows, there are several fine photo editing features included that enable you to blur an image without the need for additional software. Here's how you apply a blur effect to an image by using PowerPoint:
- Click Insert and select Shape. Draw a shape around the area you want to blur and fill it with a similar color.
- Go to Shape Effects and select Soften Edges. Adjust the effect and apply it to the image.
- Press Ctrl, select the area and the rest of the image and click Group. Now you can use this photo in your presentation.
2. Photoshop

To blur certain areas of your photos, you may also utilize Photoshop. Backgrounds, people, and other objects you wish to hide in the picture may all be blurred. This is an easy Photoshop trick to blur a portion of an image:
- Select the Lasso tool and choose the area you want to blur.
- Click Filter > Blur and choose Gaussian Blur. Adjust the radius to blur the selected area.
- Click Apply and save your image.
3. Blur Photo Online
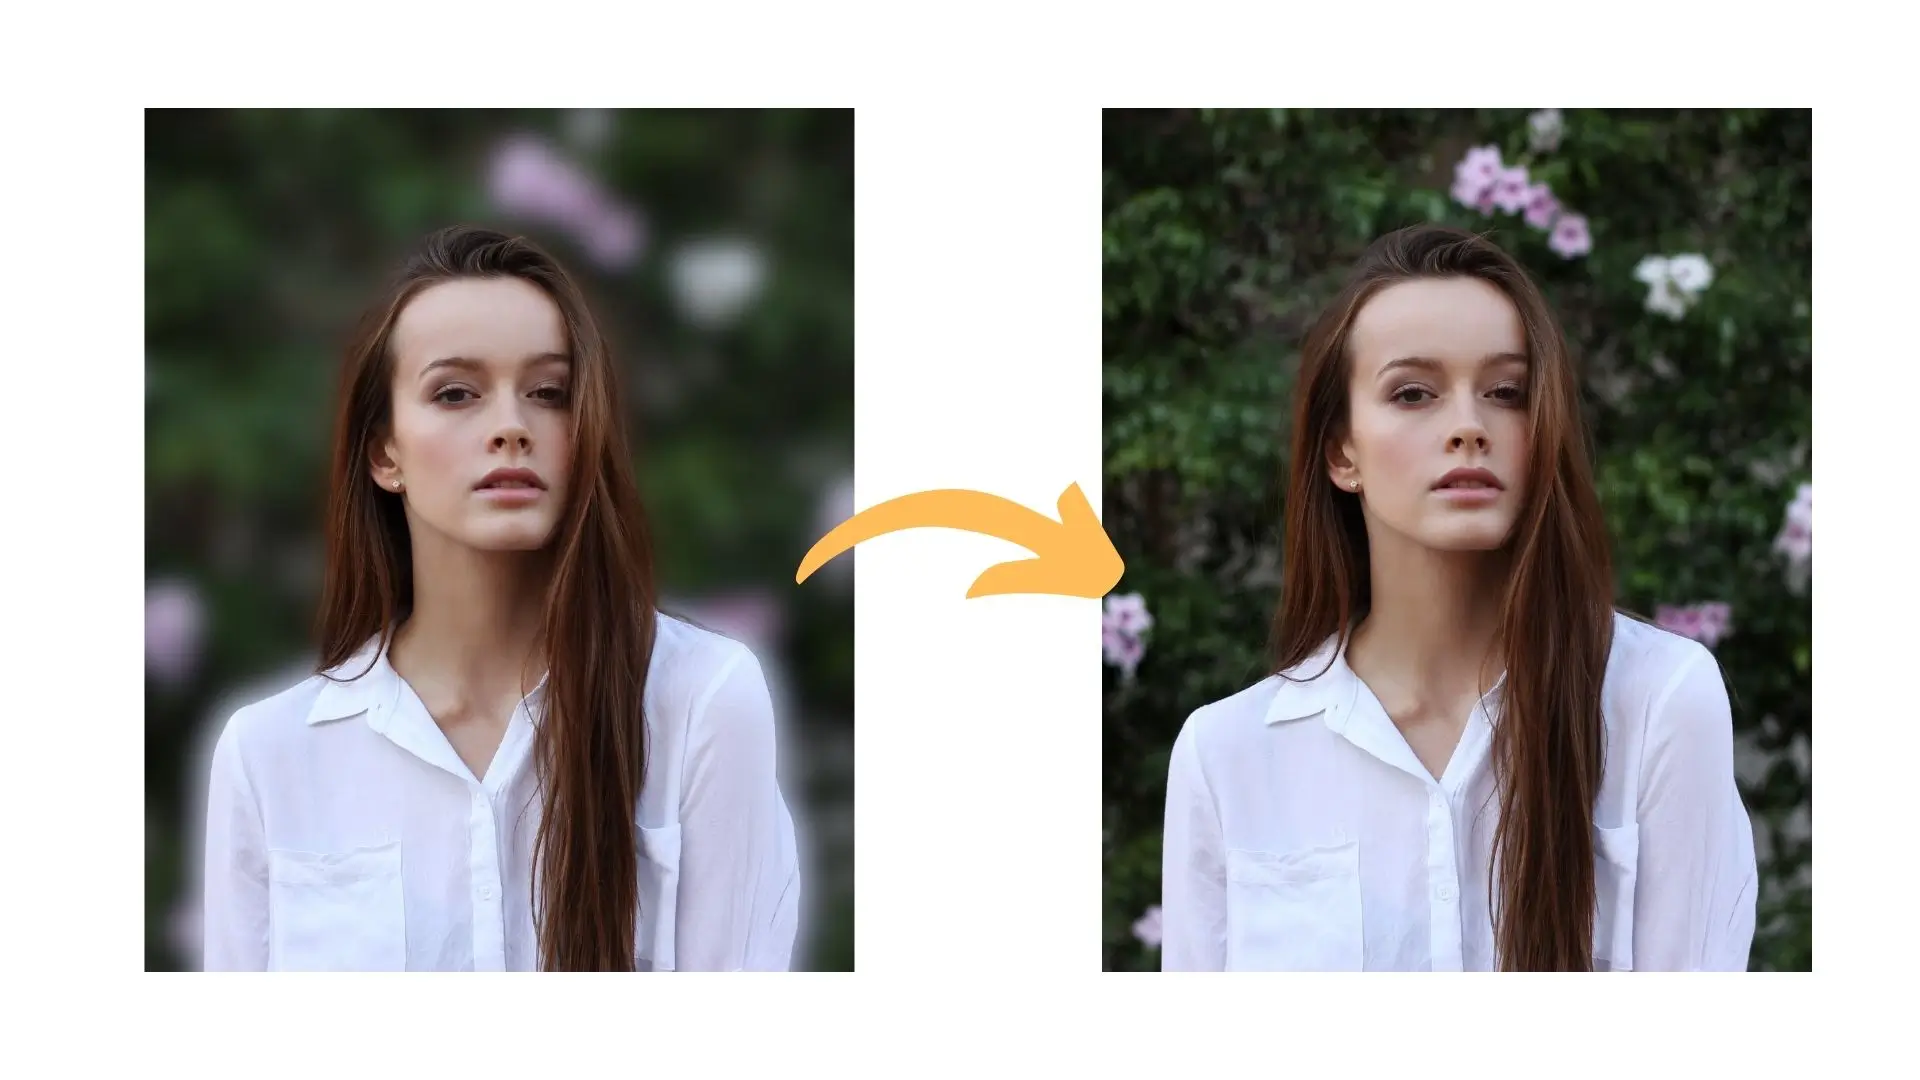
Use an internet application like PhotoCut to rapidly blur a portion of an image if you don't have any editing software. You may blur photos in various forms, such as circles and lines, with this free online AI picture editor. Here's how you can blur part of an image using PhotoCut:
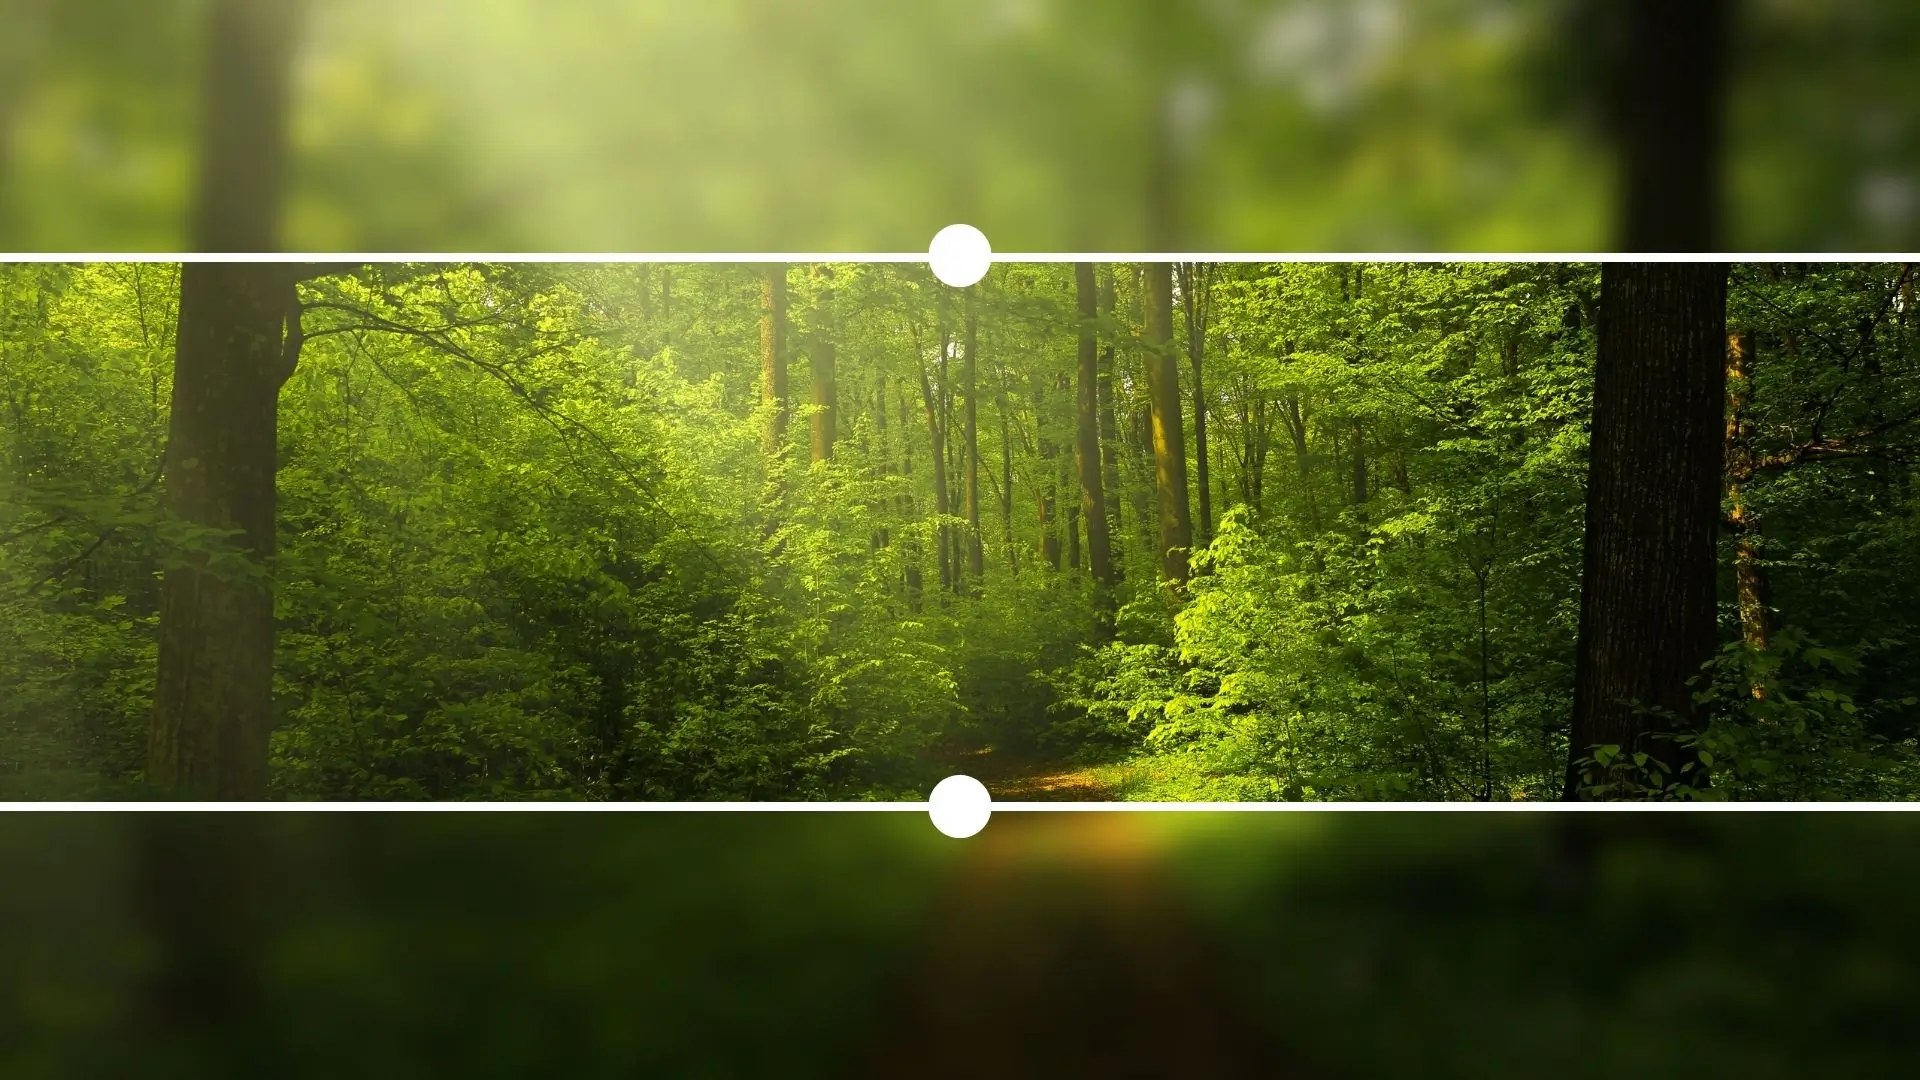
- Upload the photo you want to blur in PhotoCut's object blurry tool.
- Select the Circular blur tool or Linear blur tool to blur images.
- Apply the blur effect and adjust the blur area.
- Click Download to save your blurry photo.
4. Blur Photo on iPhone
You may utilize applications like PhotoCut and YouCam Perfect if you need to blur something on your iPhone. You can easily blur portions of an image on your phone using these applications. This is how to go about doing it:
PhotoCut
- Download PhotoCut's app on your iPhone.
- Upload the image you want to blur.
- Click Focus to apply the blur effect.
- Save your blurred image.
YouCam Perfect
- Download YouCam Perfect on your phone.
- Open the app, click Tools, and select Blur.
- Choose the shape of the blur effect and adjust the size.
- Download and save your blurry image.
Conclusion
It's helpful to know how to blur certain areas of a photograph. We discussed five methods in this post for blurring certain areas of a photo using Photoshop, PowerPoint, an internet tool, and photo-blurring tools.
With these strategies, I hope you can create some awesome blurry images and have fun editing your photos. Enjoy being creative!
FAQs
Q1: What is photo blurring and why would I want to use it?
Ans: Photo blurring is the technique of softening the focus of certain areas of a photograph to draw attention away from them or to create a sense of depth. You might want to use it to enhance portraits by blurring backgrounds, reduce distractions, or create a dreamy effect in your images.
Q2: What are the easiest tools or apps I can use to blur parts of a photo?
Ans: Some user-friendly tools and apps for beginners include:
- Adobe Photoshop Express: A simplified version of Photoshop with a blur tool.
- Canva: Offers a blur effect feature that is easy to apply.
- Fotor: Provides a range of editing tools including a blur function.
- Snapseed: A mobile app that offers selective blurring options.
Q3: How can I blur a part of a photo using Adobe Photoshop Express?
Ans:
- Open your photo in Adobe Photoshop Express.
- Select the "Edit" option, then find the "Blur" tool.
- Adjust the brush size and carefully paint over the area you want to blur.
- Use the intensity slider to adjust how much blur you want to apply.
- Save your edited image when you’re satisfied with the result.
Q4: Is it possible to blur a photo part in Canva? How?
Ans: Yes! To blur a part of a photo in Canva:
- Upload your image and insert it into your design.
- Use the "Elements" tab to add a shape (like a rectangle) over the part you want to blur.
- Change the shape's color to match the background.
- Select the shape and use the transparency slider to create a subtle blur effect.
- Adjust the size and position of the shape as needed.
Q5: Can I blur areas of a photo on my smartphone?
Ans: Absolutely! Mobile apps like Snapseed and PicsArt allow you to easily blur parts of your photos. With Snapseed:
- Open the app and select your photo.
- Go to the "Tools" menu and select "Lens Blur."
- Adjust the blur strength and focus area using the circular or linear options.
- Save your changes once you’re happy with the blur effect.
Q6: Are there any tips for making the photo blur look more natural?
Ans: Yes, here are a few tips to make your blur look more natural:
- Use a soft brush in your editing tool, as harsh edges can look unnatural.
- Pay attention to the focal point; blurring should guide the viewer’s eye towards the subject.
- Vary the blur intensity depending on the surrounding areas to simulate depth.
- Experiment with different shapes of blurs (like radial or gradient blurs) for a more dynamic effect.
Q7: Do I need advanced skills to achieve a good blur effect?
Ans: No! Most beginner-friendly tools and apps offer intuitive features that don’t require advanced skills. With some practice and experimentation, you can quickly learn how to apply effective blur effects in your photos. Start with simple adjustments and gradually explore more advanced techniques as you become comfortable.
You might also be interested in


FAQ’s
I recommend checking out our detailed step-by-step guide on How to Use a Free Photo Editor. It covers everything from downloading and installing to using the essential tools and techniques for enhancing your photos.