How to Capture Mouth-Watering Food Photos for Your Restaurant Business?
Learn the art of capturing irresistible food photos for your restaurant business. Elevate your brand with mouth-watering visuals. Start today!
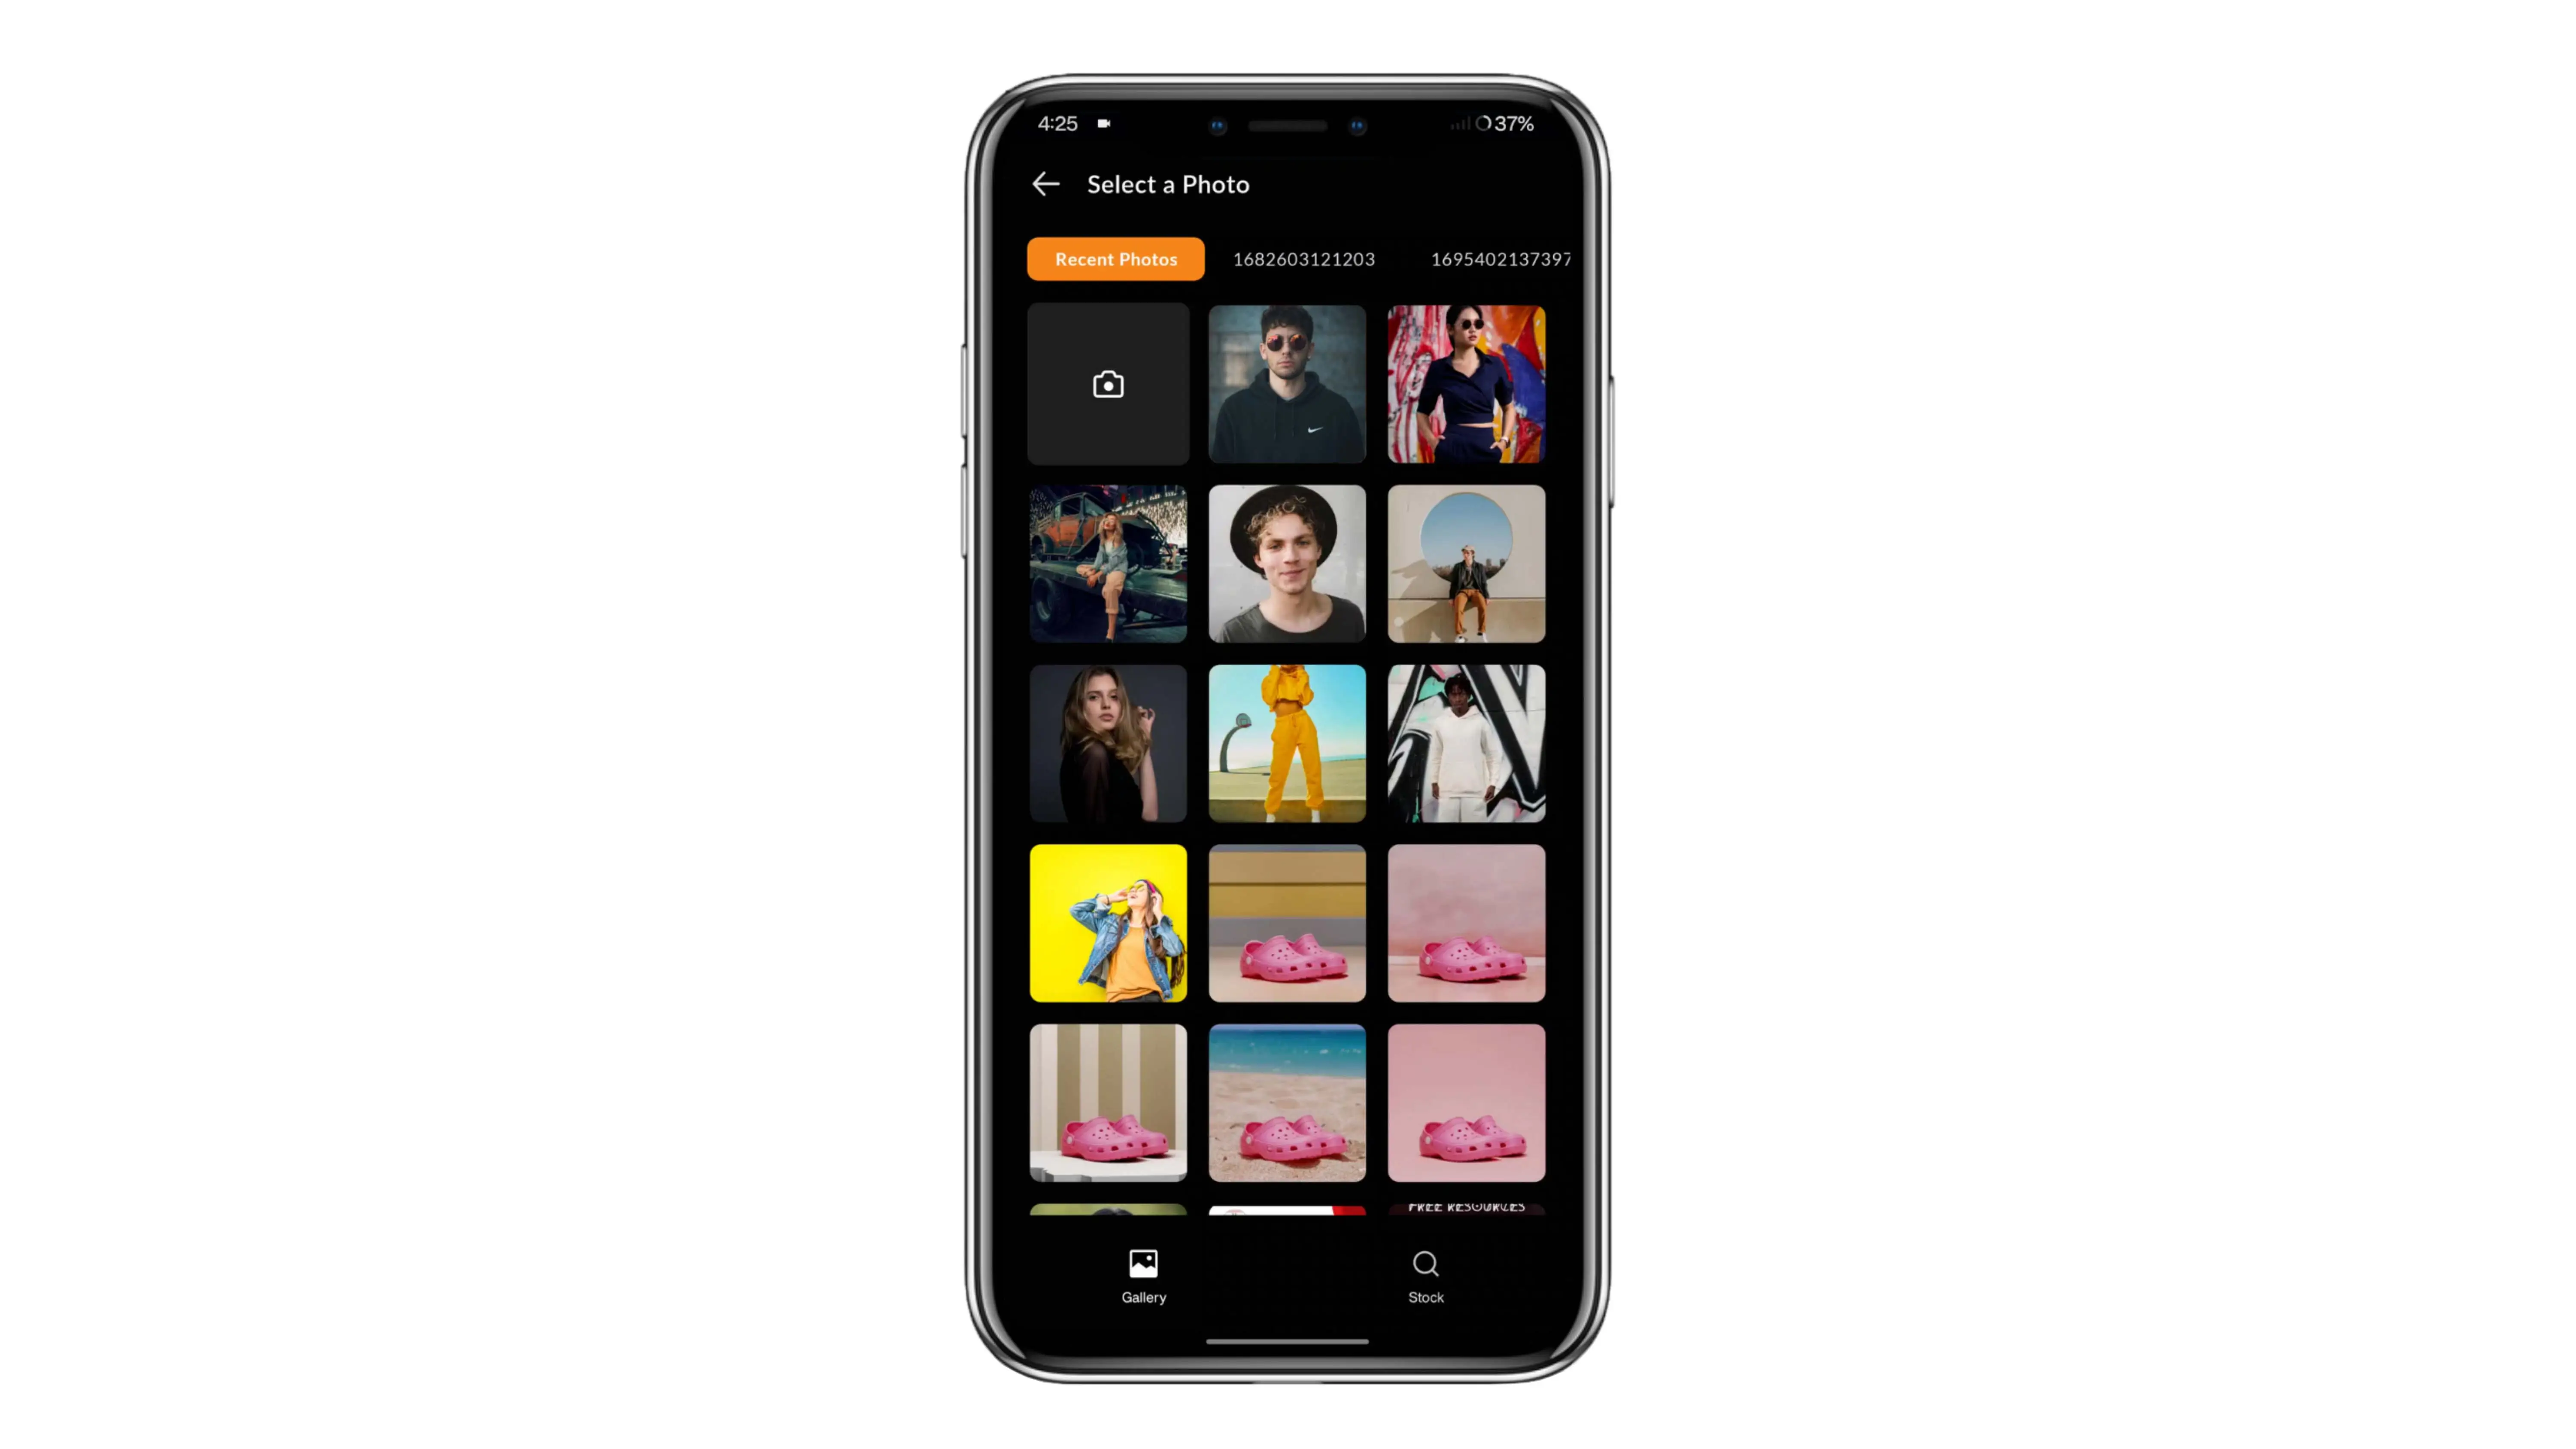
Download the app, NOW!


.png)

.png)


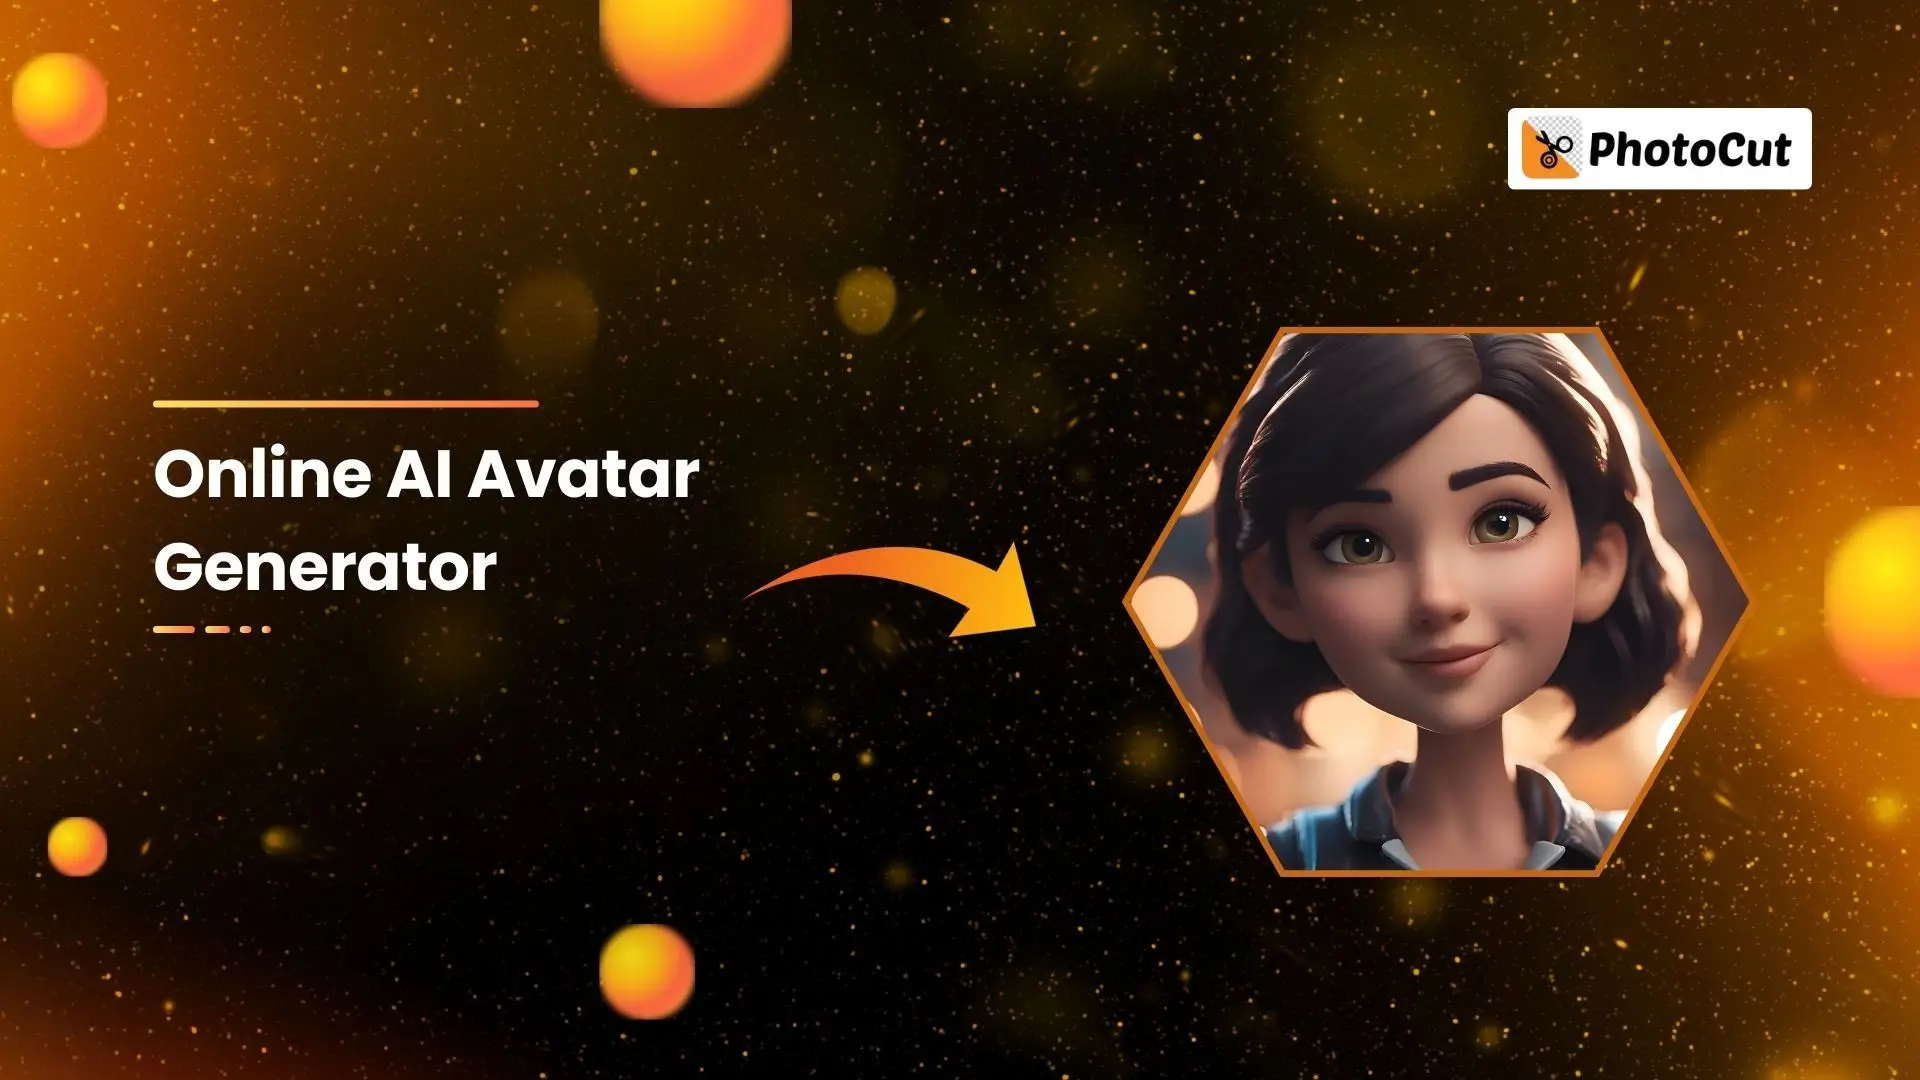
PhotoCut - A Game Changer!
Explore endless tools and templates at your fingertips to customize your new image using the PhotoCut app. They love us. You will too.
.webp)
CAPTAIN SYKE

So much easy to use than the other apps that I have encountered. I'm so satisfied. I fished to clear the background less than a minute! Keep it up🙌🏻
.webp)
Lee Willetts (Dr.Drone Doomstone)
Great app, used alongside text on photo, you can create some great pics. Hours of fun.
.webp)
Bran Laser
I always erase and cut something with this it is very op there is no bug and I made a picture for my channel very nice install it now!
.webp)
ZDX Gaming
The Best Photo Editor .. Not Many Can Actually Cut Pictures Perfectly Like this App been looking for something like this for a long time 💔😂 Nice App I recommend it Giving it 5 star
.webp)
Small Optics
Best app of this type out there, it does nearly all of the work for you.. Great work developers.
.webp)
Emilia Gacha
It's really useful and super easy to use and it may be the best background eraser app!
.webp)
kymani ace
This is a really nice app I love how it let's me do lots of edits without paying for anything and there isn't even a watermark, very good app.
.webp)
Nidhish Singh
Excellent apps and doing all the work as expected. Easy to use, navigate and apply to any background after cut out.
.webp)
Adrian
Been using this app for many years now to crop photos and gotta say, really does what it's supposed to and makes photo's look realistic. Recommend it very much.
.webp)
Indra Ismaya
Easy to use, very usefull
.webp)
Barbie Dream
I love this app! You can edit and change the background i been using it for months for my video! Keep it going.
.webp)
Kaira Binson
Ouh..finally i found a good app like this..after instalking 6-8 apps ..i finally get the right one...easy..free...so cool...but maybe pls..adjust your ads..in this app..thanks☺
.webp)
Tara Coriell
I payed for premium but it was only a 1 time payment of 5.29 and I love this app. There are a lot of nice features

Engels Yepez
Great app for edit photos, it include an interesting IA function for apply effects to your pics

Azizah ahmad
This apps is awesome compared to other photo cut apps. I have tried several photo cut apps but all of them was bad. And finally i found this app, super easy to use, have feature smart cut and smart erase. Awesome !!
.webp)
Galaxy Goat
The app is incredible! I erased a background and added it into a new background in less then 20 seconds. Normally it takes 10-20 minute's on other apps. Highly recommend
.webp)
Victor Maldonado
I been having a few issues with app can't zoom in like before and its not like it use to what happen i paid for this app not liking the new upgrade
.webp)
Lynsiah Sahuji
more accurate in removing background, didn't required so much effort. love this! ❤️


Importance of Food Photos for Restaurants
Food photos are a powerful tool for promoting a restaurant business. They can entice customers, showcase the quality of the food, and drive traffic to the restaurant's website. In today's social media-driven world, having attractive food photos on platforms like Instagram and Facebook is essential for engaging customers.
When customers see delicious food photos, they are more likely to order from a restaurant. Companies like Zomato and Swiggy have mastered the art of making food look irresistible, leading to increased orders for restaurants with appealing photos.
Why Good Food Photos Matter

Restaurants with high-quality food photos tend to attract more customers and generate more orders. These photos convey the message that the restaurant serves delicious, hygienic, and nutritious food, building trust with customers and increasing sales.
Challenges in Capturing Great Food Photos
1. Bad Lighting

Poor lighting can make food look unappetizing in photos. It's important to have good lighting to capture the true essence of the dish.
2. Background Issues

The background of a food photo can make or break its appeal. Choosing the right background is crucial for creating professional-looking photos.
3. Time-consuming Optimization

Manually optimizing food photos can be time-consuming, as it involves adjusting elements like light, color, sharpness, and resolution. This process can hinder productivity for individuals or businesses.
4. Capturing the Perfect Shot

Getting that one perfect food photo can be challenging, as it requires careful attention to detail and multiple retakes. Presentation is key, but capturing the essence of the dish on camera is essential for attracting customers.
When taking food photos for your restaurant business, consider factors like lighting, background, and composition to create mouthwatering images that will attract customers and boost sales.
Discover the Perfect Background Remover App for Your Restaurant Business
Simple Steps to Find the Best Background Remover App
Looking for the ideal background remover app for your restaurant business? Follow these easy steps:
1. Search for Photocut

If you're using a web browser like Microsoft Edge or Google Chrome, simply type in "Photocut" in the search bar and hit enter. This will take you to the Photocut website.
If you're on a mobile device, you can find the Photocut app on Google Play or the iOS store by clicking on the Call to Action buttons on the Photocut website.
2. Explore the Exciting Features
Check out the amazing features of Photocut for photography professionals:
A) Automatically Remove Background from Food Images
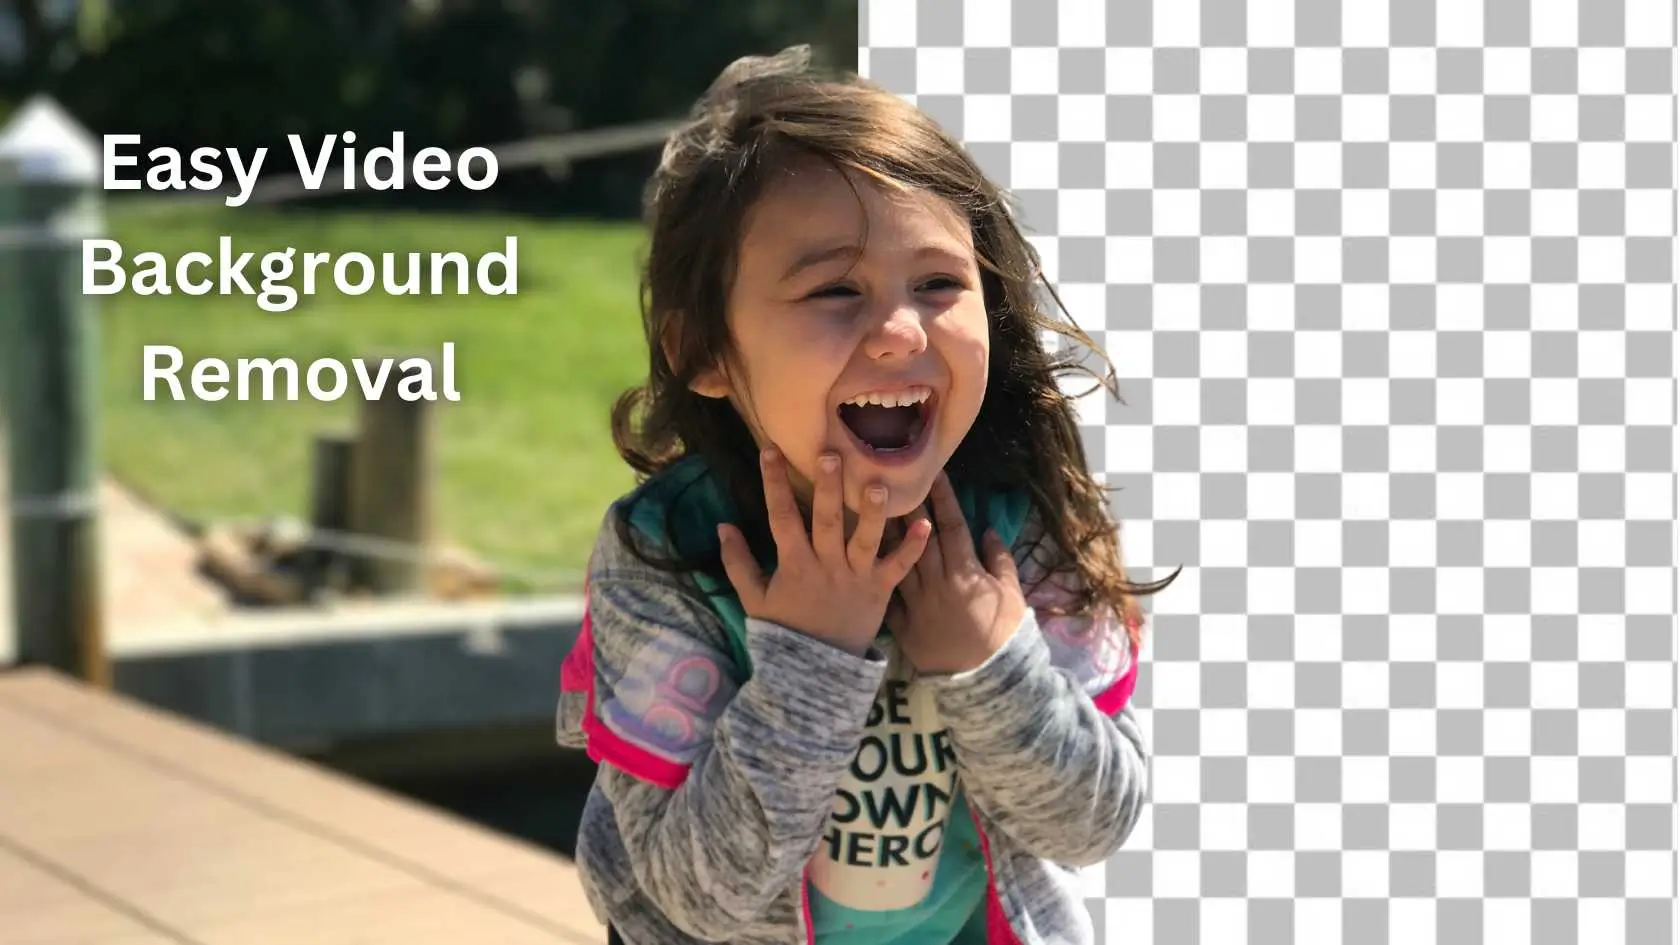
Say goodbye to manually removing backgrounds from food photos. Photocut can do it for you in just a few seconds without any complex software or training.
B) Add Impressive Effects and Backgrounds
Choose from a variety of background options like white background, bokeh effect, colorful gradients, and more to enhance your food photos.
C) Take Control of Your Food Photography Project
Edit your food images to match your brand needs with just a click!
3. Get Started with Photocut
Excited to use Photocut for your food photos? Follow these simple steps:
Step:1 Upload a food image.
Step 2: Remove the background.
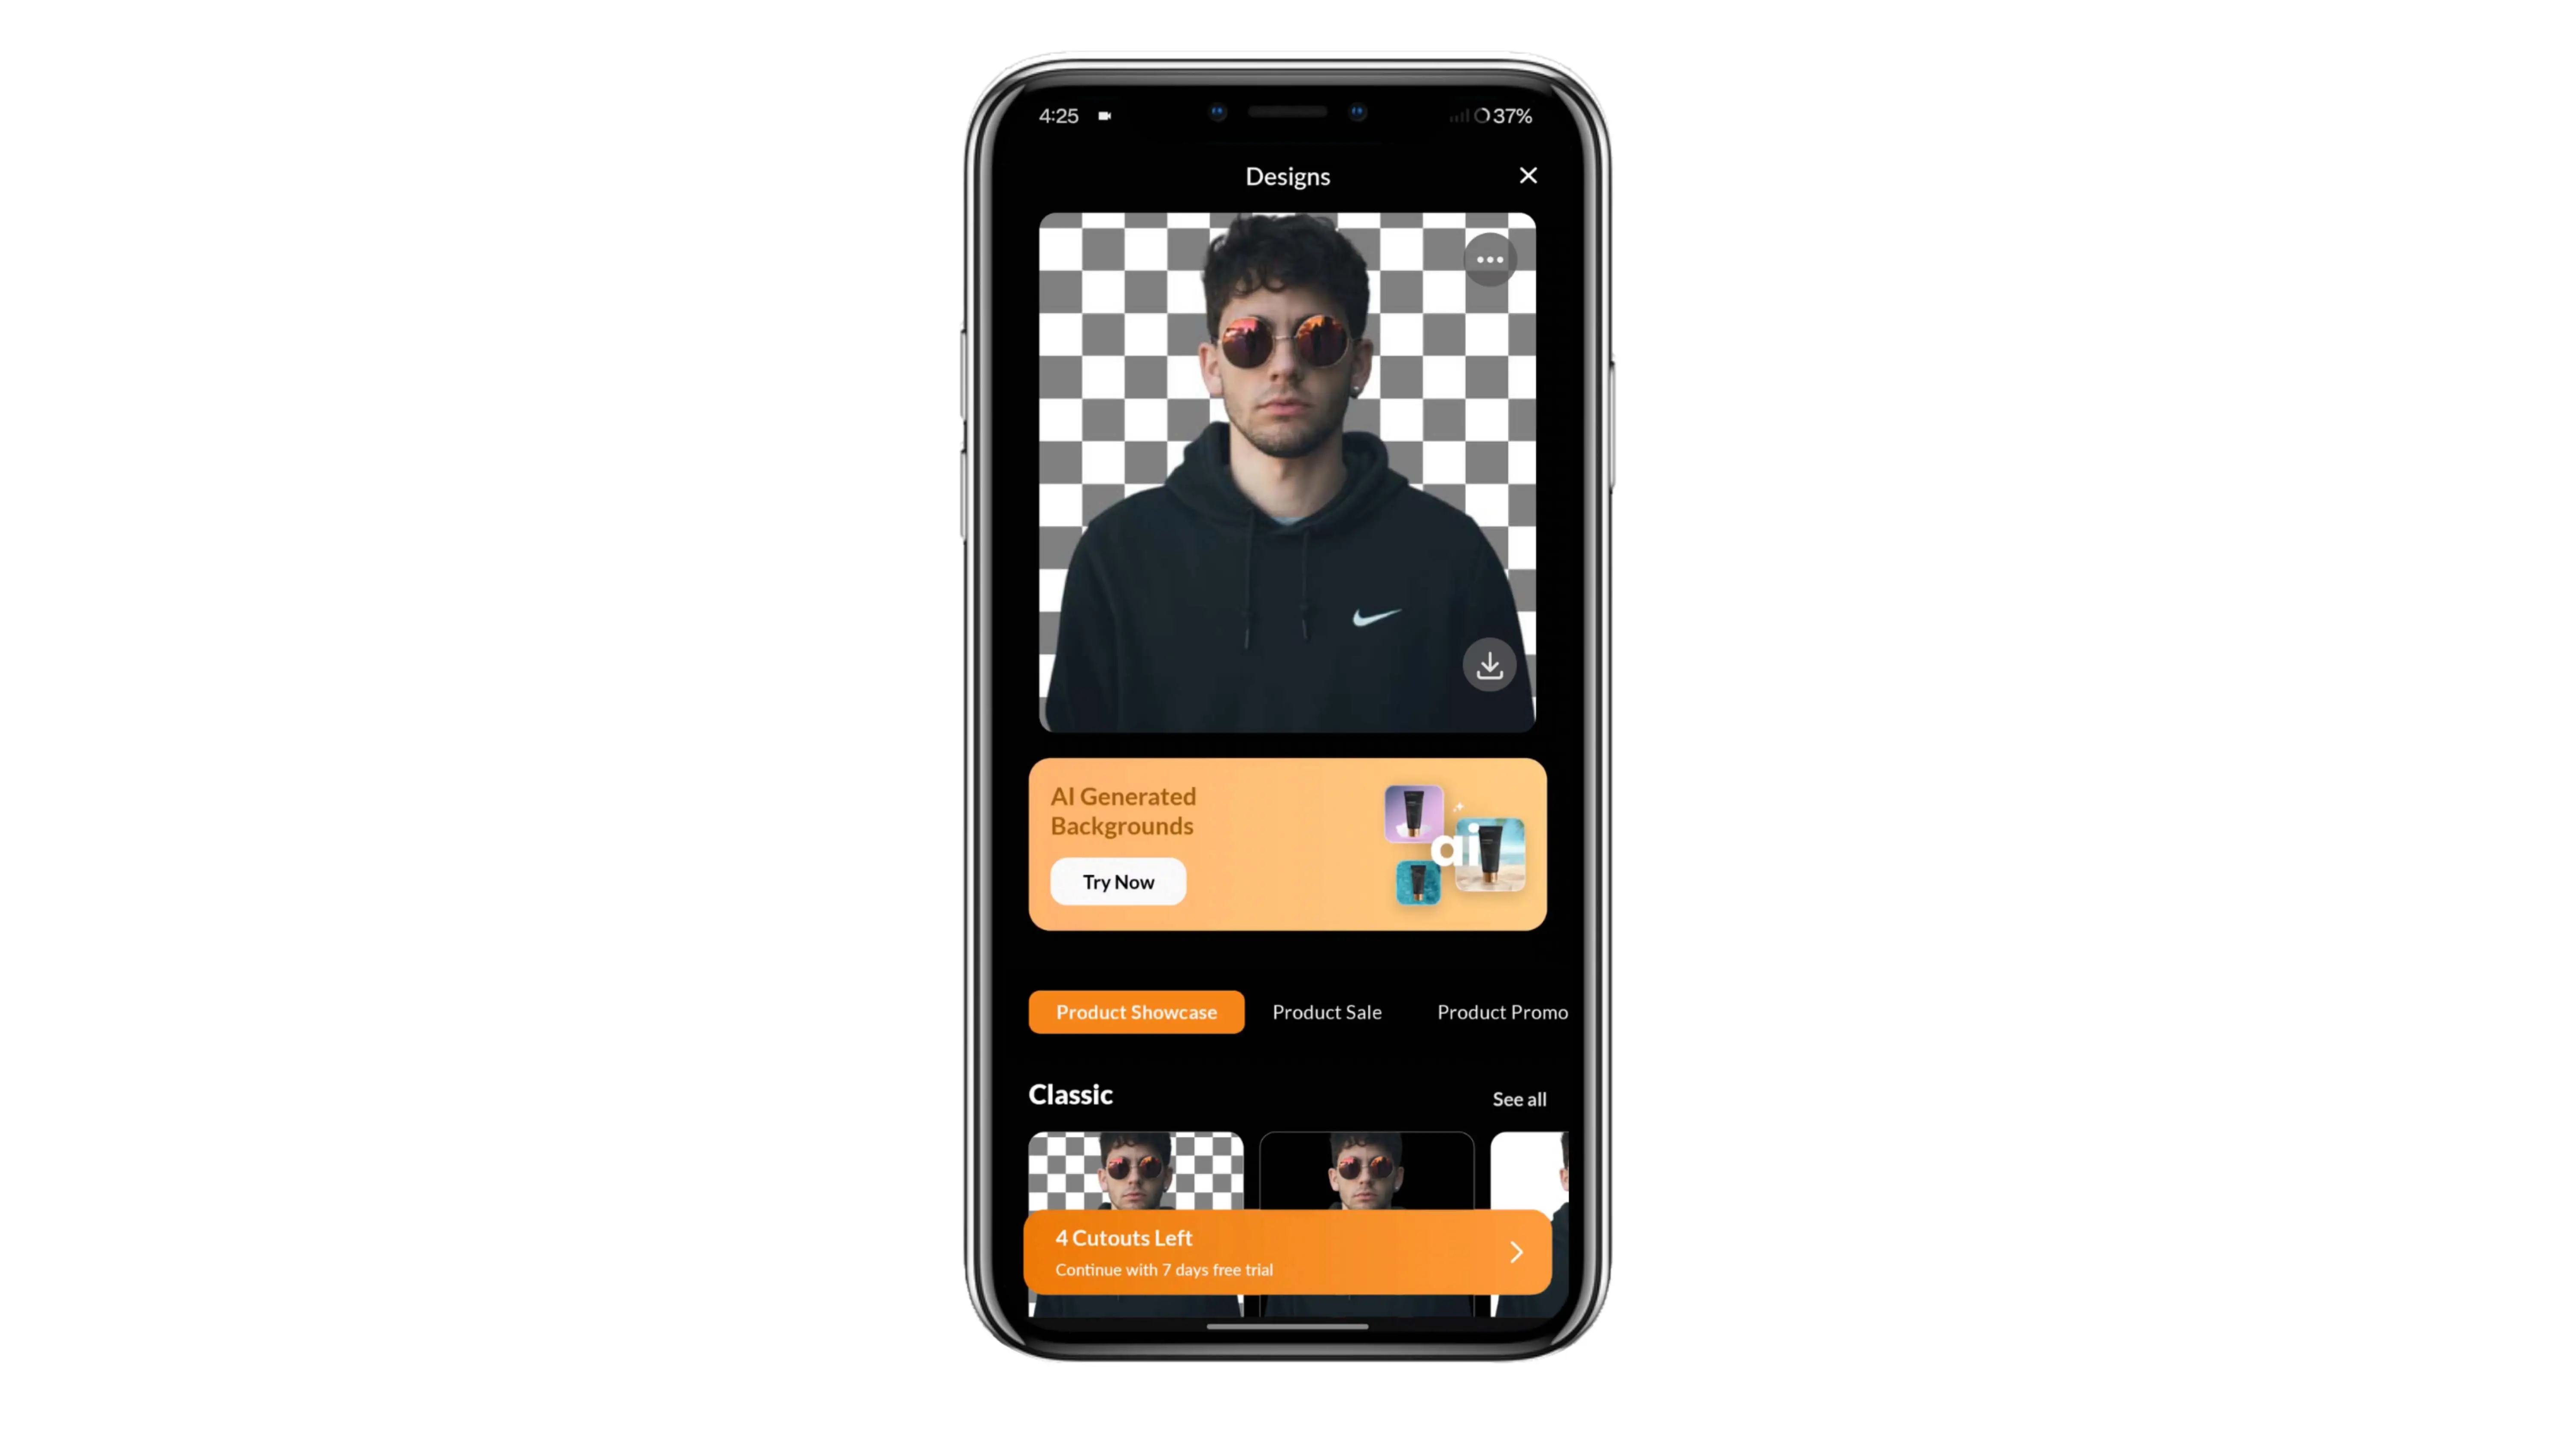
Step 3: Edit the image background and color.

Step 4: Download the image.

Astonishing Applications of Photocut for Your Restaurant Business
Photocut can help your restaurant business in many ways:
1) Make your photos look professional and save time.
2) Get production-ready food photos quickly.
3) Create high-quality images for your business.
With Photocut, you can showcase your food in the best possible way and attract more customers to your restaurant.
Signing Off
Food photos are crucial for any restaurant business, and Photocut can help you create stunning images to boost your brand. Get the app now and see the difference!
FAQs
Q1. How do I make my food pictures look professional?
Ans. To make your food pictures look professional, you can start by using natural light and a neutral background. Focus on the composition, styling, and presentation of the food, and consider using props or adding textures to enhance the image.
Q2. What makes a quality food photo?
Ans. A quality food photo captures the dish's texture, color, and details in a visually appealing way. Lighting, composition, and editing techniques are also essential in creating an enticing and mouth-watering food image.
Q3. Which color is best for food photography?
Ans. When it comes to food photography, neutral and earthy tones work well, such as browns, whites, and grays. However, it ultimately depends on the specific dish and the desired mood or style of the photo.
Q4. What colours attract food customers?
Ans. Colors that attract food customers are generally warm and inviting, such as red, orange, and yellow. These colors can stimulate appetite and convey a sense of comfort and happiness. Additionally, using contrasting colors can create a visually appealing presentation and make the food stand out. However, it's important to also consider the branding and overall aesthetic of the business when selecting colors for food photography.
Q5. What is important in food photography?
Ans. In food photography, it is important to showcase the food in an appetizing way with proper lighting, composition, and styling. The goal is to make the food look as delicious and desirable as possible to the viewer.
Q6. What are 3 important food photography tips?
Ans. Three important food photography tips are: Lighting - use natural light or diffused artificial light to avoid harsh shadows and glare. Composition - consider the placement of the food, the angle of the shot, and any props or garnishes that may enhance the overall aesthetic. Editing - adjust brightness, contrast, and color balance to enhance the visual appeal of the photo.
You might also be interested in


FAQ’s
I recommend checking out our detailed step-by-step guide on How to Use a Free Photo Editor. It covers everything from downloading and installing to using the essential tools and techniques for enhancing your photos.