How to Take Etsy Photos: 7 Tips for Making Your Products Shine
Capture the essence of your Etsy products with our 7 expert tips on taking stunning photos. Elevate your online store with captivating visuals. Start now!
Download the app, NOW!


.png)

.png)

.webp)


PhotoCut - A Game Changer!
Explore endless tools and templates at your fingertips to customize your new image using the PhotoCut app. They love us. You will too.
.webp)
CAPTAIN SYKE

So much easy to use than the other apps that I have encountered. I'm so satisfied. I fished to clear the background less than a minute! Keep it up🙌🏻
.webp)
Lee Willetts (Dr.Drone Doomstone)
Great app, used alongside text on photo, you can create some great pics. Hours of fun.
.webp)
Bran Laser
I always erase and cut something with this it is very op there is no bug and I made a picture for my channel very nice install it now!
.webp)
ZDX Gaming
The Best Photo Editor .. Not Many Can Actually Cut Pictures Perfectly Like this App been looking for something like this for a long time 💔😂 Nice App I recommend it Giving it 5 star
.webp)
Small Optics
Best app of this type out there, it does nearly all of the work for you.. Great work developers.
.webp)
Emilia Gacha
It's really useful and super easy to use and it may be the best background eraser app!
.webp)
kymani ace
This is a really nice app I love how it let's me do lots of edits without paying for anything and there isn't even a watermark, very good app.
.webp)
Nidhish Singh
Excellent apps and doing all the work as expected. Easy to use, navigate and apply to any background after cut out.
.webp)
Adrian
Been using this app for many years now to crop photos and gotta say, really does what it's supposed to and makes photo's look realistic. Recommend it very much.
.webp)
Indra Ismaya
Easy to use, very usefull
.webp)
Barbie Dream
I love this app! You can edit and change the background i been using it for months for my video! Keep it going.
.webp)
Kaira Binson
Ouh..finally i found a good app like this..after instalking 6-8 apps ..i finally get the right one...easy..free...so cool...but maybe pls..adjust your ads..in this app..thanks☺
.webp)
Tara Coriell
I payed for premium but it was only a 1 time payment of 5.29 and I love this app. There are a lot of nice features

Engels Yepez
Great app for edit photos, it include an interesting IA function for apply effects to your pics

Azizah ahmad
This apps is awesome compared to other photo cut apps. I have tried several photo cut apps but all of them was bad. And finally i found this app, super easy to use, have feature smart cut and smart erase. Awesome !!
.webp)
Galaxy Goat
The app is incredible! I erased a background and added it into a new background in less then 20 seconds. Normally it takes 10-20 minute's on other apps. Highly recommend
.webp)
Victor Maldonado
I been having a few issues with app can't zoom in like before and its not like it use to what happen i paid for this app not liking the new upgrade
.webp)
Lynsiah Sahuji
more accurate in removing background, didn't required so much effort. love this! ❤️


Why Are Product Photos Important on Etsy?
When people go shopping in the real world, they usually follow their eyes. When something catches their attention, they wander over to take a closer look.
The same applies on Etsy. With thousands of products to browse through, people are only likely to tap or click on something that looks interesting. Most of the time, this kind of curiosity is driven by great product photography.
But that isn’t the only reason to pay attention to your product photos on Etsy.
Visual Showcase
In search results and category pages, your product is represented by only one image. However, Etsy listings have room for up to 10 photos.
This gives you the opportunity to showcase your product from different angles, and display any variants. You can also show your product in use — whether that’s a bracelet on an elegant wrist, or a gardening tool in muddy hands.
Getting Featured
It’s definitely possible to build a business on Etsy through self promotion.
That said, being featured on the platform can unlock much more explosive growth.
Etsy editors regularly pick out good-looking products for top billing in newsletters, social media posts, and on the main site. A natural consequence is that way more people will see your listings.
How do you get featured? There is no exact formula. But having some pretty product photos is a vital part of the equation. Etsy is only going to promote something that enhances their reputation, after all.
Quality and Clarity
While product photos can be used for marketing, they should accurately reflect your product and provide information to potential customers.
If your shots fulfill these requirements, the quality of your product will shine. It should also be clear to customers what to expect, meaning you are likely to see fewer returns.
5 Essential Types of Product Photos for Your Etsy Shop
As we have discovered, the quality of your product photos can have a major impact on your Etsy business. Get it right, and you could be a handmade millionaire.
So, you may be wondering — how do I take great product photos without a Hollywood movie budget?
Well, the first point to consider is what type of product photos you might want to capture. Here are some of the key shots to grab in your home studio:
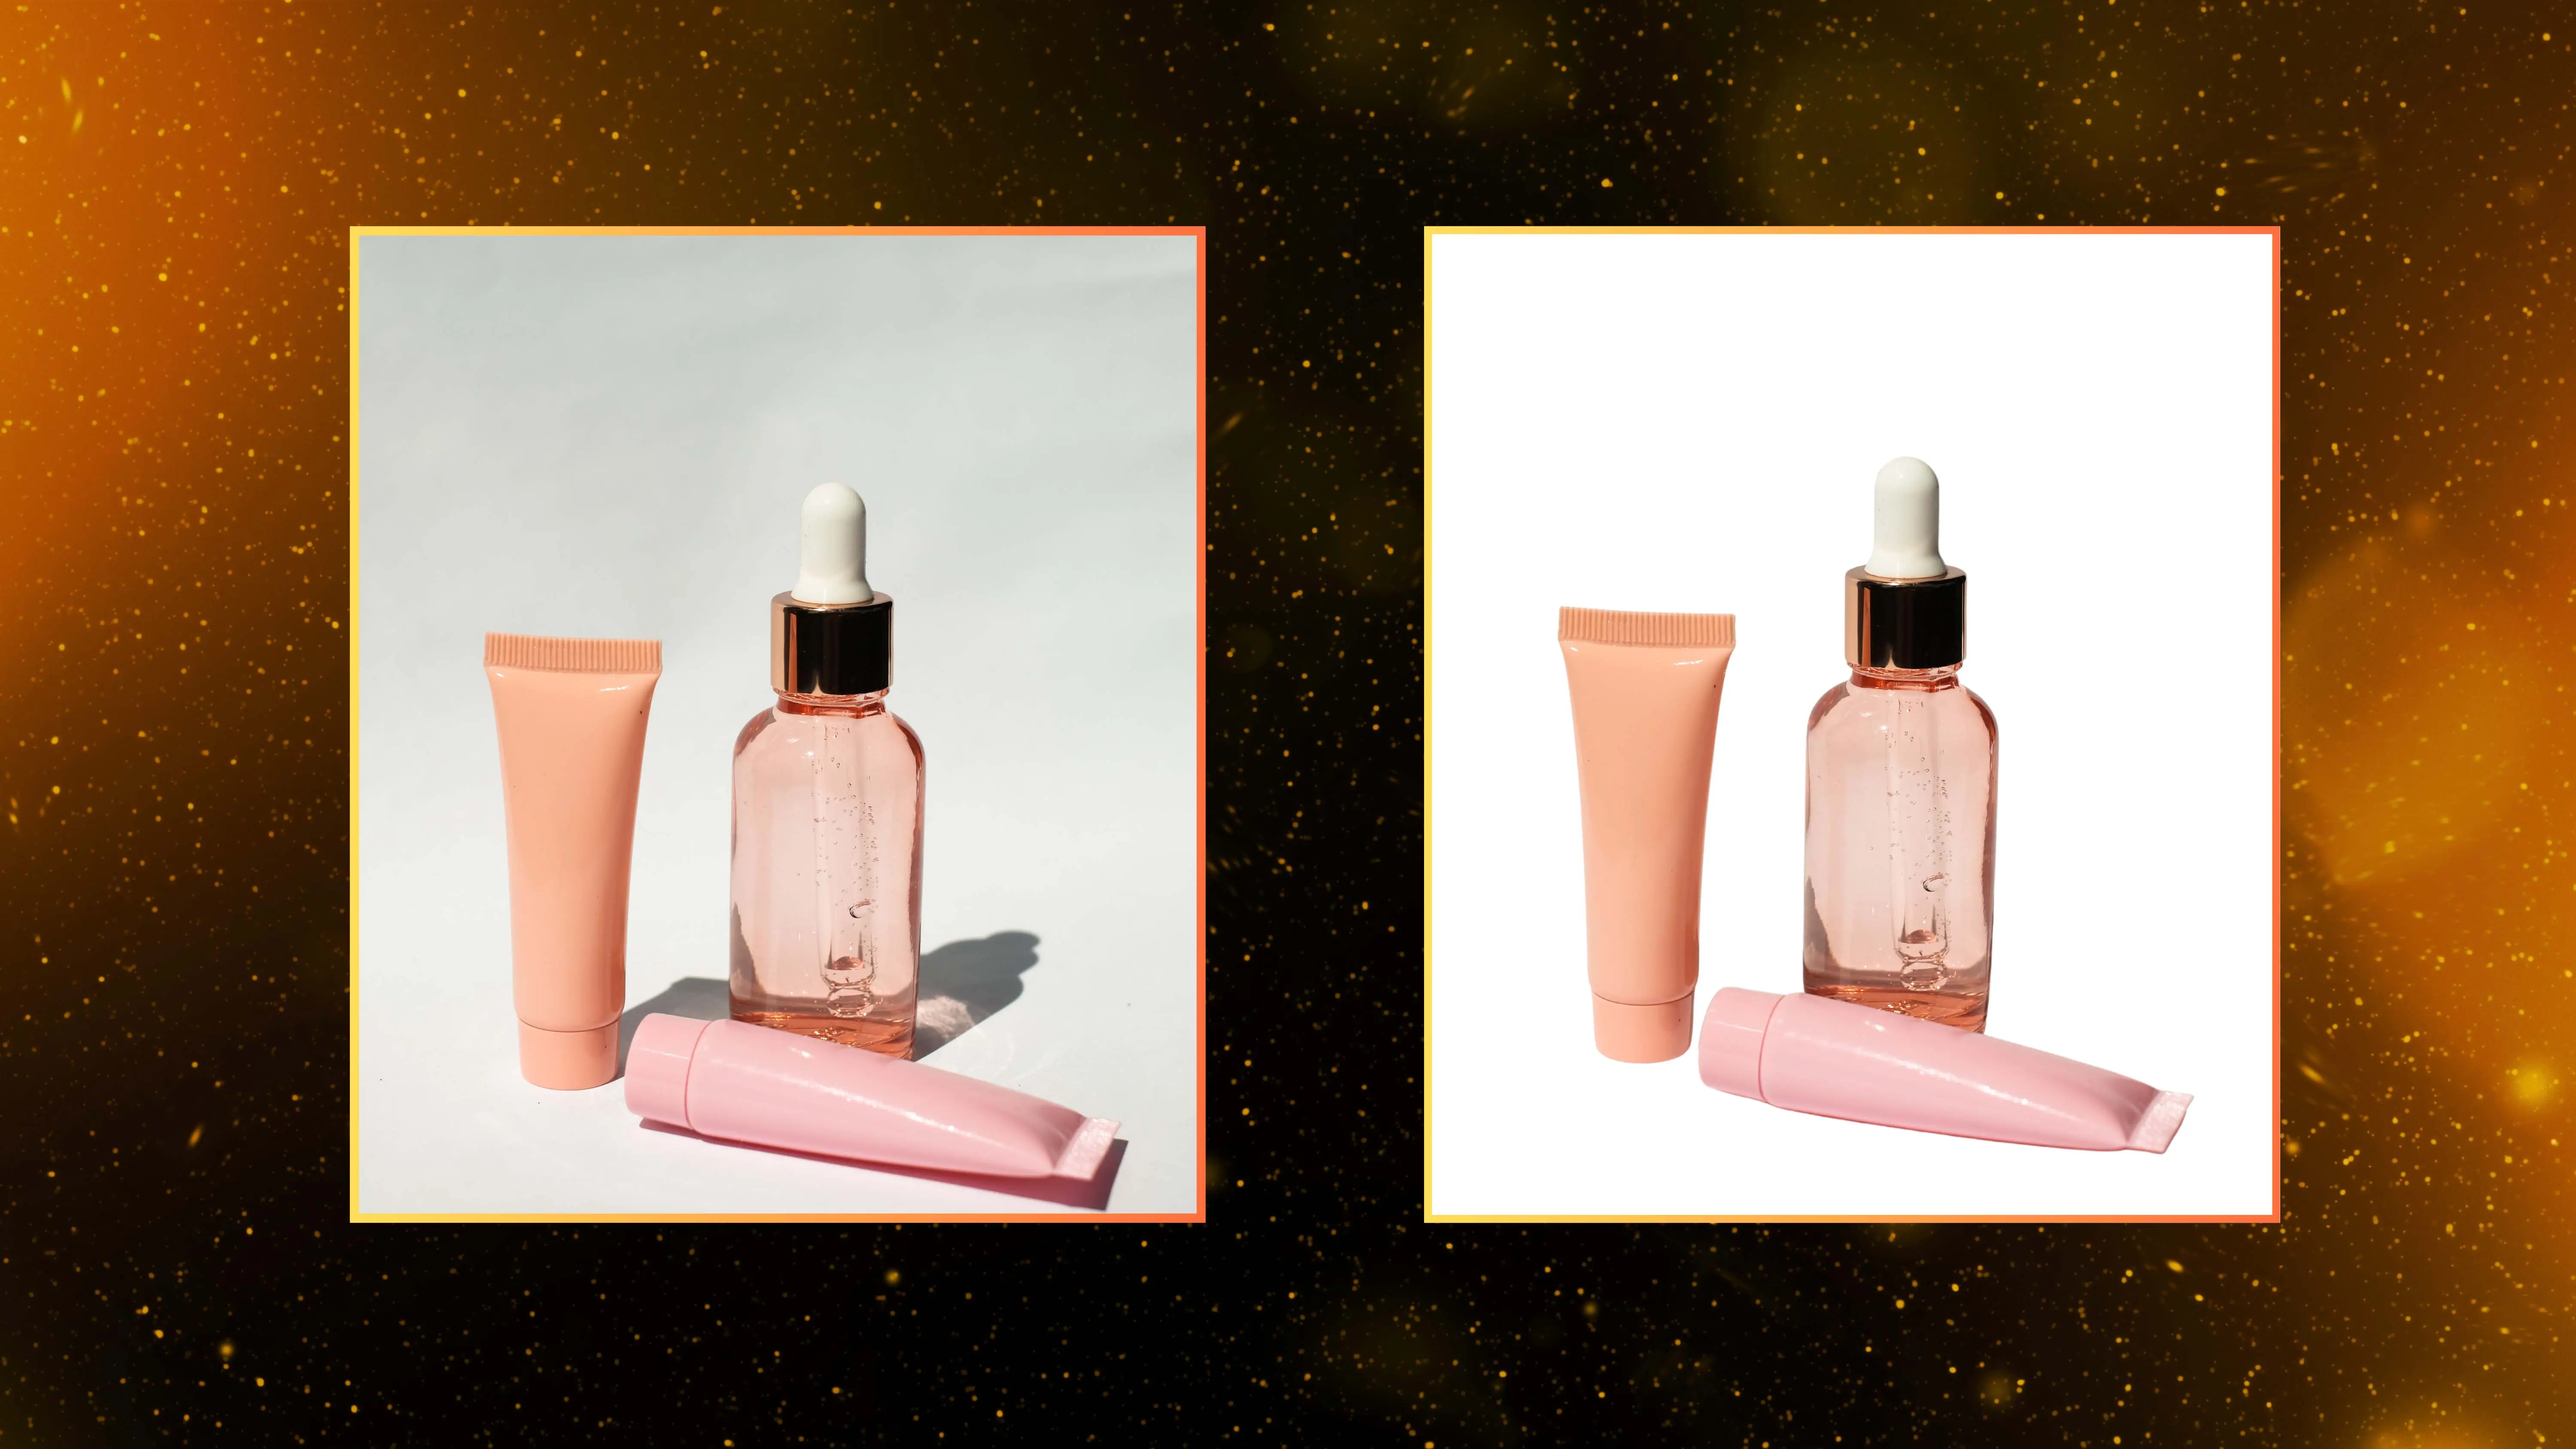
1) The “Classic Studio” Shot
.webp)
Every good Etsy listing contains a simple studio shot. That’s the one where all you see is the product, on a clean background.
Depending on the size or complexity of your product, you might need to grab two or three of these photos. They help buyers to understand the product and see any relevant details.
2) The “Lifestyle” Shot
To help buyers to imagine how they might use your product, you could try capturing some lifestyle images.
This could be a bookstand doing its job on a shelf, a model wearing your jewelry, or cooking utensils being used in a kitchen.
The key to taking good lifestyle shots is to make the scene look authentic, while still focusing on the product. Aim to set the scene, but keep your lens on the star of the show.
3) The “Small Details” Shot
.webp)
With handmade and bespoke products, much of the beauty is in the detail. Potential customers may not notice these finer points in studio or lifestyle images, so you might want to dedicate some time to close up photography.
That is your chance to pick out the small things that really matter. This could be the quality of your stitching, the glaze on your pottery, or the grain of hand-polished wood furniture.
4) The “Sense of Scale” Shot
When you browse in a real store, it’s easy to gauge whether any individual product is the right size for your needs. But online, that sense of scale is harder to find.
To help out your customers, you could capture one or two photos that provide a sense of scale. To make this work, you need to place your product next to a universal item, or a human hand, which can provide a reference.
5) The “Provenance” Shot

When people buy from Amazon, they usually don’t care where that product came from. But on Etsy, shoppers are looking for something unique or handmade.
As an Etsy seller, you can use images to deliver your artisanal backstory. All you need to do is capture yourself adding the finishing touches to your product, or even take a snap during the packaging process.
Want to get even more creative? Check out this post on e-commerce product photography for even more ideas!
7 Key Principles for Better Etsy Product Photos
Now we have a full understanding of the assignment, it’s time to look at the process behind product photography.
1) Yes, You Can Use Your iPhone
Let’s get straight to the point. If you have a DSLR, use it. If you don’t, your phone will do just fine.
In fact, there are advantages to using your phone.
With a camera, you have to transfer photos across to your computer and spend time in Photoshop before you can upload the pics. With your phone, you can quickly shoot, edit, and upload in minutes. And potential customers probably won’t notice any difference.
2) Lighting Is Super Important
No matter what kind of camera you’re using, lighting is really important.
Most products look their best in bright, diffused light. If you can host your photo shoot outside, or near a window, natural light works well. It makes colors sing, and warm evening light adds that Instagrammable glow.
If you need to shoot indoors, we recommend using some powerful table lamps as your light sources, or a dedicated flash with a diffuser on the front.
On the flip side, you should probably avoid using the built-in flash on your camera or phone.
Why? Direct flash might be better than shooting in total darkness, but the harsh light creates overblown highlights and deep shadows. And the “Blair Witch Project” look probably isn’t going to help you sell on Etsy.
3) Cut Down On Distractions
When you take photos for your Etsy store, your product should always be the star of the show. For this reason, it’s worth paying attention to any possible distractions as you line up each shot.
If you can see clutter, you need to take action. The easiest fix is simply to hang up a plain sheet behind your product. If you can find a big enough sheet, you could just place your product on top of this DIY background.
If you’re serious about Etsy success, you could spend a little cash on a small pop-up lightbox studio. These cost as little as $30, and they provide a perfect white background for smaller products. Some even have built-in lighting for that extra professional polish.
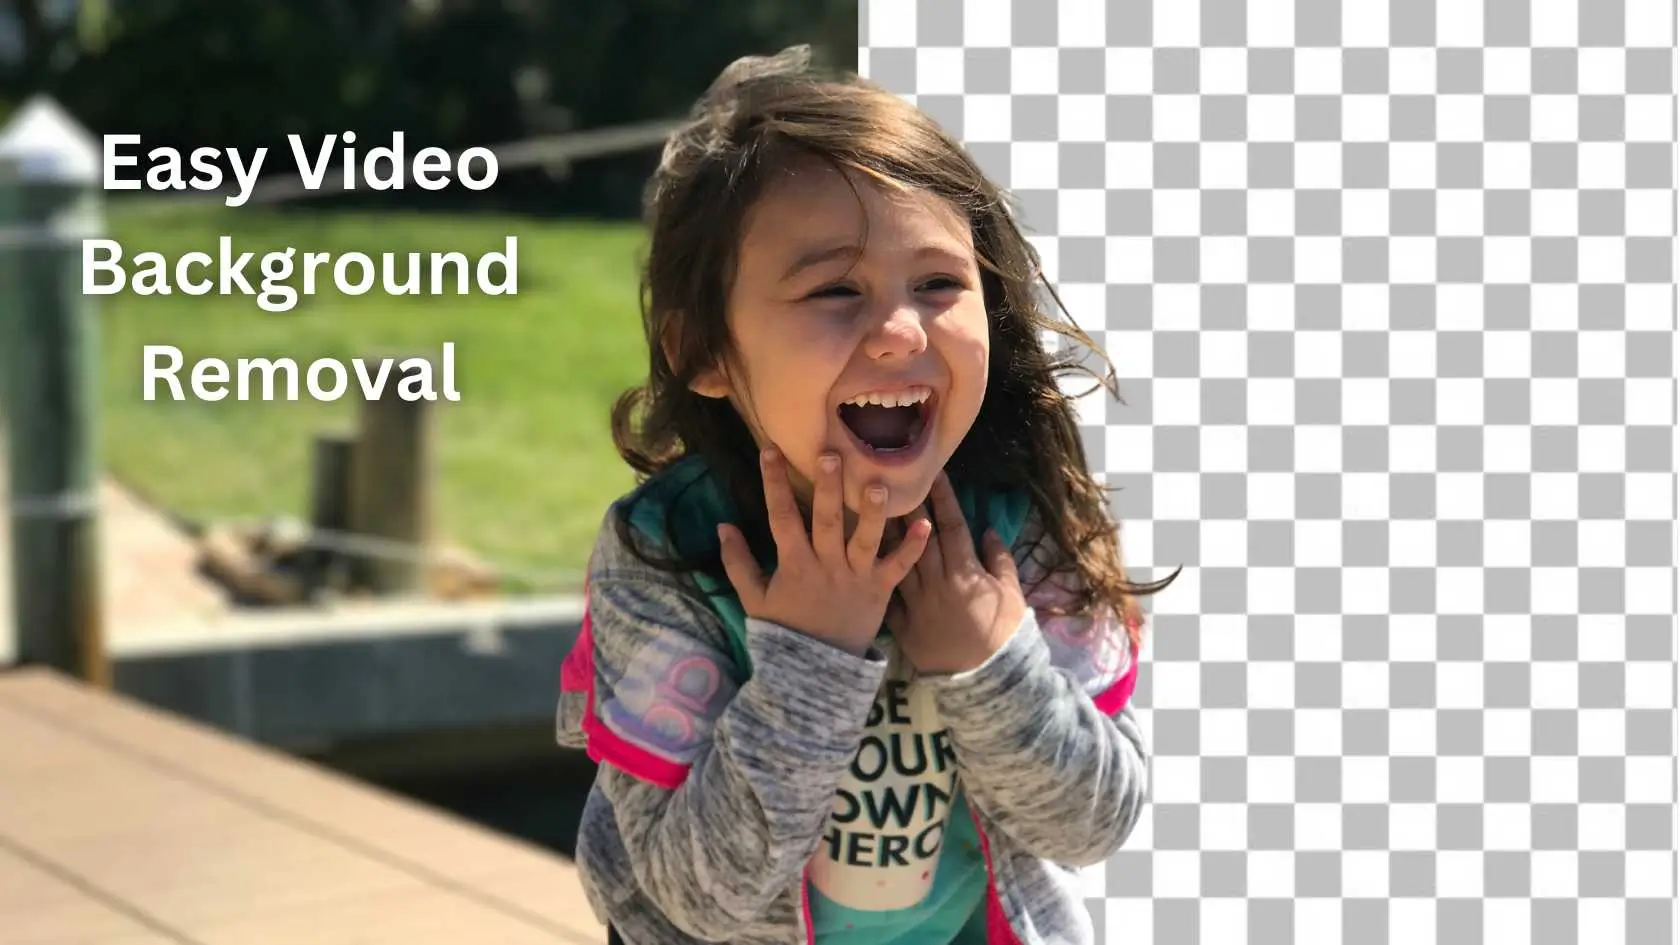
Bear in mind that there is a digital option, too. If you snap a product using the PhotoCut app on your iPhone, you can easily remove the background with a quick swipe.
4) Experiment With Different Angles
Beginners in Etsy product photography often don’t give too much thought to angles. It’s only natural to shoot from eye or waist height, after all.
But to grab the attention of potential buyers, you might want to get a little more creative. The last thing that anyone wants to see is 10
5) Get Creative With Props
When you're taking photos for your Etsy listings, don't be afraid to get creative with props. Adding props can help enhance your product photos and give potential buyers a better idea of how the product will look in everyday use.
For example, you could fill your handmade desk organizer with pens or place some vegetables on your bespoke chopping board. Just make sure that the props don't distract too much from the main product.
6) Pay Attention to Etsy Image Sizing and Formats
When you're shooting and editing photos for your Etsy listings, it's important to consider how the images will be displayed on the platform.
Etsy recommends composing photos in landscape or square format to highlight the product in the center of the frame. Avoid shooting or cropping photos in portrait format, as important parts of the image may get cropped out by the Etsy interface.
Make sure your images are high quality, with a resolution of at least 2000 pixels along the shortest side and 72 PPI. For thumbnails, aim for a 4:3 ratio with a margin around the product, and consider shooting specific photos for this format if needed.
7) You Need a Good Photo Editing App
Having a good photo editing app is essential for editing and resizing your product photos for your Etsy listings.
Even if you take great photos, a photo editor can help you adjust lighting, color, remove dust spots, add frames, and insert text. Consider using a dedicated editing app for sellers like PhotoCut, which offers more advanced features like cutting out products, adding backgrounds, drop shadows, and reflections for visual interest.
You might also be interested in


FAQ’s
I recommend checking out our detailed step-by-step guide on How to Use a Free Photo Editor. It covers everything from downloading and installing to using the essential tools and techniques for enhancing your photos.