Step-by-Step Guide for Taking Passport Photos with an iPhone
Of course, taking a passport photo with your iPhone can be a bit tricky, but with good tips, you can easily snap one that would meet all requirements. In this article, we will give you insights on what you need to know to take a good passport photo!
Download the app, NOW!


.png)

.png)


PhotoCut - A Game Changer!
Explore endless tools and templates at your fingertips to customize your new image using the PhotoCut app. They love us. You will too.
.webp)
CAPTAIN SYKE

So much easy to use than the other apps that I have encountered. I'm so satisfied. I fished to clear the background less than a minute! Keep it up🙌🏻
.webp)
Lee Willetts (Dr.Drone Doomstone)
Great app, used alongside text on photo, you can create some great pics. Hours of fun.
.webp)
Bran Laser
I always erase and cut something with this it is very op there is no bug and I made a picture for my channel very nice install it now!
.webp)
ZDX Gaming
The Best Photo Editor .. Not Many Can Actually Cut Pictures Perfectly Like this App been looking for something like this for a long time 💔😂 Nice App I recommend it Giving it 5 star
.webp)
Small Optics
Best app of this type out there, it does nearly all of the work for you.. Great work developers.
.webp)
Emilia Gacha
It's really useful and super easy to use and it may be the best background eraser app!
.webp)
kymani ace
This is a really nice app I love how it let's me do lots of edits without paying for anything and there isn't even a watermark, very good app.
.webp)
Nidhish Singh
Excellent apps and doing all the work as expected. Easy to use, navigate and apply to any background after cut out.
.webp)
Adrian
Been using this app for many years now to crop photos and gotta say, really does what it's supposed to and makes photo's look realistic. Recommend it very much.
.webp)
Indra Ismaya
Easy to use, very usefull
.webp)
Barbie Dream
I love this app! You can edit and change the background i been using it for months for my video! Keep it going.
.webp)
Kaira Binson
Ouh..finally i found a good app like this..after instalking 6-8 apps ..i finally get the right one...easy..free...so cool...but maybe pls..adjust your ads..in this app..thanks☺
.webp)
Tara Coriell
I payed for premium but it was only a 1 time payment of 5.29 and I love this app. There are a lot of nice features

Engels Yepez
Great app for edit photos, it include an interesting IA function for apply effects to your pics

Azizah ahmad
This apps is awesome compared to other photo cut apps. I have tried several photo cut apps but all of them was bad. And finally i found this app, super easy to use, have feature smart cut and smart erase. Awesome !!
.webp)
Galaxy Goat
The app is incredible! I erased a background and added it into a new background in less then 20 seconds. Normally it takes 10-20 minute's on other apps. Highly recommend
.webp)
Victor Maldonado
I been having a few issues with app can't zoom in like before and its not like it use to what happen i paid for this app not liking the new upgrade
.webp)
Lynsiah Sahuji
more accurate in removing background, didn't required so much effort. love this! ❤️


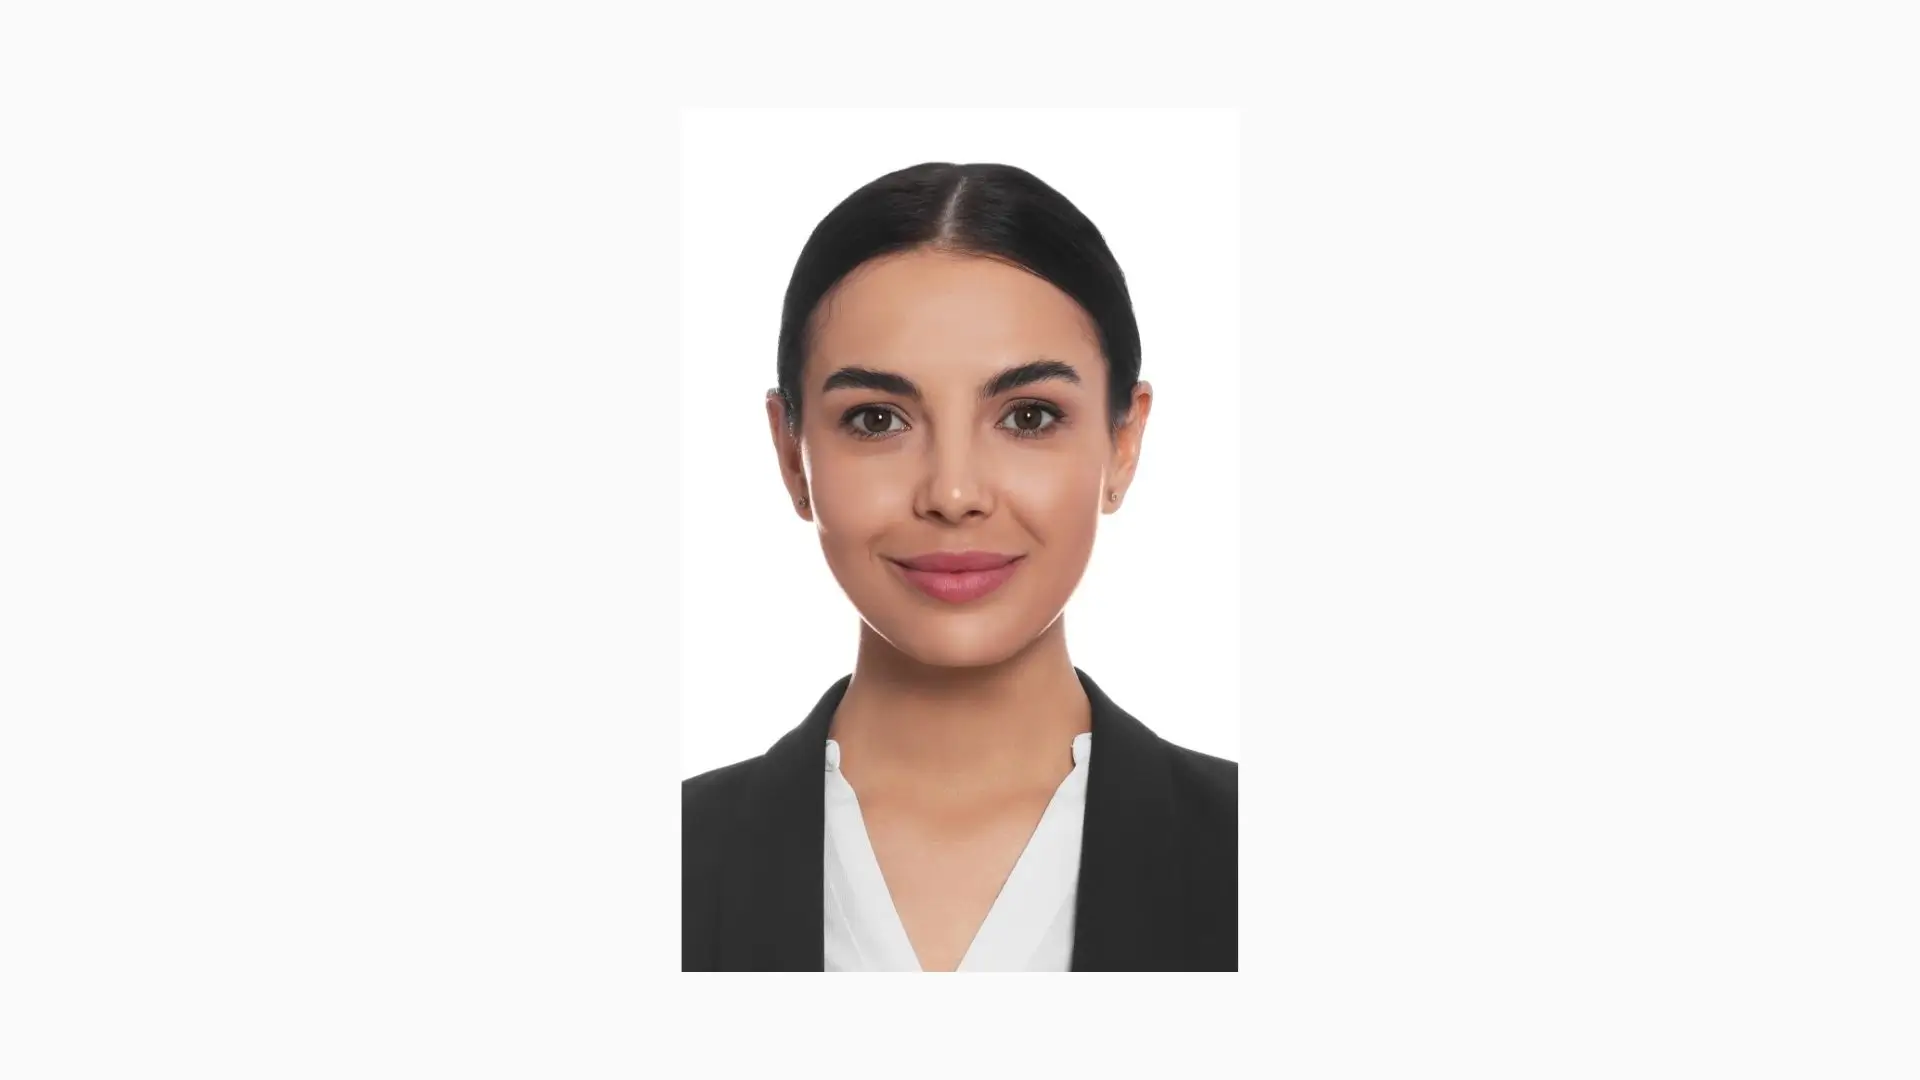
Passport Photo Requirements
Before you go clicking away, here are some of the photo requirements for passport photos:
- The size of the picture needs to be 2x2 inches.
- Your head in the photo has to be between 1 and 1.4 inches.
- It must be a recent photo taken in the last 6 months.
- Expression must be neutral with your eyes looking directly at the camera.
How to Take Passport Photo With iPhone
If you can't make it to a professional studio, don't worry! You can still take a great passport photo at home with your iPhone. Just follow these simple steps:
1. Keep Your Face Clear
Make sure your face is visible by removing any accessories that cover it. You can wear natural makeup but avoid extreme looks. Check your country's guidelines for specific rules.
2. Choose a Light Colored Background and Neutral Lighting
Stand in front of a white or beige background with neutral lighting. Avoid harsh shadows and make sure your skin looks natural. Natural lighting is best for a clear photo.
3. Set Your Parameters of Your iPhone
Use the rear camera for sharper shots. Set up a mirror to help with positioning. Avoid using filters or effects on your camera.
4. Frame Your Pose
Position yourself in the middle of the frame with your head and shoulders visible. Make sure the camera is straight and square to your face. Take a test shot and adjust as needed.
5. Start Taking Pictures
Keep a neutral expression and look directly at the camera. Take multiple shots to choose from. If using a self-timer, turn on continuous shooting mode.
6. Edit Your Passport Photos
Once you've selected the best photos, edit them to meet the requirements. Use your phone's editing features to crop and adjust as needed. Consider using background removal software for a professional look.
Tips for Taking a Great Passport Photo with Your iPhone

To get satisfying results on your first attempt, here are some picture suggestions to help you acquire a nice passport photo as quickly as possible! Please follow these suggestions!
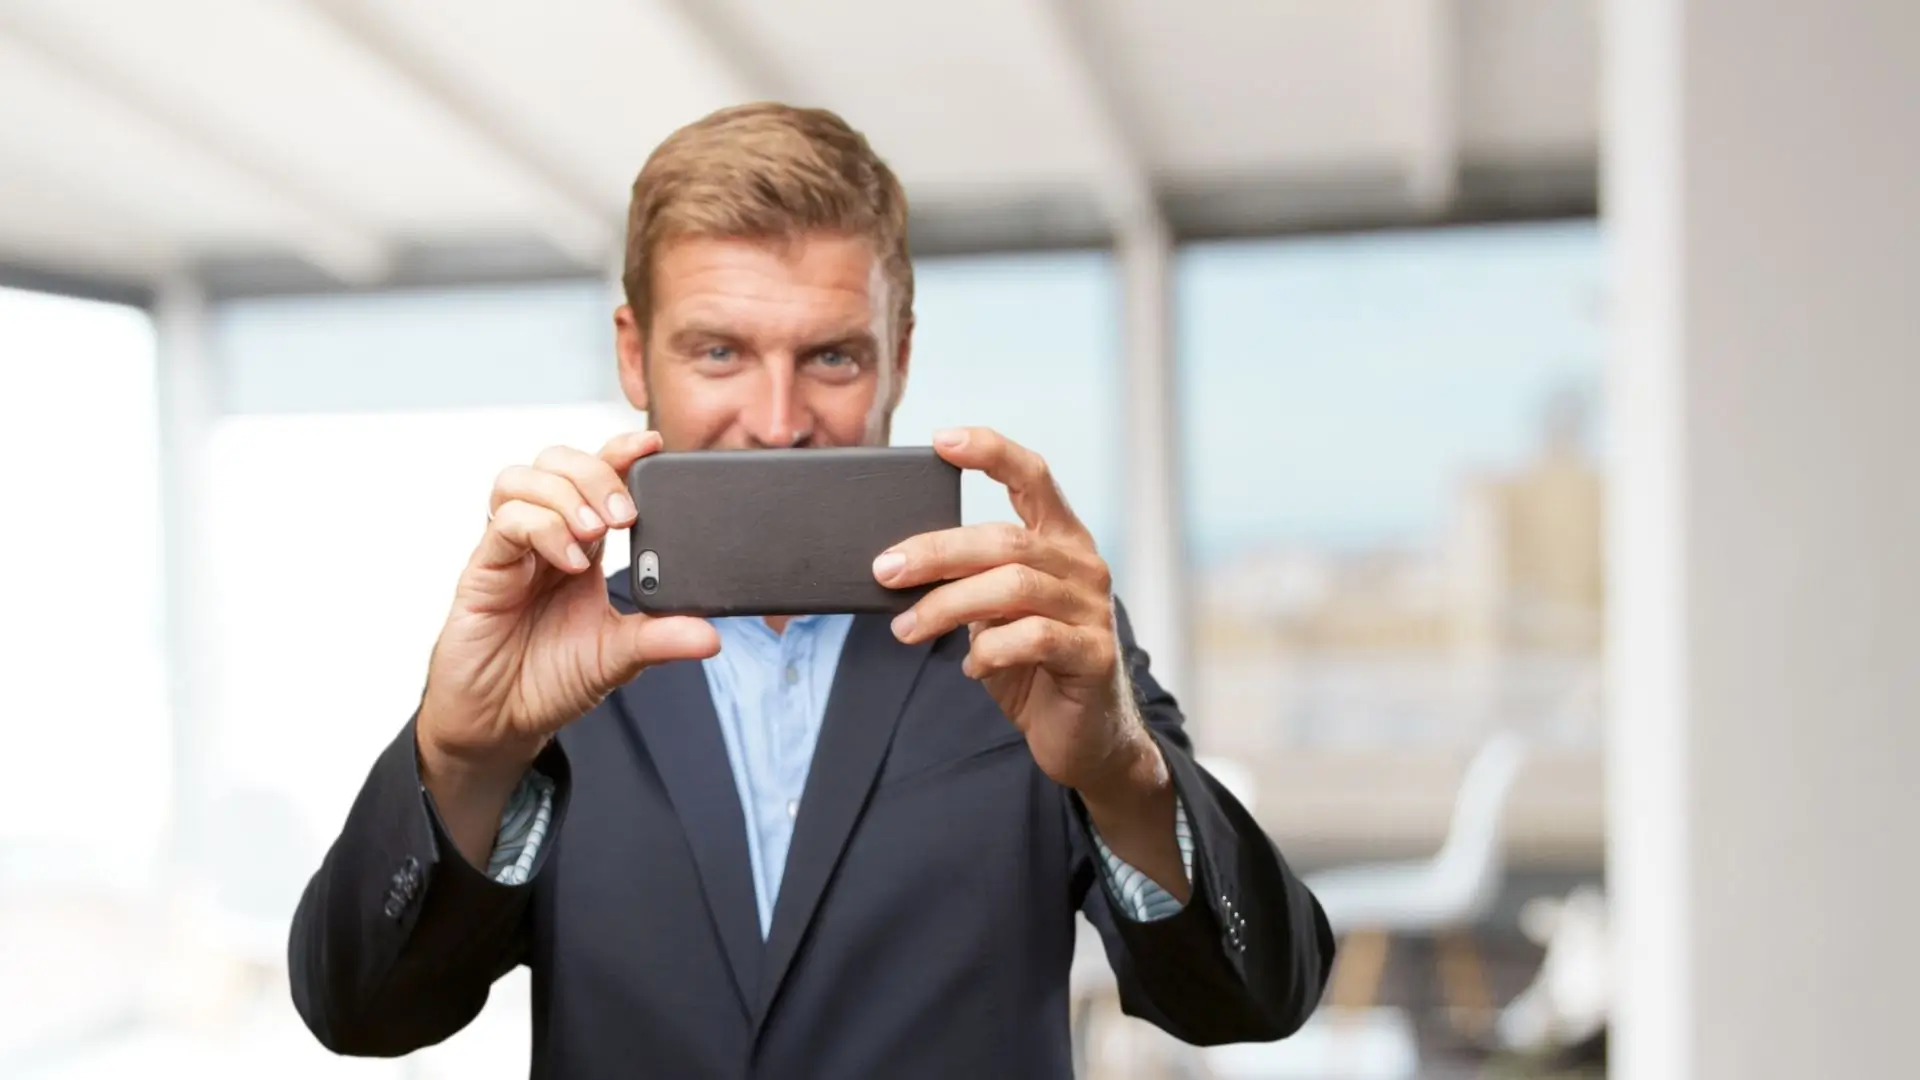
Posture and Camera Distance
For taking a passport photo from an iPhone, one has to stand 1.5 meters away from the cameraman, half a meter away from your back to the wall at the back. Stand up straight with your shoulders rolled back and look straight into the camera without bending your head. Remember not to pose and push your chin forward to avoid a double chin. It's best to use a tripod or ask for help instead of taking a selfie.
Adjust the Lighting Correctly
For a good passport photo, you need a medium light source that casts an even light on your face. Avoid bright lights that create strong shadows. You can place a light behind or high above the photographer, or use a ring light with a phone holder.
Pick a Light-Colored Background
Your passport photo should have a light gray, light blue, or cream-colored background rather than a plain white one. Similarly, one should not stand in front of a complex or patterned background and must avoid the presence of any object in the picture.
Wear Casual Clothes
Wear everyday clothes (not a uniform) for your passport photo. Avoid pure white colors that blend in with the background. Headwear is usually not allowed, except for religious reasons. Glasses and hearing devices are generally prohibited, but you can wear them if you have a prescription.
Proper Facial Expressions
Keep a neutral facial expression for your passport photo. Avoid frowning, opening your mouth, showing your teeth, or laughing. You can appear friendly by slightly elevating the corners of your mouth. Make sure to keep your eyes open and visible without tilting or turning your head.
Conclusion
It is quite convenient to take passport photos with your iPhone; however, you will have to do it right so that you get a good passport photo. It will save you time, money, and the hassle of going to the photo studio if you follow this guide on how to prepare a passport photo.
FAQs
Q1: Can I take passport photos with my iPhone?
Ans: Yes, you can take passport photos with your iPhone as long as you follow the required guidelines set by the official passport regulations in your country, including sizing, background, and lighting.
Q2: What are the official requirements for passport photos?
Ans: Generally, passport photos should be in color, 2x2 inches in size, taken within the last six months, with a plain white or off-white background. Your face should be fully visible and evenly lit, with no shadows or glare.
Q3: What equipment do I need besides my iPhone?
Ans: Besides your iPhone, you might need a tripod or a stable surface to hold your phone steady, a plain white backdrop (like a wall or a white sheet), and possibly good lighting (natural light is ideal).
Q4: How should I position my iPhone for the best photo?
Ans: Position your iPhone at eye level, approximately 4-6 feet away from where you’ll be standing. This distance helps capture the full face and the top of the shoulders without distortion.
Q5: What’s the best lighting for taking passport photos?
Ans: Natural lighting is optimal for passport photos. Find a location with soft, diffused light, such as near a window, avoiding harsh sunlight which can cause shadows or glare on your face.
Q6: Do I need to use a specific app to take the photo?
Ans: While the default camera app on your iPhone is suitable, there are also apps designed for taking ID or passport photos that can help ensure compliance with size and cropping requirements.
Q7: How can I ensure my face is properly positioned in the photo?
Ans: Stand or sit straight with your head and shoulders square to the camera. Make sure your face is centered in the frame and fill the frame with your head and upper shoulders.
Q8: What should I wear for the passport photo?
Ans: Wear normal, everyday clothing. Avoid uniforms, and ensure your outfit is neutral-colored and not too distracting. Avoid white clothing as it can blend in with the background.
Q9: Can I wear glasses or head coverings in the photo?
Ans: You can wear glasses; however, ensure there’s no glare and your eyes are clearly visible. Head coverings for religious reasons are allowed, but your face must be fully visible from ear to ear and forehead to chin.
Q10: What should I do after taking the photo?
Ans: Review the photo to ensure it meets all the requirements. If necessary, use photo editing apps to crop the image to the correct size (2x2 inches) or adjust brightness, but avoid excessive editing that alters your appearance.
You might also be interested in


FAQ’s
I recommend checking out our detailed step-by-step guide on How to Use a Free Photo Editor. It covers everything from downloading and installing to using the essential tools and techniques for enhancing your photos.