How to Remove Green Screen in Photoshop?
Learn how to easily remove a green screen in Photoshop with our step-by-step guide. Say goodbye to unwanted backgrounds and create professional-looking images with just a few simple techniques.
Download the app, NOW!


.png)

.png)


PhotoCut - A Game Changer!
Explore endless tools and templates at your fingertips to customize your new image using the PhotoCut app. They love us. You will too.
.webp)
CAPTAIN SYKE

So much easy to use than the other apps that I have encountered. I'm so satisfied. I fished to clear the background less than a minute! Keep it up🙌🏻
.webp)
Lee Willetts (Dr.Drone Doomstone)
Great app, used alongside text on photo, you can create some great pics. Hours of fun.
.webp)
Bran Laser
I always erase and cut something with this it is very op there is no bug and I made a picture for my channel very nice install it now!
.webp)
ZDX Gaming
The Best Photo Editor .. Not Many Can Actually Cut Pictures Perfectly Like this App been looking for something like this for a long time 💔😂 Nice App I recommend it Giving it 5 star
.webp)
Small Optics
Best app of this type out there, it does nearly all of the work for you.. Great work developers.
.webp)
Emilia Gacha
It's really useful and super easy to use and it may be the best background eraser app!
.webp)
kymani ace
This is a really nice app I love how it let's me do lots of edits without paying for anything and there isn't even a watermark, very good app.
.webp)
Nidhish Singh
Excellent apps and doing all the work as expected. Easy to use, navigate and apply to any background after cut out.
.webp)
Adrian
Been using this app for many years now to crop photos and gotta say, really does what it's supposed to and makes photo's look realistic. Recommend it very much.
.webp)
Indra Ismaya
Easy to use, very usefull
.webp)
Barbie Dream
I love this app! You can edit and change the background i been using it for months for my video! Keep it going.
.webp)
Kaira Binson
Ouh..finally i found a good app like this..after instalking 6-8 apps ..i finally get the right one...easy..free...so cool...but maybe pls..adjust your ads..in this app..thanks☺
.webp)
Tara Coriell
I payed for premium but it was only a 1 time payment of 5.29 and I love this app. There are a lot of nice features

Engels Yepez
Great app for edit photos, it include an interesting IA function for apply effects to your pics

Azizah ahmad
This apps is awesome compared to other photo cut apps. I have tried several photo cut apps but all of them was bad. And finally i found this app, super easy to use, have feature smart cut and smart erase. Awesome !!
.webp)
Galaxy Goat
The app is incredible! I erased a background and added it into a new background in less then 20 seconds. Normally it takes 10-20 minute's on other apps. Highly recommend
.webp)
Victor Maldonado
I been having a few issues with app can't zoom in like before and its not like it use to what happen i paid for this app not liking the new upgrade
.webp)
Lynsiah Sahuji
more accurate in removing background, didn't required so much effort. love this! ❤️


Introduction
Today, we're going to explore the world of green screen editing in Photoshop. This tool isn't just for experts - even beginners can learn how to use it! Mastering this technique allows you to transform images, change backgrounds, and add stunning effects easily.
Getting Started
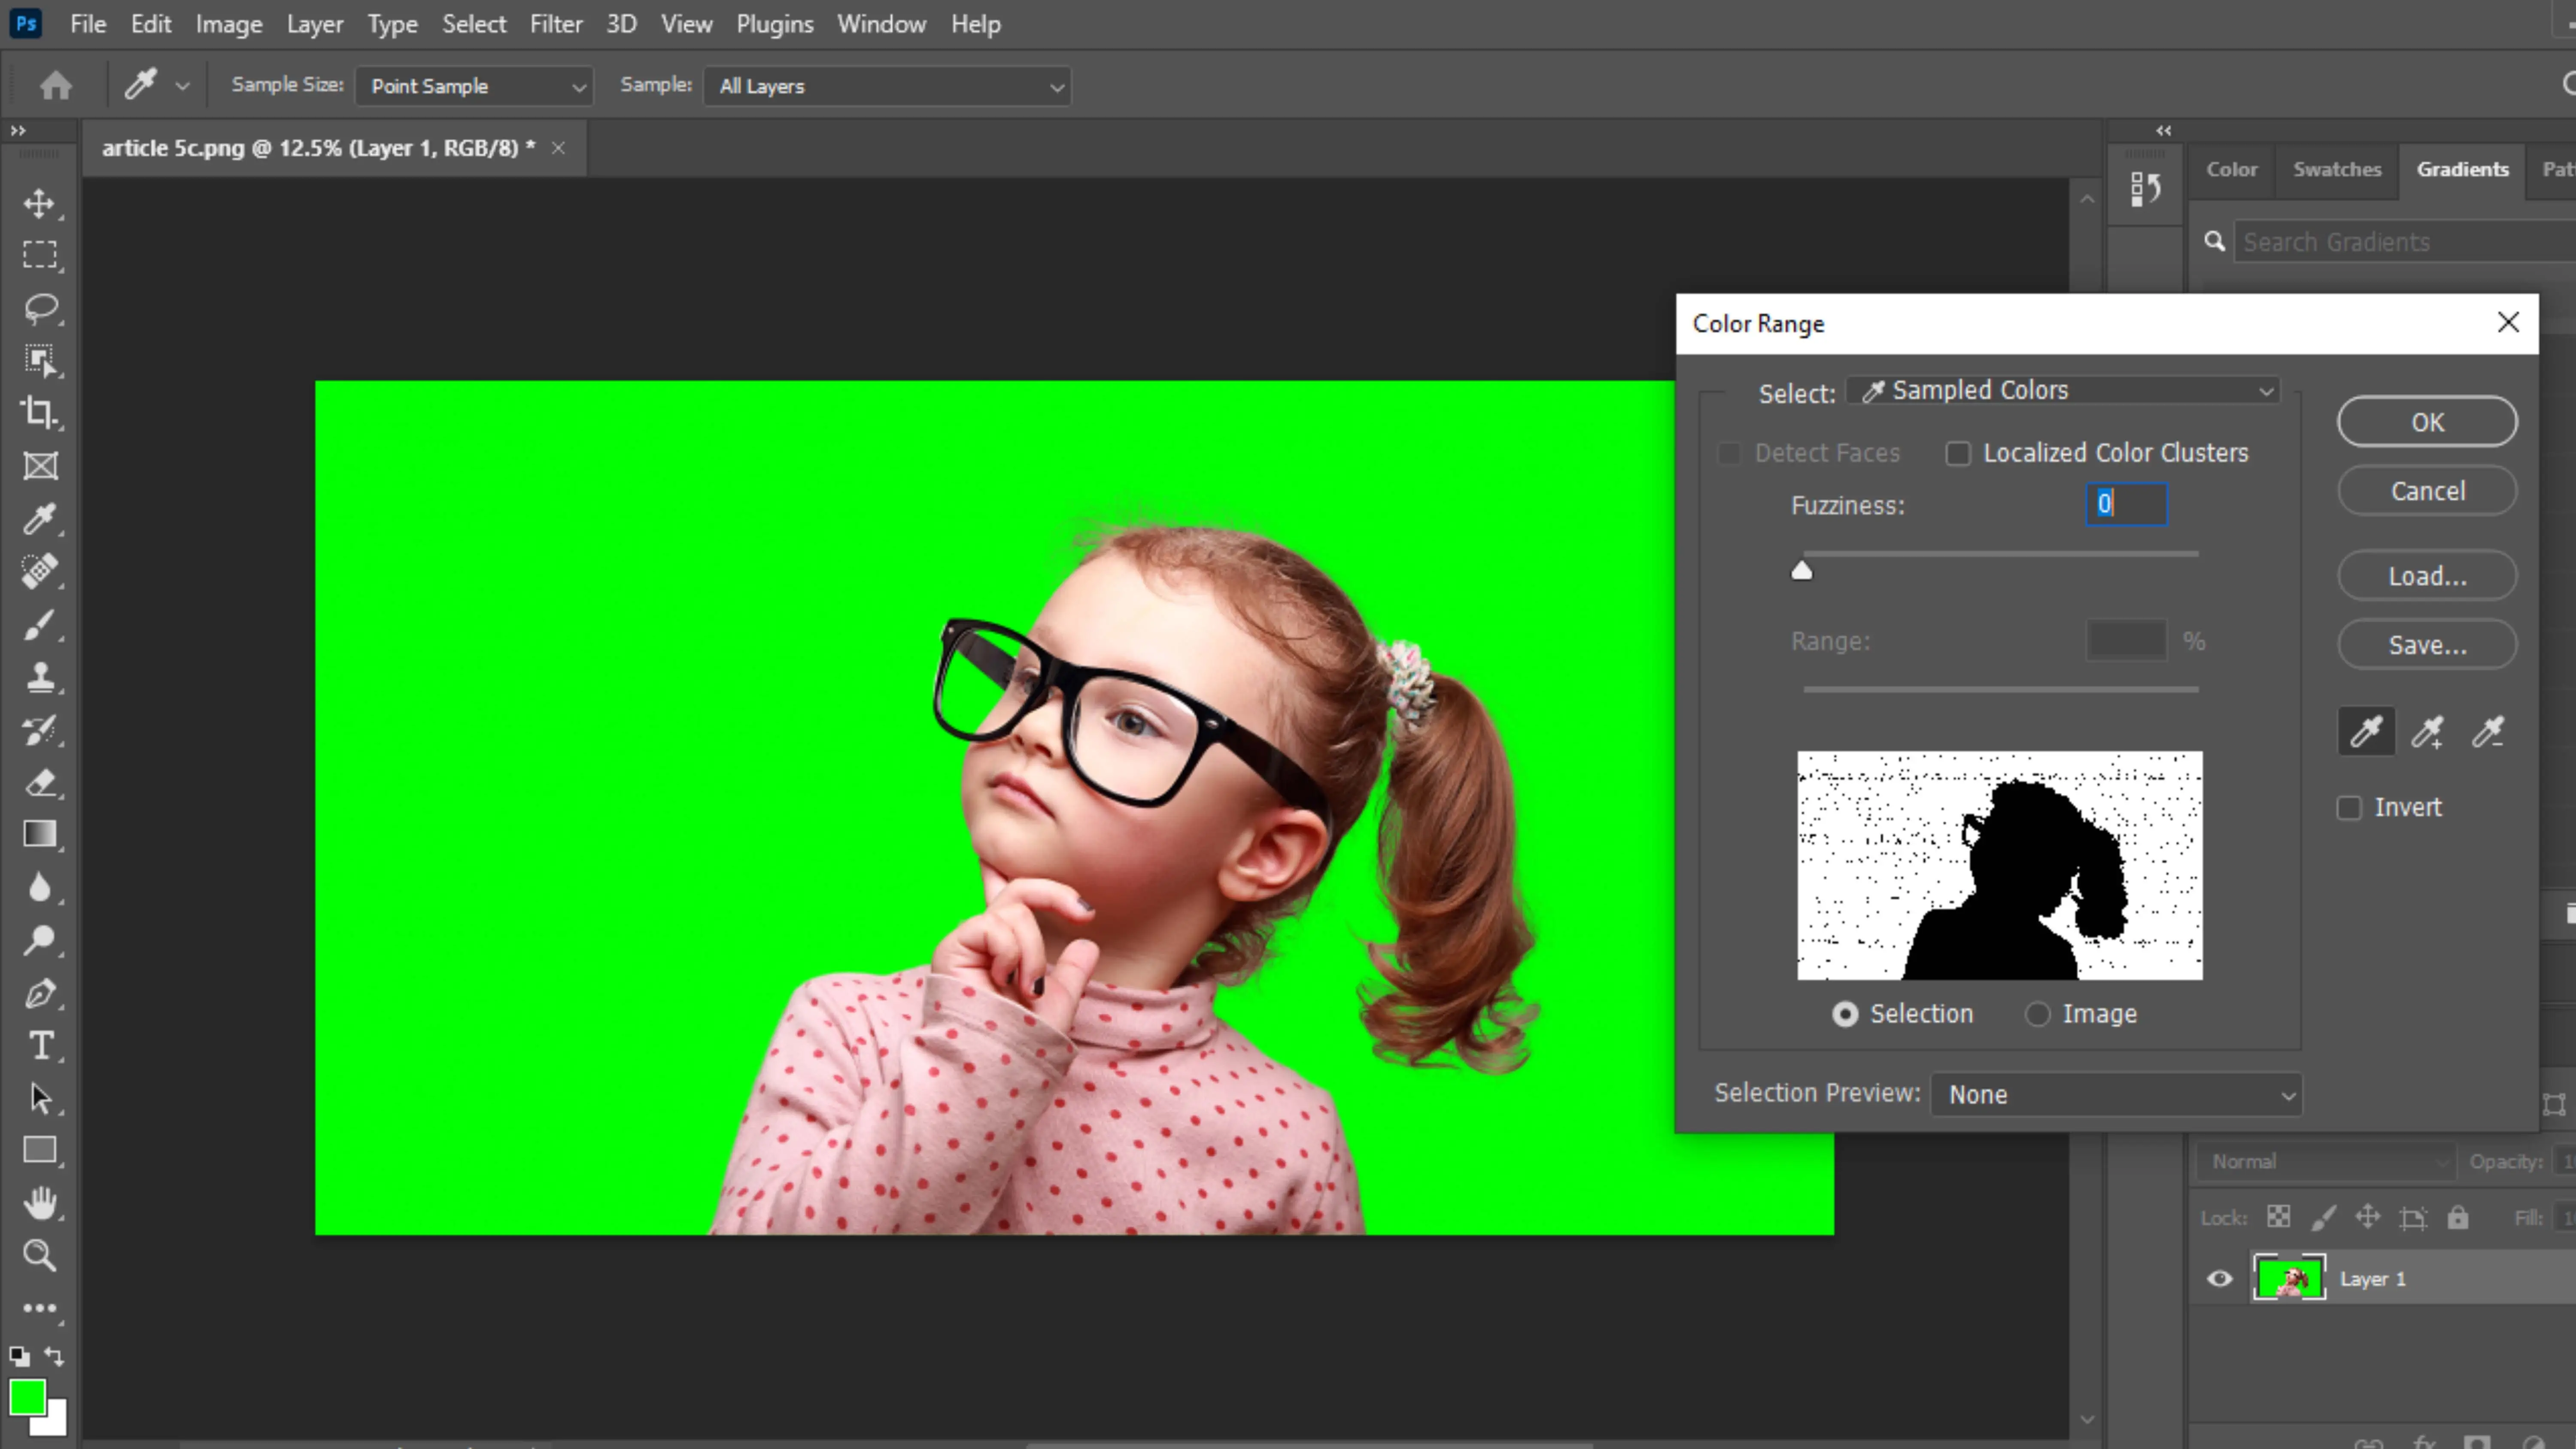
Selecting the Green Screen Layer
The first step is selecting your green screen layer. This can be tricky, but Photoshop has tools to help. One useful tool is the Color Range feature under the Select menu. It's great for selecting specific color pixels, which is perfect for green screen editing.
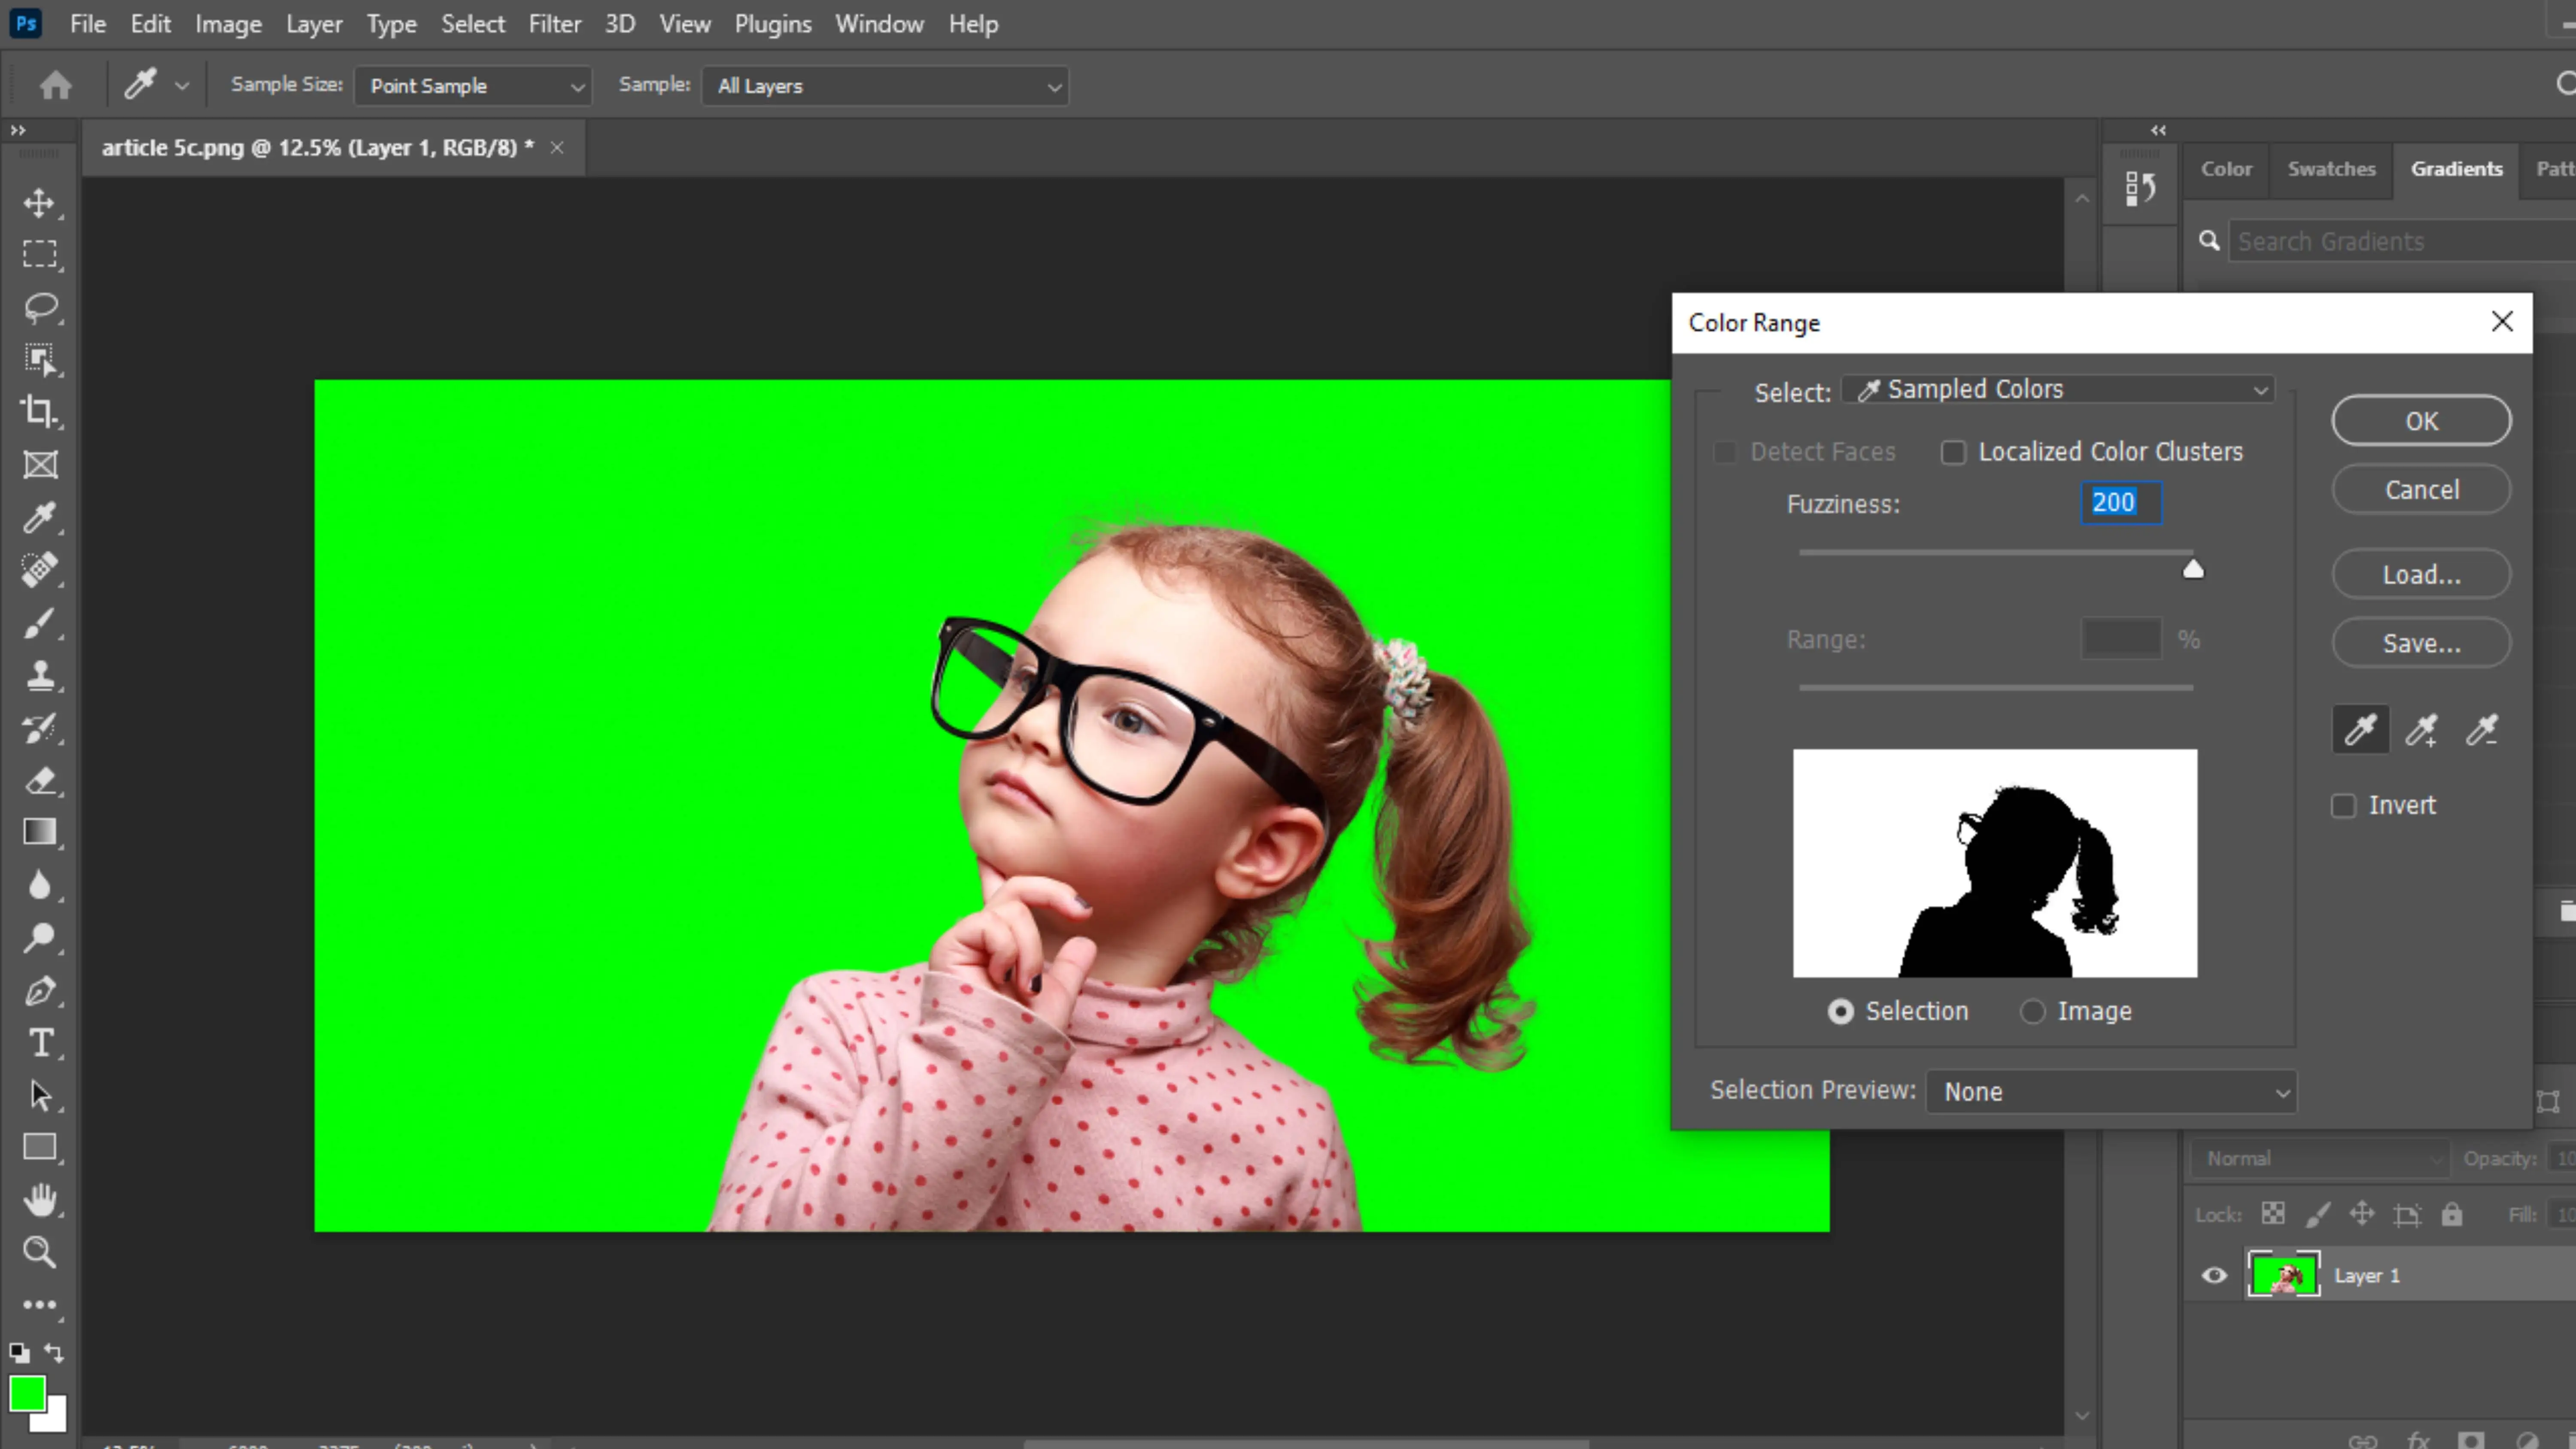
Refining Your Selection
After selecting the green screen areas, you can refine your selection with the Shift key for more accuracy. Make sure to use the Invert box in the Selection Preview to target only the green screen, leaving your main subject untouched.
Editing Green Screen Images
This method makes editing green screen images simple. You can easily color grade or swap the background. Whether you're working on a small project or a big design challenge, this guide gives you the tools and knowledge to make your green screen editing experience creative and fun.
What Is a Green Screen?

A green screen is a bright green surface used in filmmaking, photography, and graphic design. It acts as a backdrop that can be replaced with different images or videos using computer software.
About Green Screen Removal
Green screen removal, also known as chroma keying, is a crucial technique in film and photography. It involves removing a green background and replacing it with a new image or video, creating visually stunning illusions.
What Is Photoshop?
Photoshop is a popular software program for editing and creating images. It's like a digital canvas where you can edit photos, correct colors, and even create new images from scratch. With a variety of tools and features, Photoshop is a favorite among professionals and hobbyists alike.
Step-by-Step Guide
Removing a green screen in Photoshop is a great way to composite images creatively. Here's a step-by-step guide:
Step:1 Start Chroma Keying
Begin by selecting the green screen using tools like the Select Subject button or Color Range.
Step:2 Use the Eyedropper Tool
Select green areas with the Eyedropper tool and add a layer mask to your subject.
Step:3 Add a New Background
Remove the green screen and insert a new background, like a blue sky with clouds.
Step:4 Refine the Mask
Adjust the mask properties to smooth the edges of your selection.
Step:5 Eliminate Fringe Edges
Contract the selection and brush out any leftover fringes.
Step:6 Refine Hair and Remove Green Cast
Refine hair edges and adjust for any green cast on the subject.
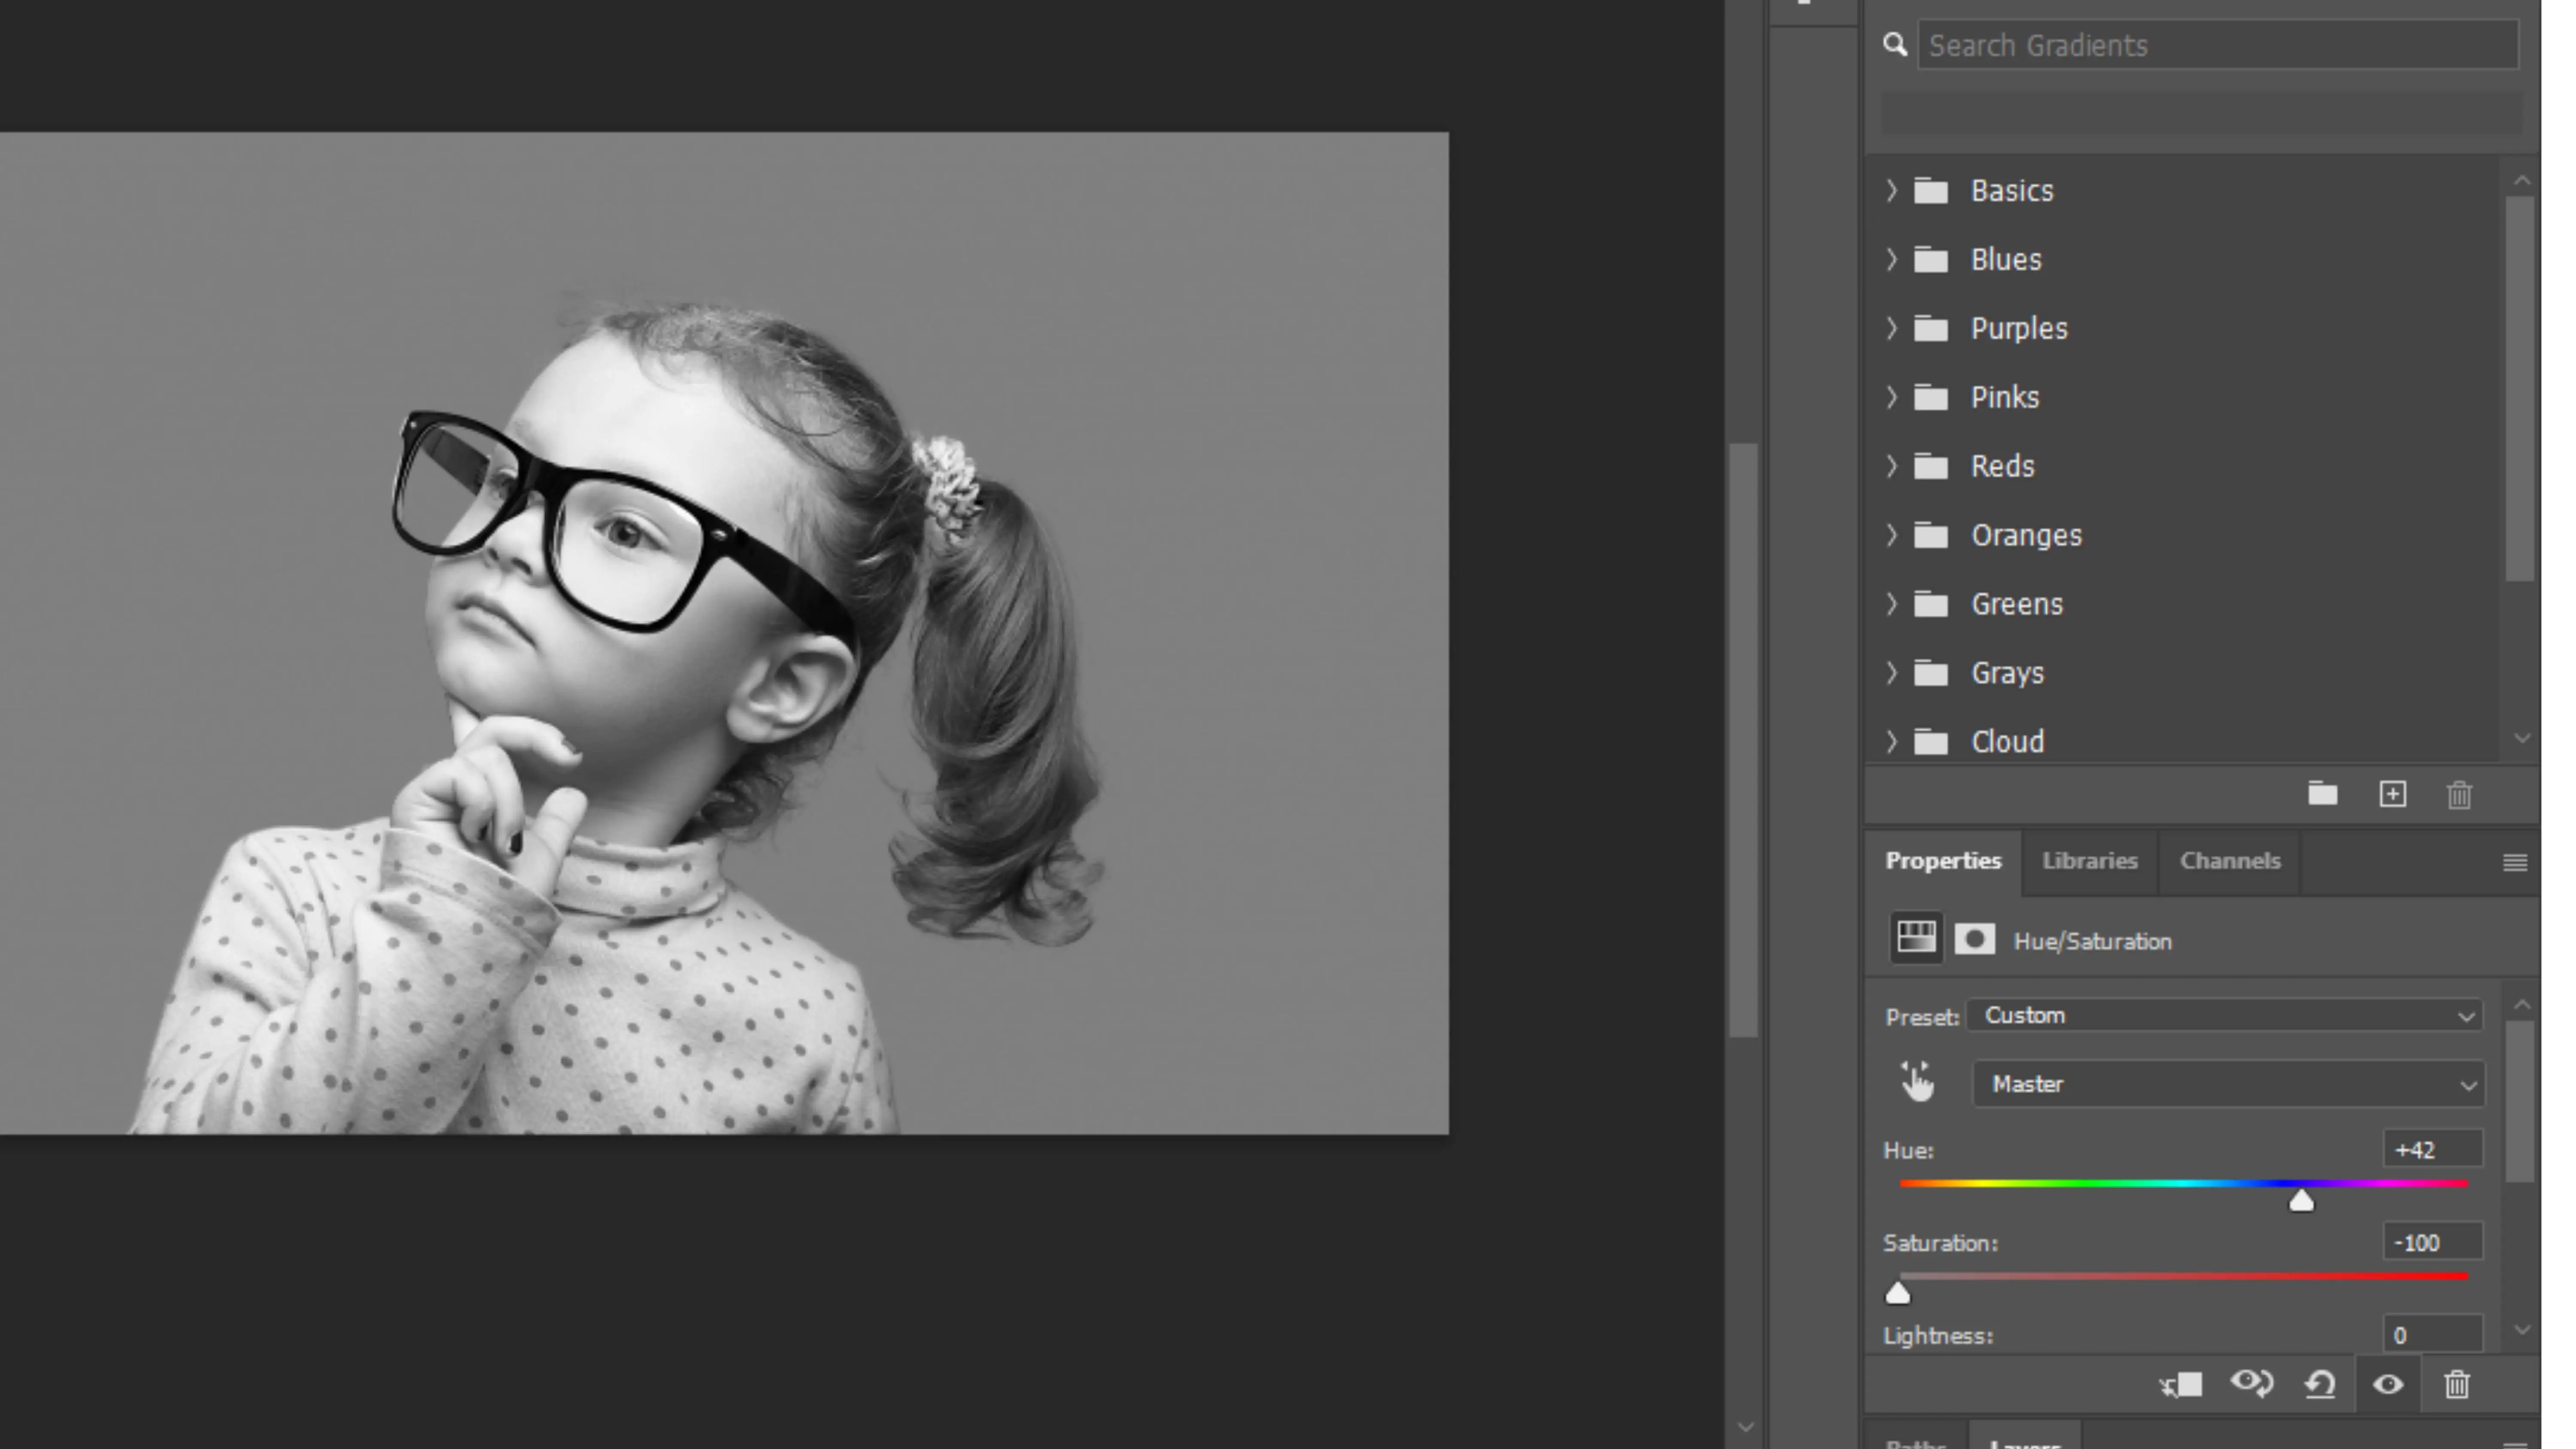
How to Fix a Green Tint in Your Photos with Photoshop
Getting Rid of the Green Tint
Step:1 Adjust the Colors
After removing the green screen background, you might notice a green tint on your subject. To fix this, create a new adjustment layer and select either Green or Yellow from the dropdown menu.
Step:2 Fine-Tune the Settings
Play around with the sliders to decrease the color intensity, brighten the affected areas, and match the natural tones of your subject. Start with Hue: -60, Saturation: -48, Lightness: +40.
Step:3 Mask Out Unwanted Changes
If the adjustments affect areas you want to keep, like clothing, use the layer mask to exclude them. This way, you can maintain the original colors where needed.
Creating a Backlit Hair Effect
Step:1 Duplicate the Subject

Make a copy of the subject layer and place it below the original layer in the stack.
Step:2 Turn Hair White

Adjust the color settings to turn the hair white, setting the stage for the backlit effect.
Step:3 Enlarge and Flip Hair

Enlarge and flip the white hair layer horizontally to create a sunlit strand effect.
Adding a Color Grade
Step:1 Apply Color Lookup Adjustment Layer
Add a Color Lookup adjustment layer and choose 3D LUT: 3Strip. Set the Opacity to 40% for a cohesive color tone.
Step:2 Add a Second Color Lookup Layer
Add another Color Lookup adjustment layer, selecting 3D LUT: Fall Colors. Adjust the Opacity to 20% for a vibrant look.
Using PhotoCut to Remove Green Screen Background
Step:1 Upload Your Image
Go to the PhotoCut website, upload your image with the green screen background, and let the AI technology do its magic.
Step:2 Download the Result
Preview and download the image with the transparent background where the green screen used to be.
PhotoCut is a handy tool for quick edits and creating professional-looking images without the need for advanced graphic design skills.
Why You Should Use an Online Tool for Removing Green Screen
Advantages of Using an Online Tool
Ease of Use
Using an online tool to remove a green screen is super easy. You don't need to be a pro at graphic design or photo editing to get the job done. Just a few clicks and you're good to go!
No Software Installation Required
Forget about downloading and installing complicated software like Photoshop. Online tools save you time and space on your computer. Perfect for those with limited storage or slow computers.
Accessibility
You can access online tools from any device with an internet connection. Whether you're on a computer, tablet, or smartphone, you can remove green screen backgrounds anytime, anywhere.
Speed
Online tools work fast! They can process images in seconds, which is great for when you're in a hurry or have a lot of pictures to edit.
AI-Powered Accuracy
Many online tools use fancy AI technology to automatically detect and remove green screens with amazing accuracy. It's like having a robot do all the hard work for you!
Cost-Effective
Online green screen removal tools are often free or more affordable than professional software. This means you can get high-quality results without breaking the bank.
No Advanced Skills Needed
You don't need to be a photo editing expert to use online tools. They do most of the work for you, so anyone can create awesome images without a steep learning curve.
Best Tools to Remove Green Screens Online
PhotoCut

PhotoCut is known for being simple and effective. It uses AI technology to automatically remove green screen backgrounds from images. It's quick, user-friendly, and perfect for beginners and pros alike.
Remove.bg

Similar to PhotoCut, Remove.bg is another popular online tool that uses AI to remove backgrounds. It's great at detecting and cutting out green screens with precision.
PhotoScissors
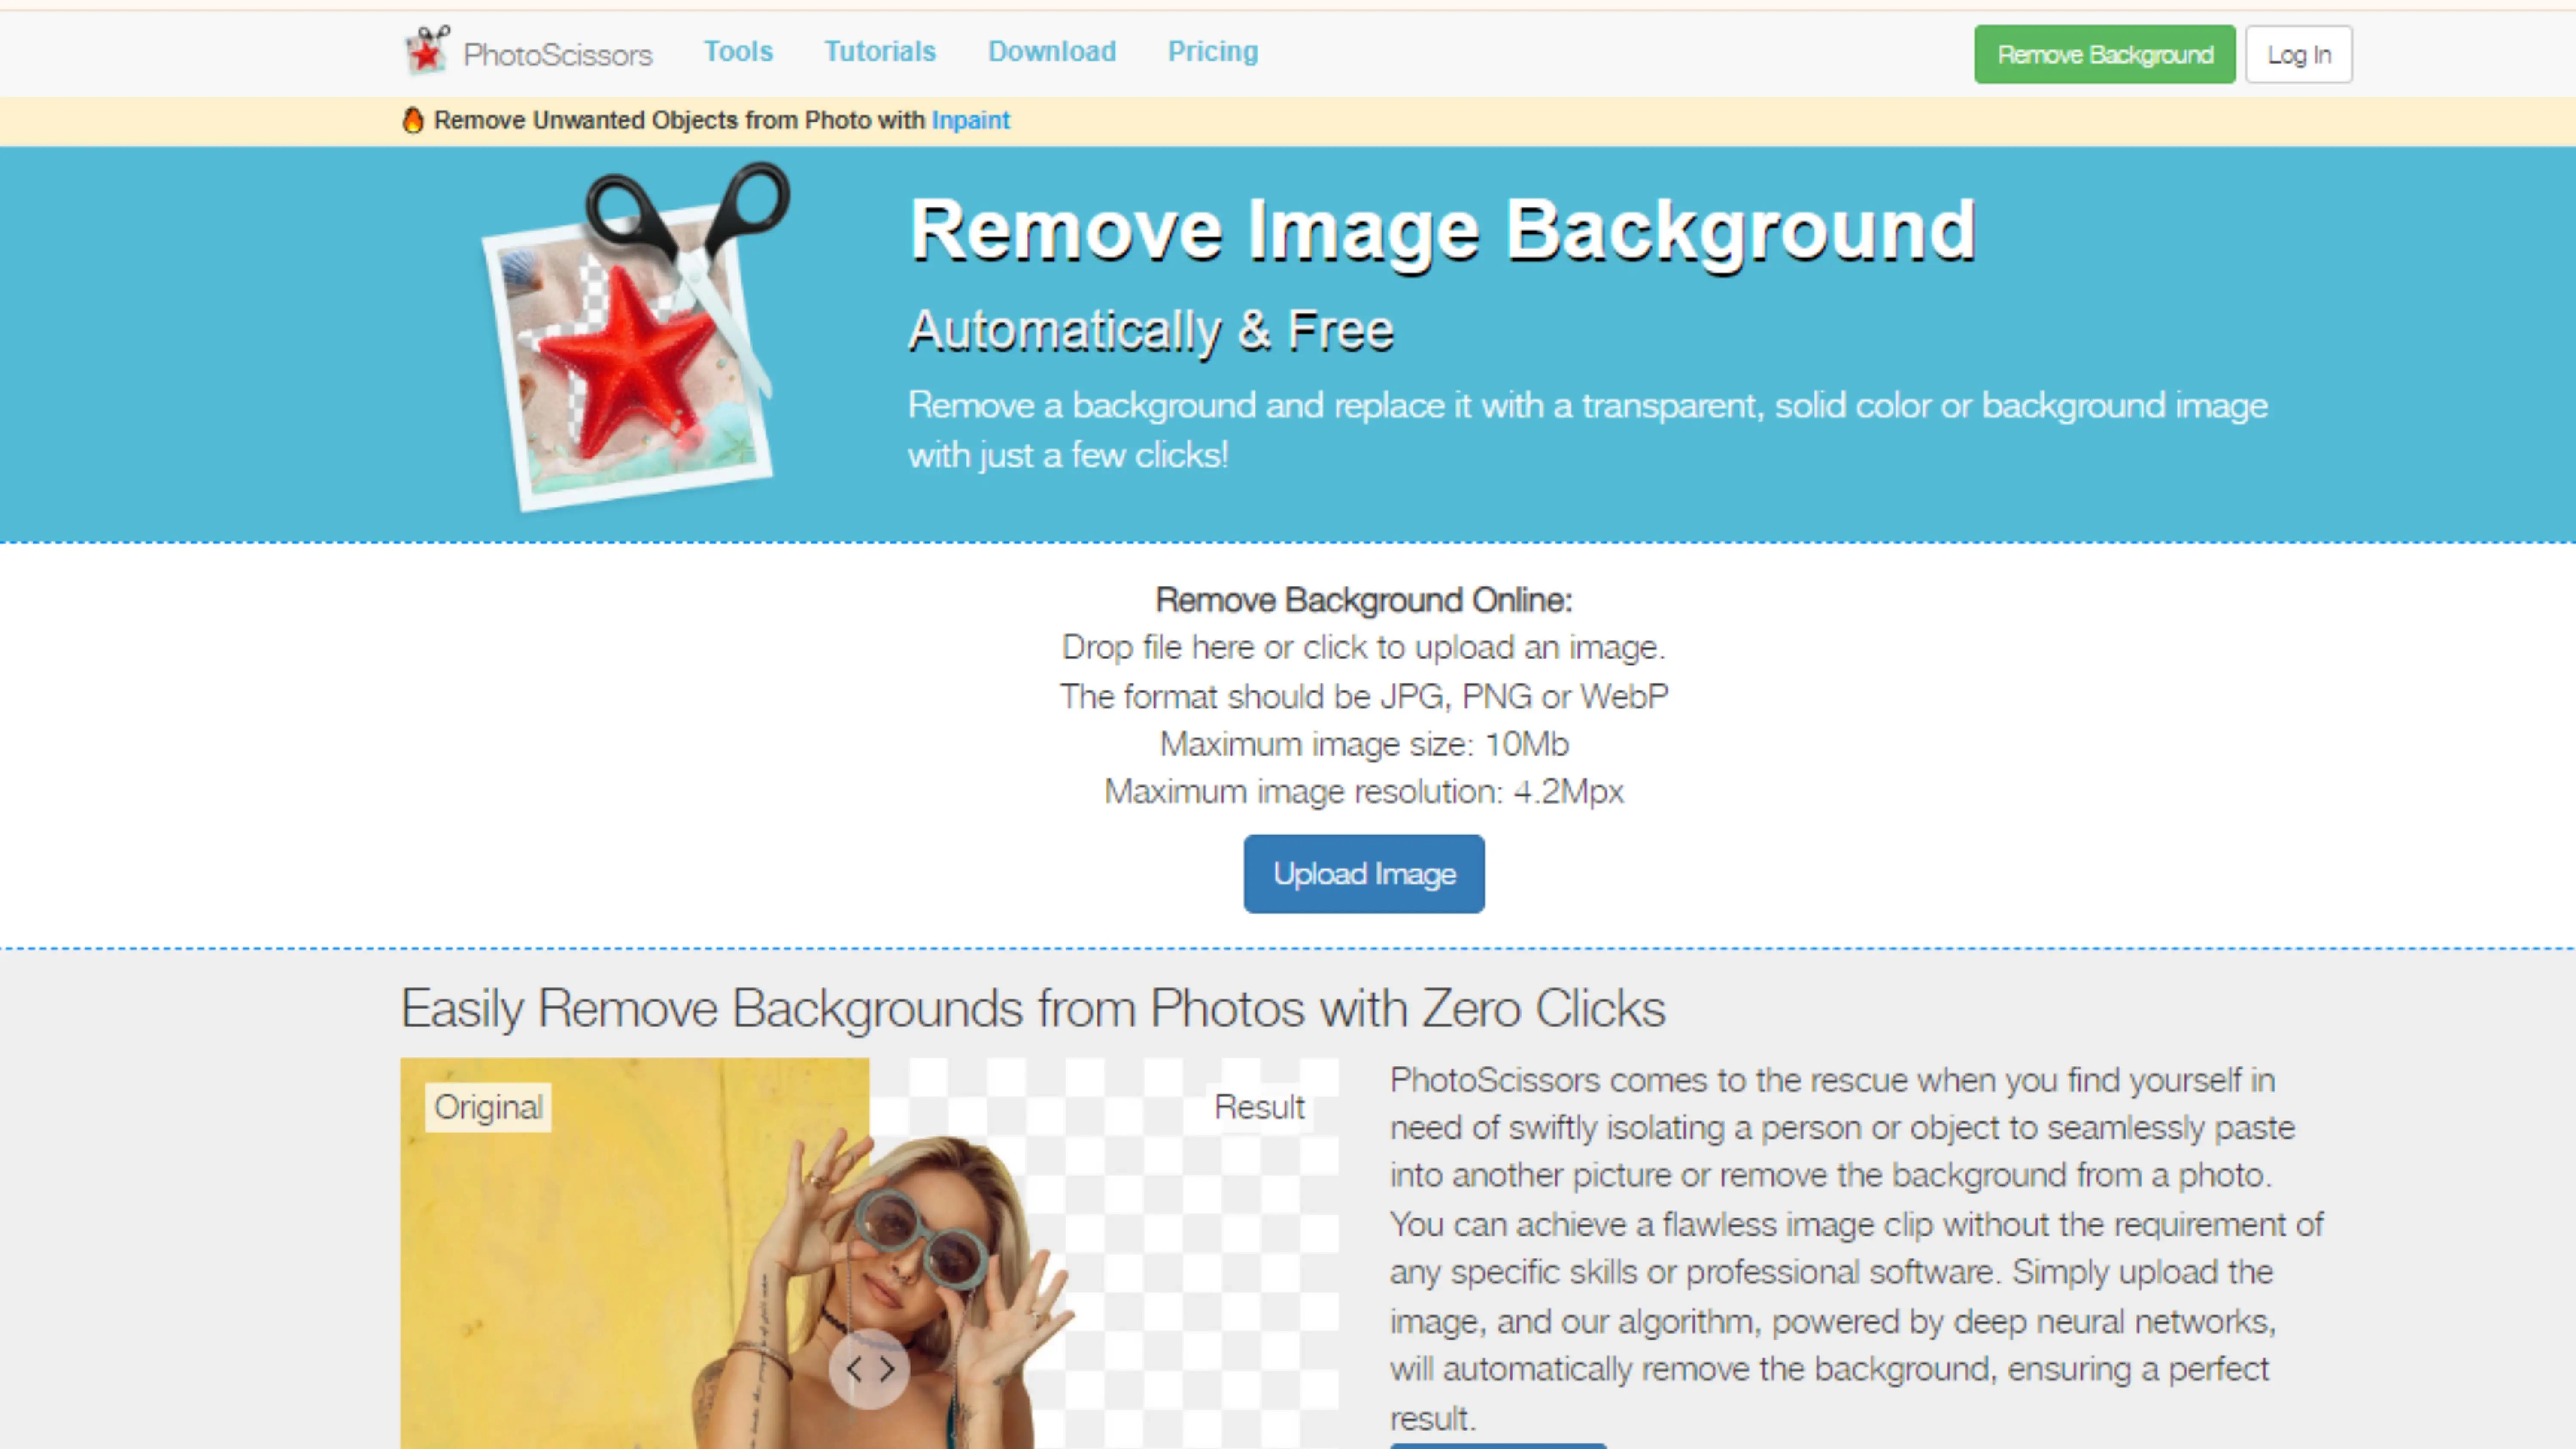
PhotoScissors makes it easy to remove green screens and other backgrounds. You can even add a new background or refine the edges of your cutout.
Unscreen

Unscreen is awesome for removing backgrounds from videos and GIFs, including green screens. It automatically removes the background, making it a top choice for video creators.
FocoClipping
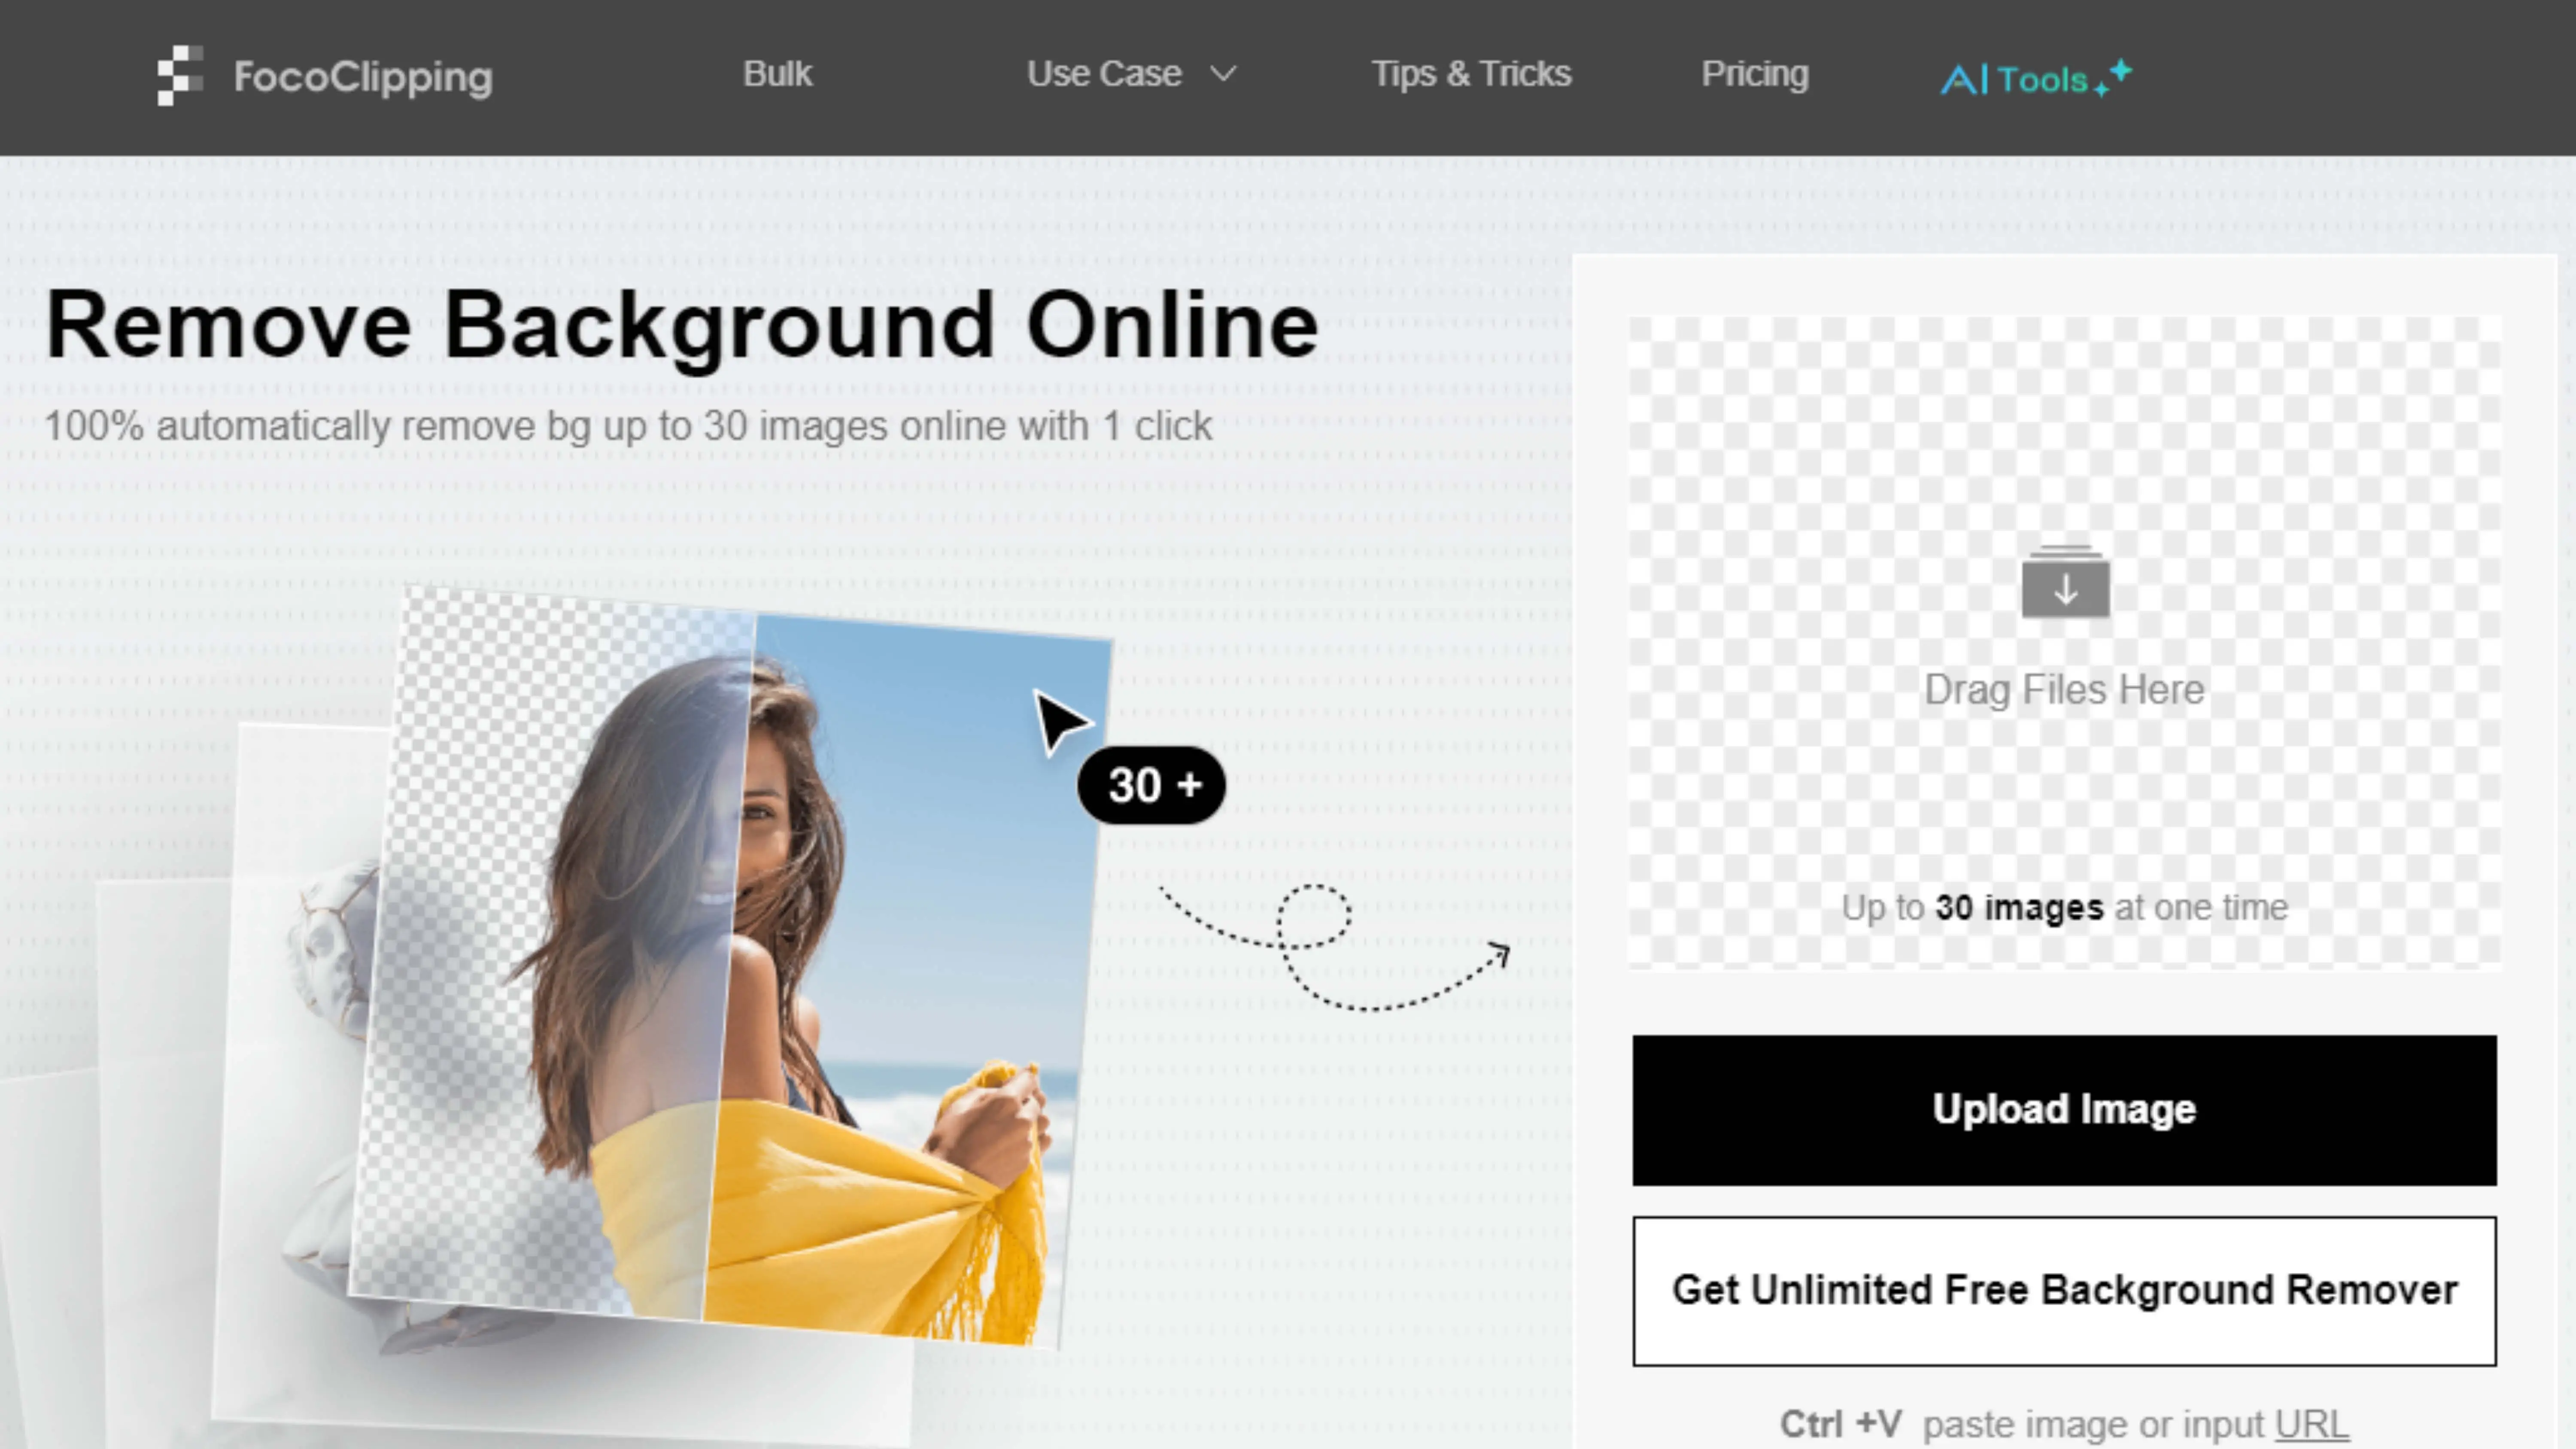
FocoClipping is perfect for handling green screen images, whether you're working on one picture or a bunch at once. It's great for batch-processing multiple files.
Conclusion
Green screen technology is super cool for adding creative backgrounds and effects to photos and videos. But removing green screens can be tricky without the right tools. Luckily, online tools like PhotoCut, Remove.bg, PhotoScissors, Unscreen, and FocoClipping make it easy for anyone to create professional-looking images and videos. These tools cater to different needs and skill levels, with AI-powered precision and user-friendly interfaces. So, whether you're a beginner or a pro, you can master green screen removal with these awesome online tools.
FAQs
Q1. What is green screen technology used for?
Ans. Green screen technology is used in photography and videography to replace the green background with a different image or scene, allowing for creative visual effects.
Q2. Is it difficult to remove a green screen?
Ans. Not with online tools like PhotoCut! They make the process easy for users of all skill levels.
Q3. Can these tools handle video content?
Ans. Yes, tools like Unscreen are designed specifically for removing backgrounds from videos and GIFs.
Q4. Are these online tools free to use?
Ans. Many online green screen removal tools offer free versions with basic features, while some may require a subscription or payment for more advanced options.
Q5. Can I use these tools on my smartphone?
Ans. Most of these tools can be accessed through web browsers, so you can use them on your smartphone or any other device.
Q6. Do I need any special skills to use these tools?
Ans. Nope! These tools are made for everyone, so you don't need any special skills or technical knowledge to use them.
You might also be interested in


FAQ’s
I recommend checking out our detailed step-by-step guide on How to Use a Free Photo Editor. It covers everything from downloading and installing to using the essential tools and techniques for enhancing your photos.