How to Take Amazing Product Photos
Learn the art of capturing stunning product photos with our comprehensive guide. Enhance your photography skills and create amazing visuals. Start today!
Download the app, NOW!


.png)

.png)


PhotoCut - A Game Changer!
Explore endless tools and templates at your fingertips to customize your new image using the PhotoCut app. They love us. You will too.
.webp)
CAPTAIN SYKE

So much easy to use than the other apps that I have encountered. I'm so satisfied. I fished to clear the background less than a minute! Keep it up🙌🏻
.webp)
Lee Willetts (Dr.Drone Doomstone)
Great app, used alongside text on photo, you can create some great pics. Hours of fun.
.webp)
Bran Laser
I always erase and cut something with this it is very op there is no bug and I made a picture for my channel very nice install it now!
.webp)
ZDX Gaming
The Best Photo Editor .. Not Many Can Actually Cut Pictures Perfectly Like this App been looking for something like this for a long time 💔😂 Nice App I recommend it Giving it 5 star
.webp)
Small Optics
Best app of this type out there, it does nearly all of the work for you.. Great work developers.
.webp)
Emilia Gacha
It's really useful and super easy to use and it may be the best background eraser app!
.webp)
kymani ace
This is a really nice app I love how it let's me do lots of edits without paying for anything and there isn't even a watermark, very good app.
.webp)
Nidhish Singh
Excellent apps and doing all the work as expected. Easy to use, navigate and apply to any background after cut out.
.webp)
Adrian
Been using this app for many years now to crop photos and gotta say, really does what it's supposed to and makes photo's look realistic. Recommend it very much.
.webp)
Indra Ismaya
Easy to use, very usefull
.webp)
Barbie Dream
I love this app! You can edit and change the background i been using it for months for my video! Keep it going.
.webp)
Kaira Binson
Ouh..finally i found a good app like this..after instalking 6-8 apps ..i finally get the right one...easy..free...so cool...but maybe pls..adjust your ads..in this app..thanks☺
.webp)
Tara Coriell
I payed for premium but it was only a 1 time payment of 5.29 and I love this app. There are a lot of nice features

Engels Yepez
Great app for edit photos, it include an interesting IA function for apply effects to your pics

Azizah ahmad
This apps is awesome compared to other photo cut apps. I have tried several photo cut apps but all of them was bad. And finally i found this app, super easy to use, have feature smart cut and smart erase. Awesome !!
.webp)
Galaxy Goat
The app is incredible! I erased a background and added it into a new background in less then 20 seconds. Normally it takes 10-20 minute's on other apps. Highly recommend
.webp)
Victor Maldonado
I been having a few issues with app can't zoom in like before and its not like it use to what happen i paid for this app not liking the new upgrade
.webp)
Lynsiah Sahuji
more accurate in removing background, didn't required so much effort. love this! ❤️


Why Product Photography is Important
Product photography is crucial for attracting customers to your products. If your pictures are low quality, people won't be interested in buying from you. Good photos make your products look appealing and can boost your sales. In the world of online shopping, having great product photos is a must.
Why Good Photos Matter
When people shop online, they rely on photos to make their decisions. High-quality pictures give customers a clear idea of what they're buying and help build trust in your brand. To run a successful online store, you need to have top-notch product photos.
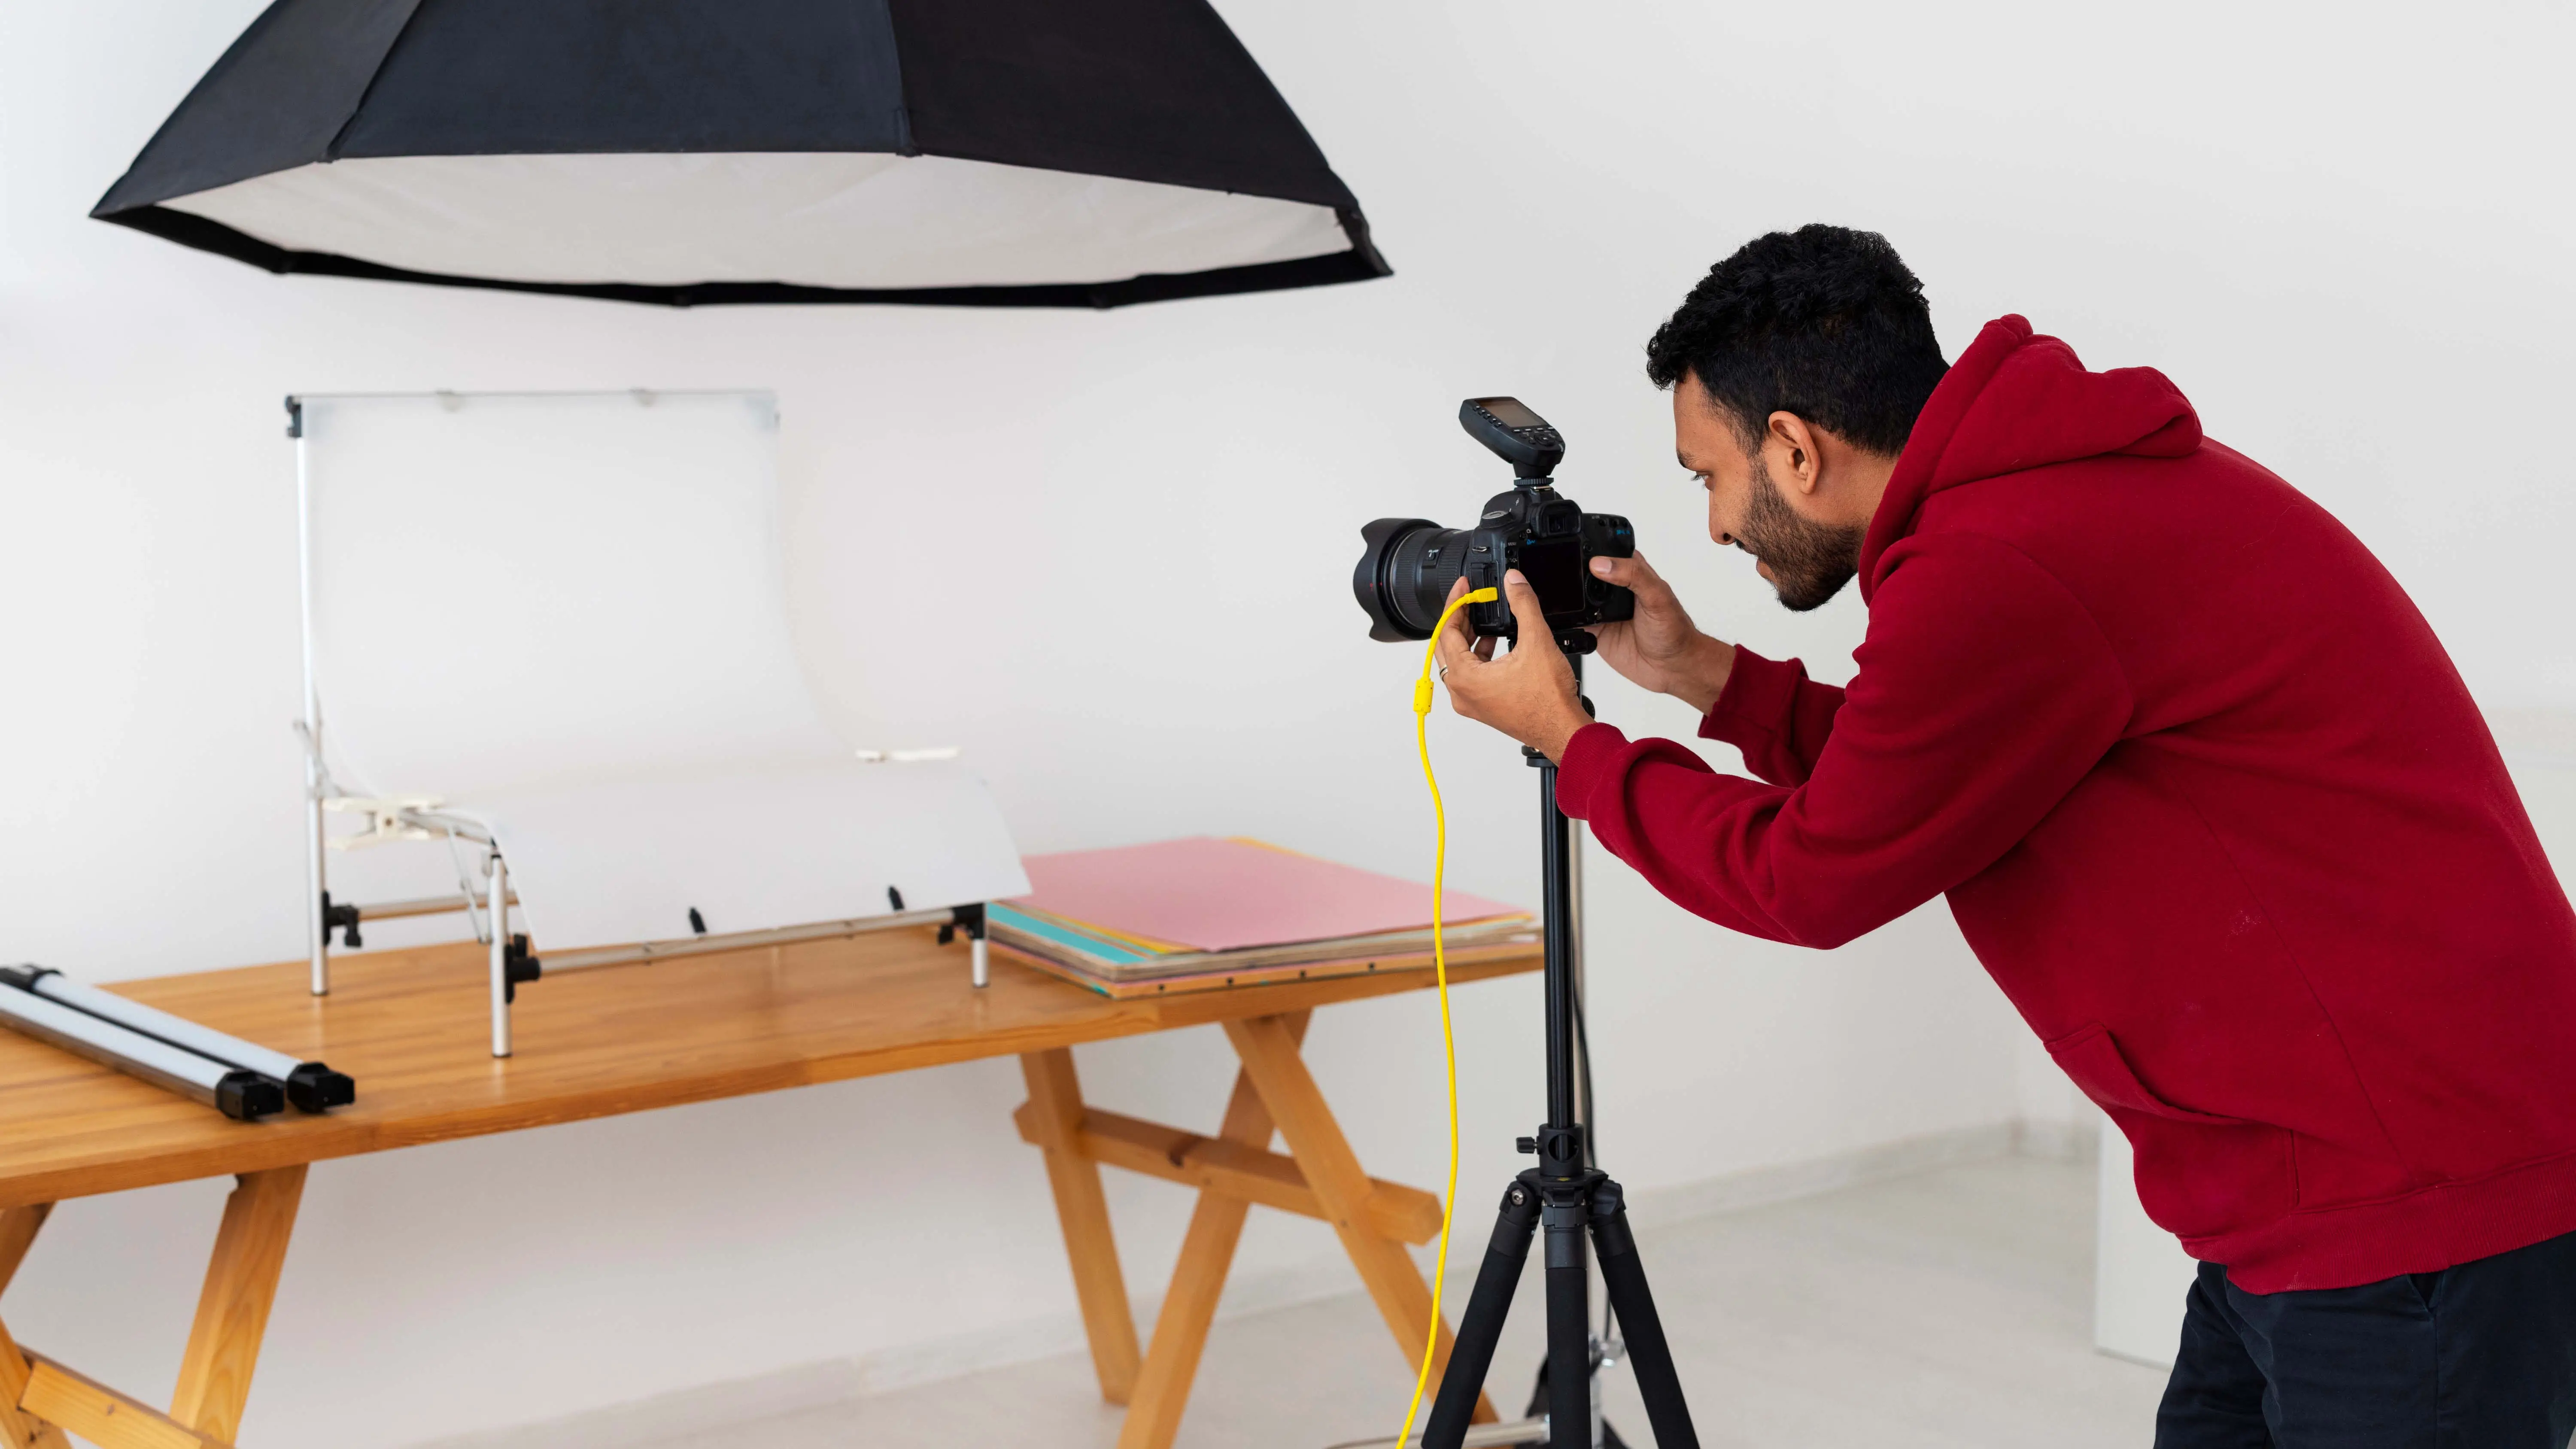
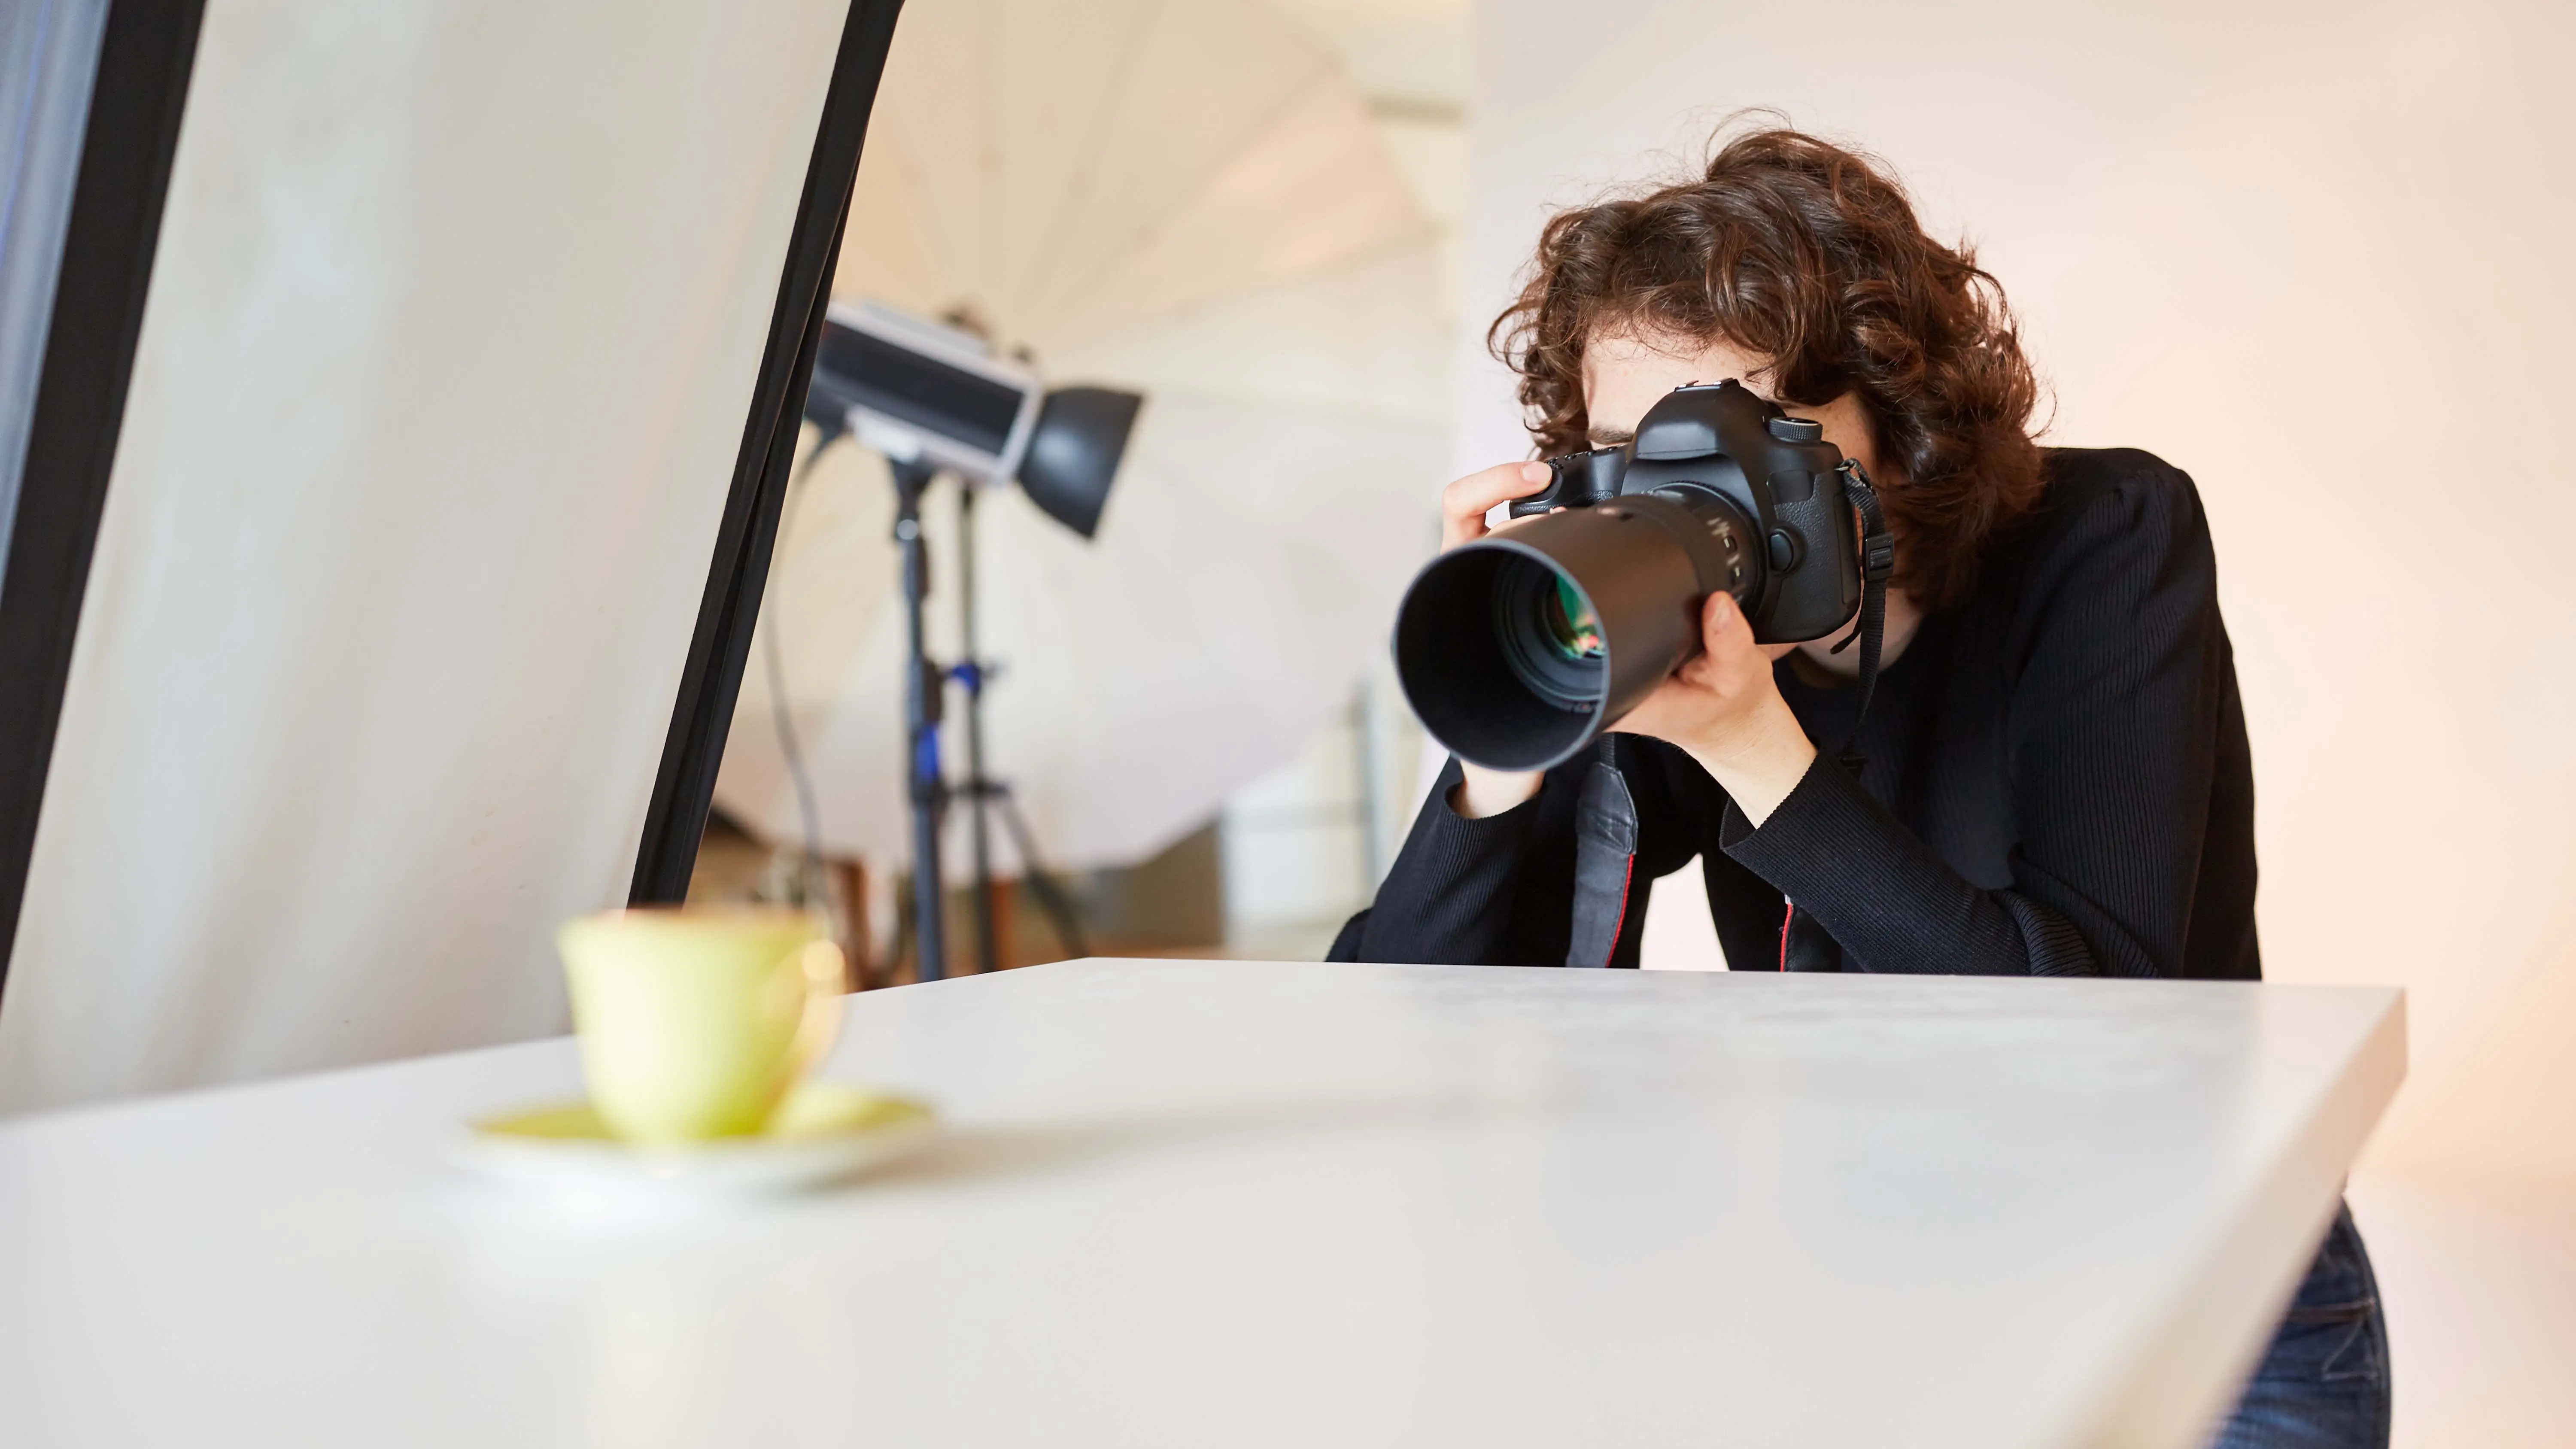
Getting Started with Product Photography
Before you start taking photos, make sure you have the right tools:
1. Camera
Invest in a good camera for sharp, focused images. If you're using a smartphone, be prepared to do some extra editing to make your photos look professional.
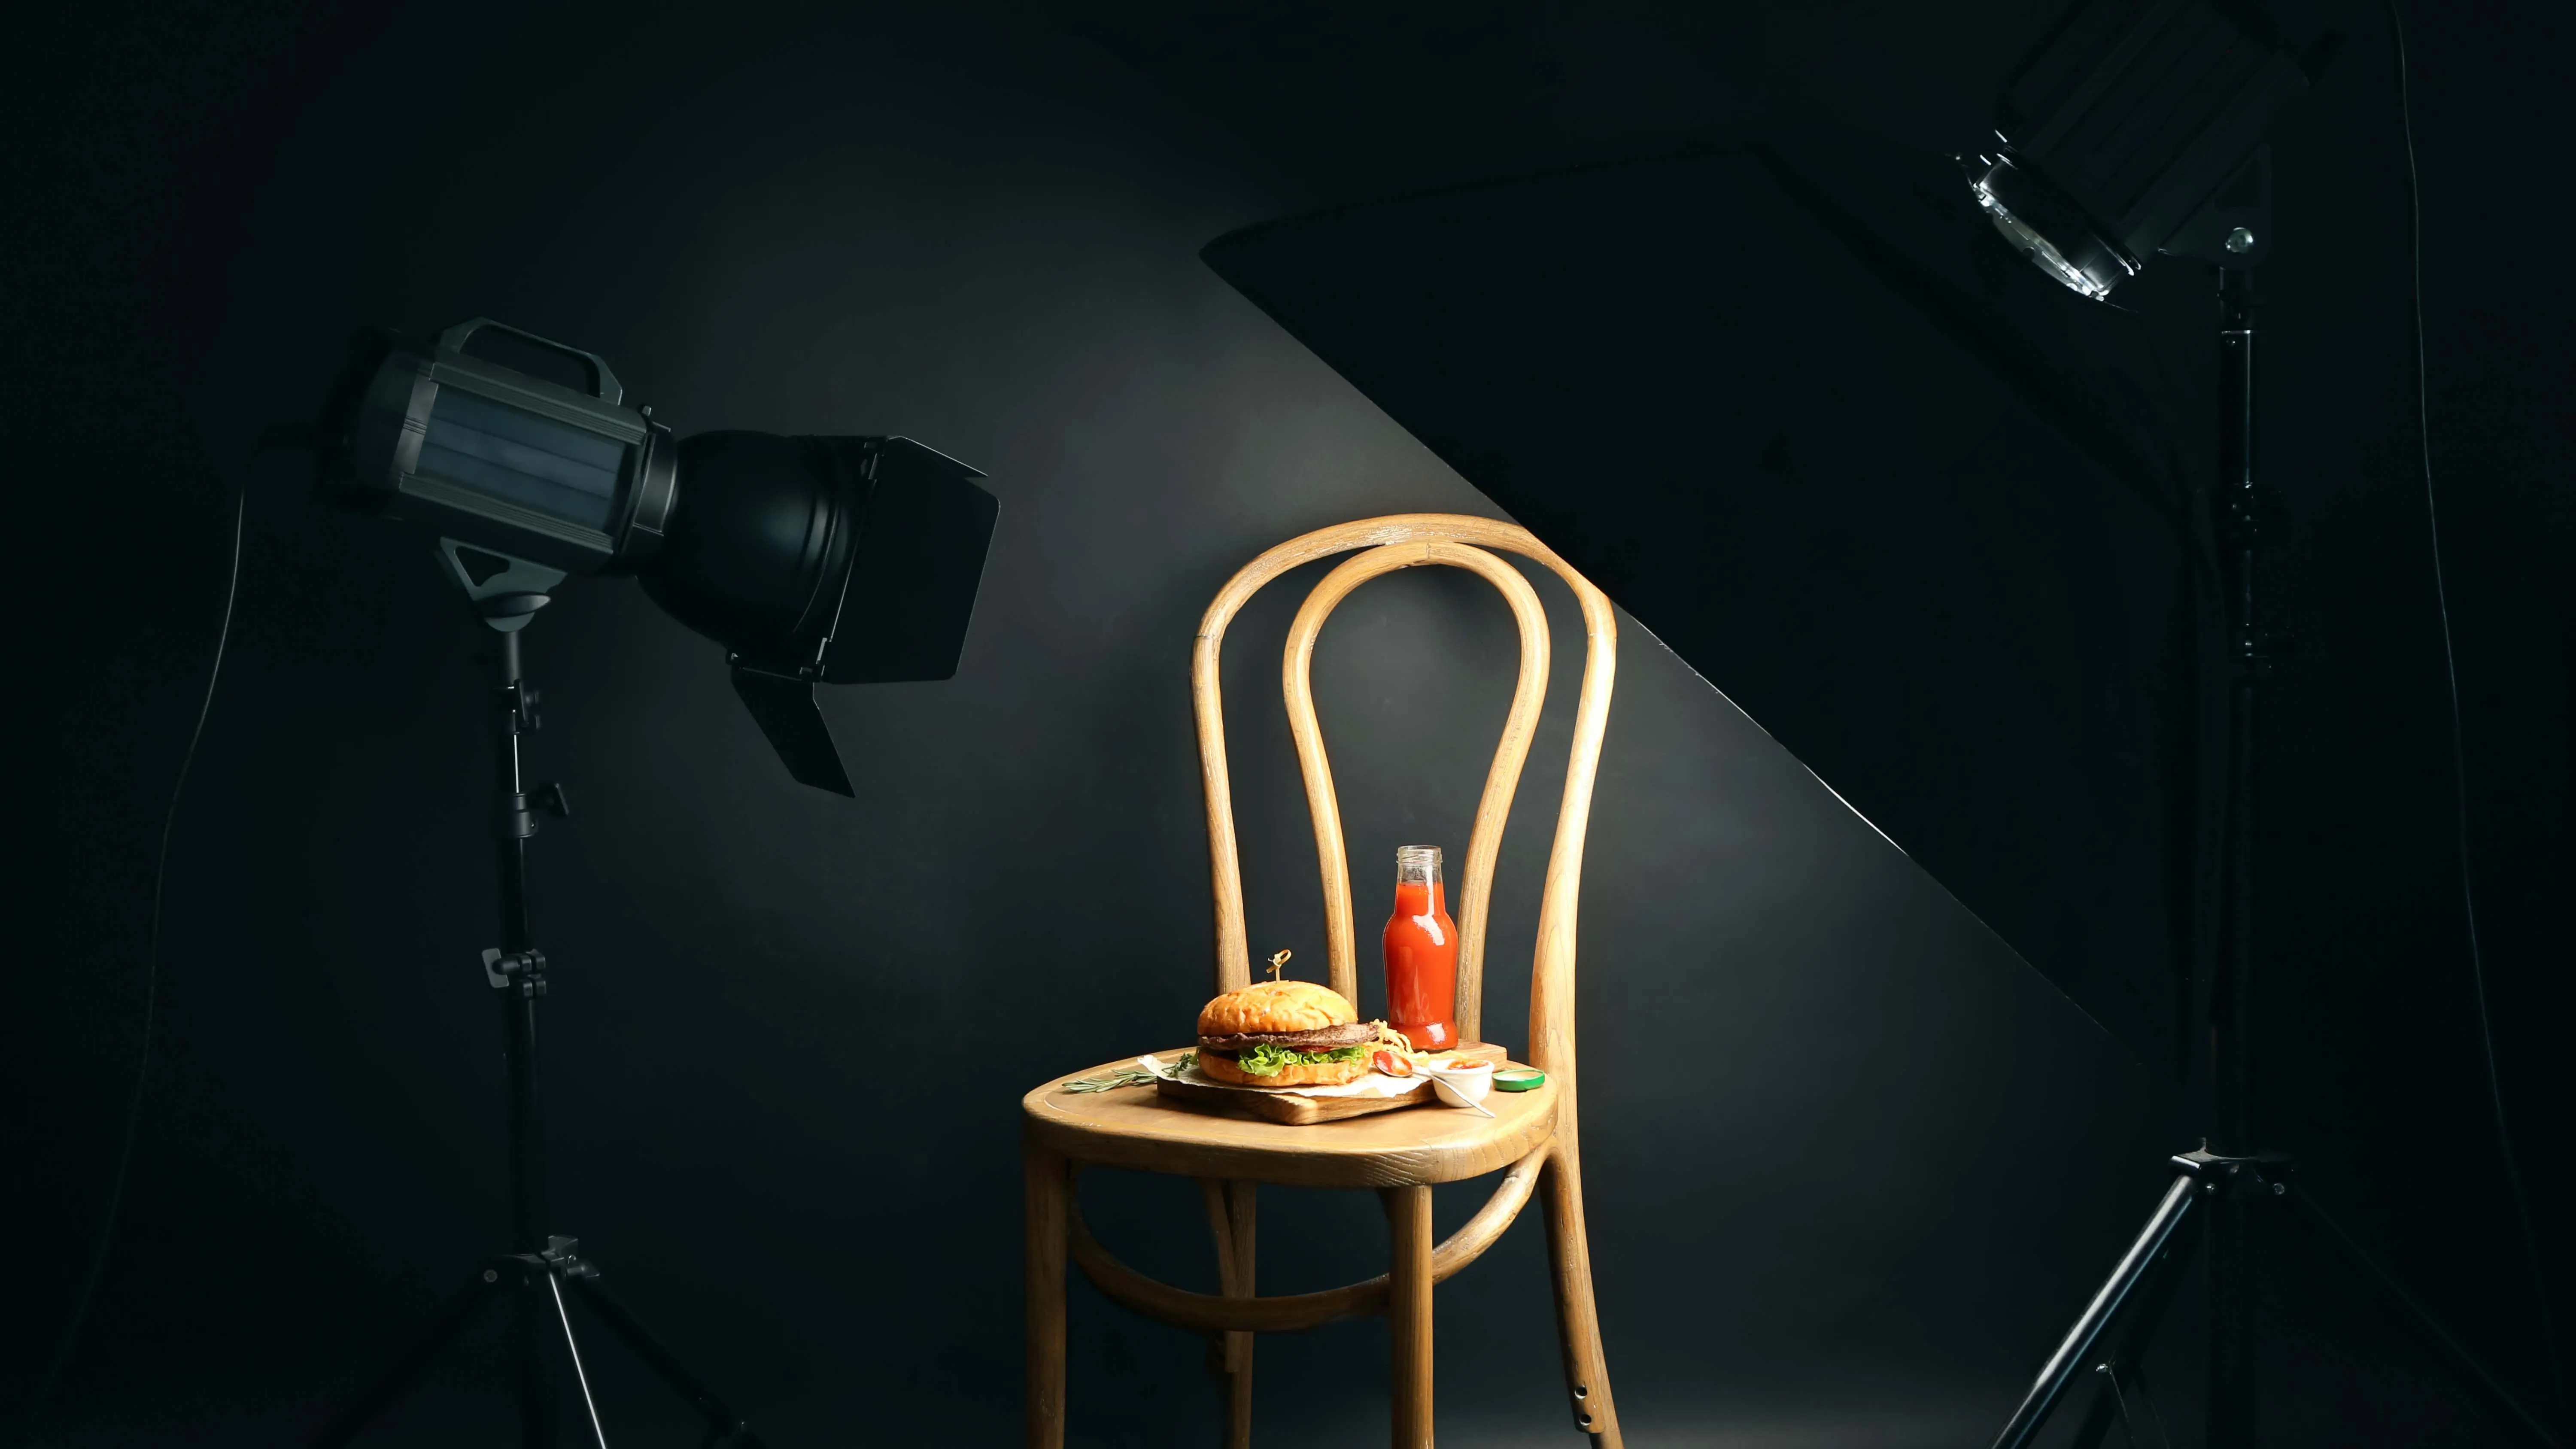
2. Lighting

Natural light is best for photography, but you can also use lamps or other light sources. Experiment with different lighting setups to find what works best for your products.
3. Editing
After taking photos, use editing software to enhance your images. Just remember not to alter the product too much, or customers might be disappointed when they receive their orders.
The Benefits of E-Commerce Photography
Product photos aren't just for your website - you can use them on social media and in ads to attract customers. High-quality images can set you apart from your competitors and increase your sales.
Why Good Photos Matter
High-quality product photos can help reduce customer confusion and lead to better reviews.
When people see great images of your products, they're more likely to make a purchase and leave positive feedback.
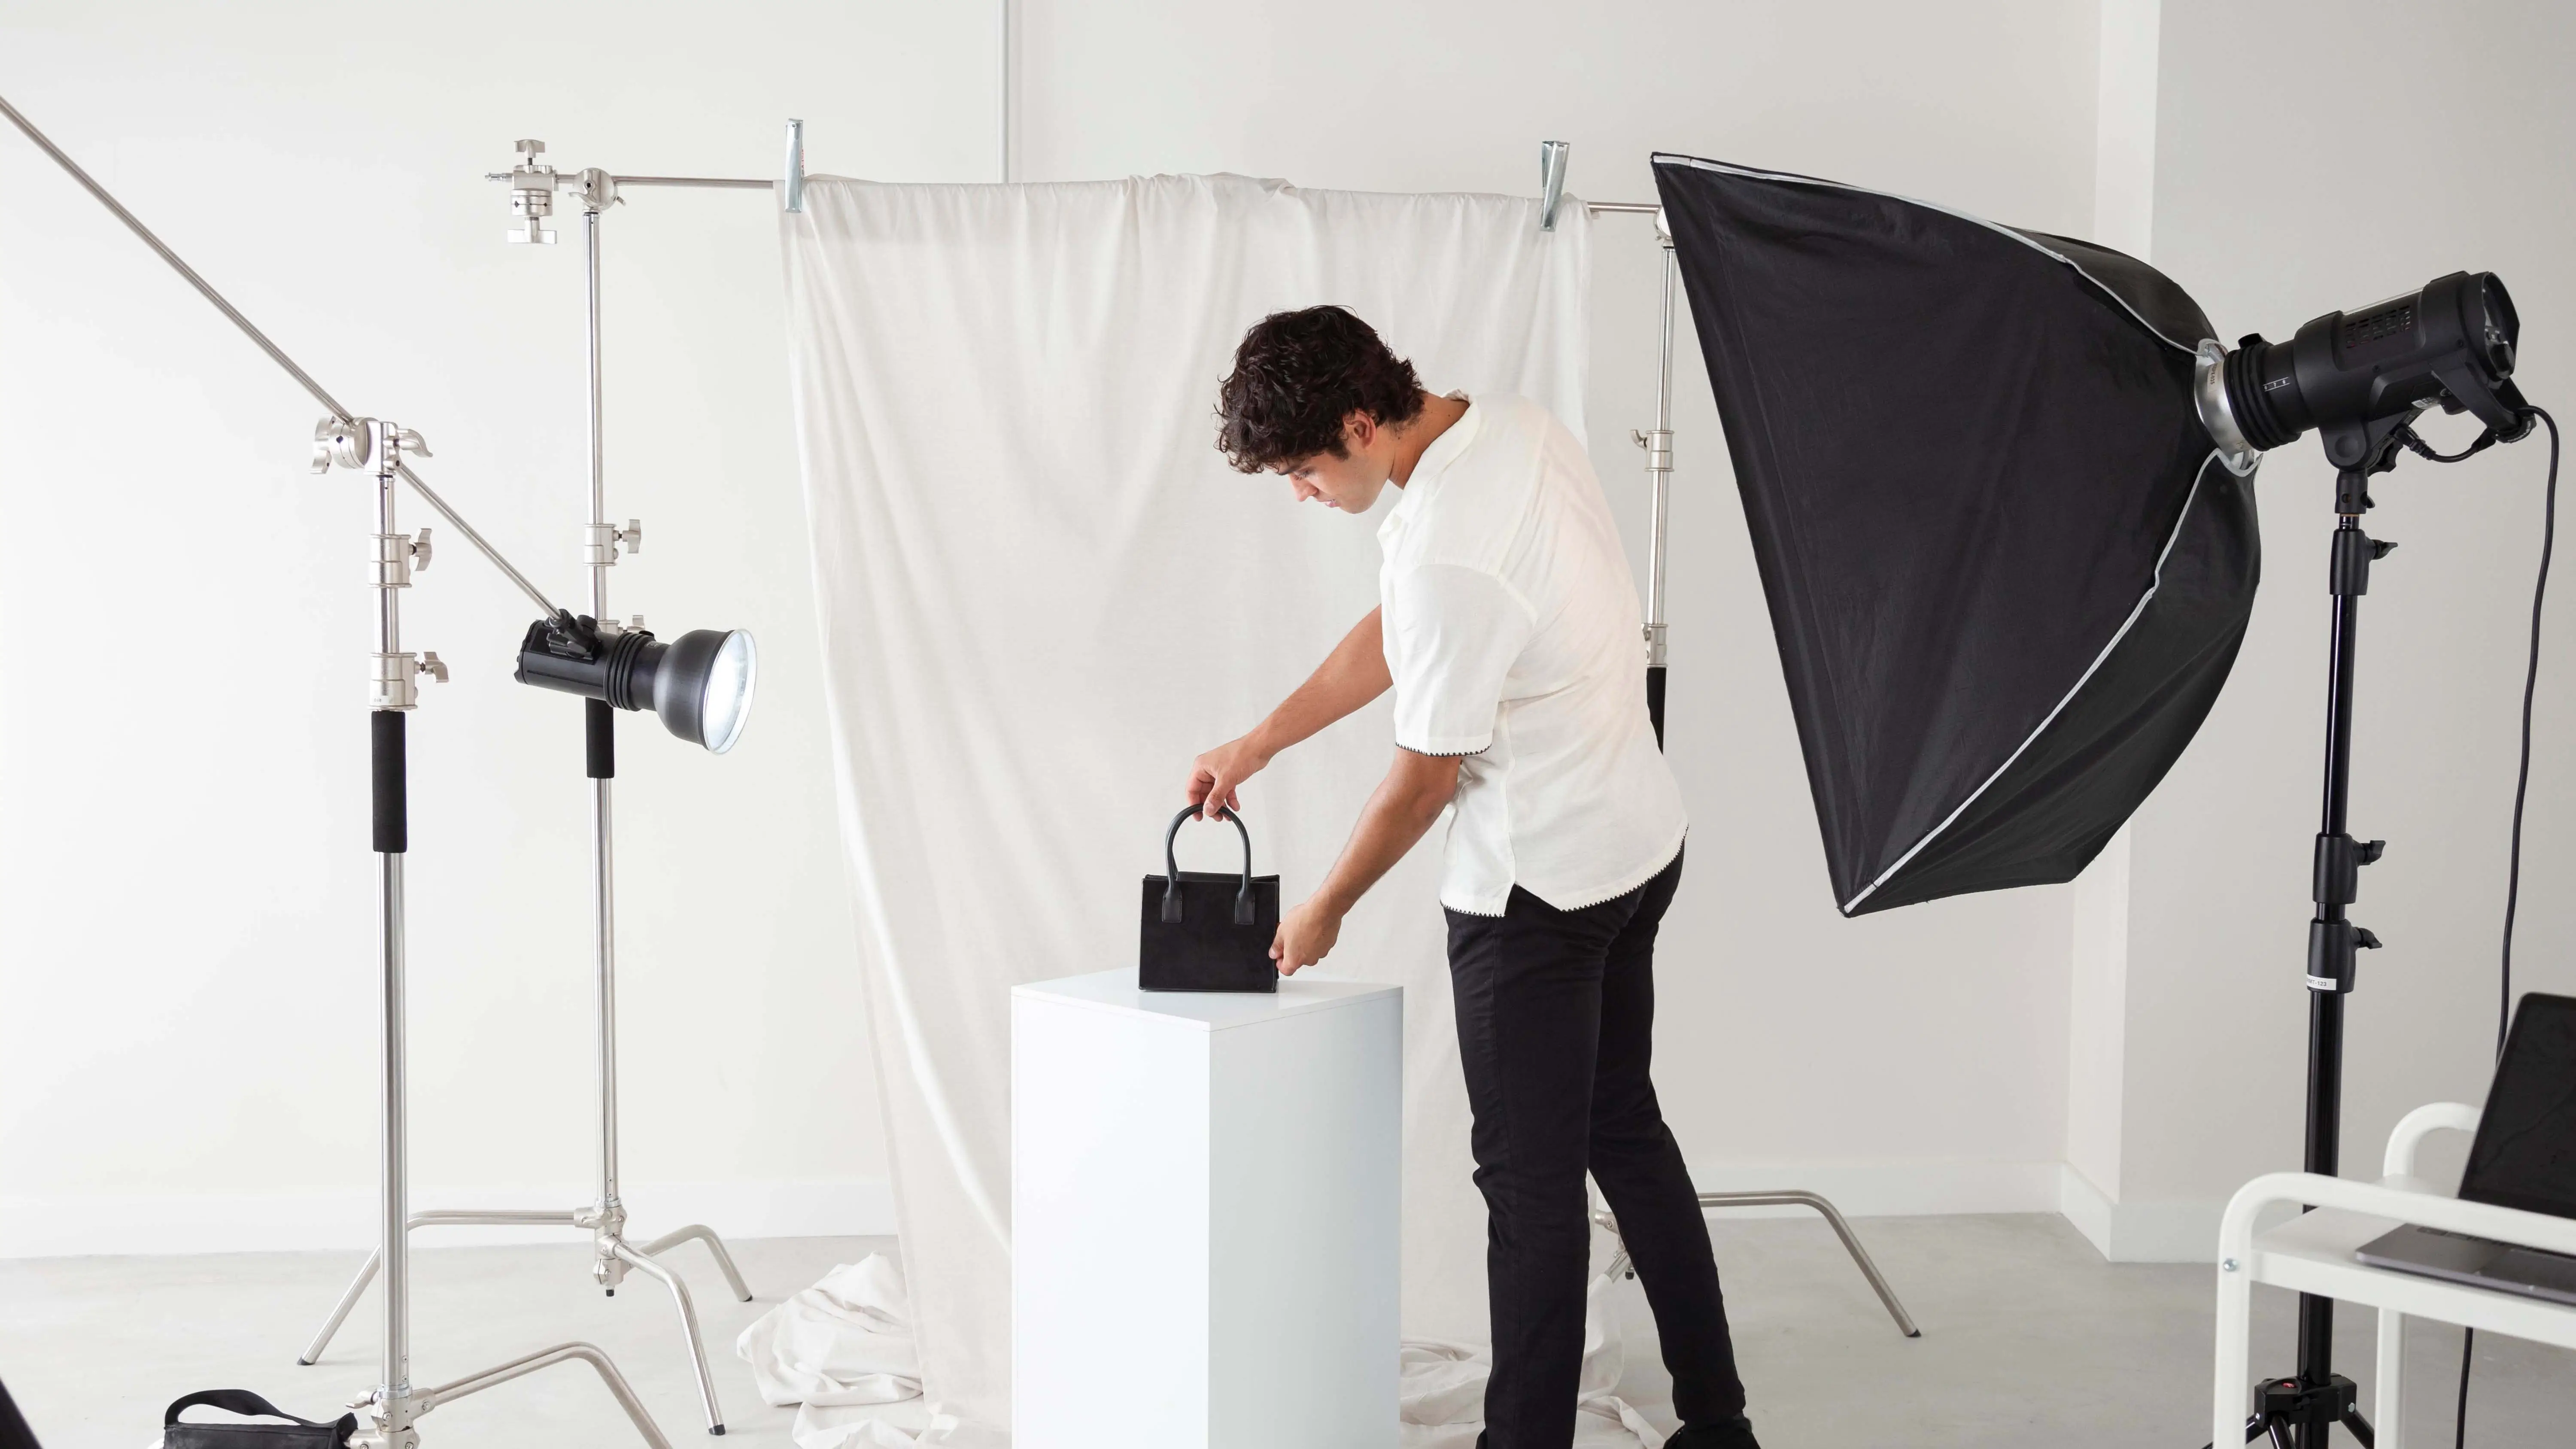
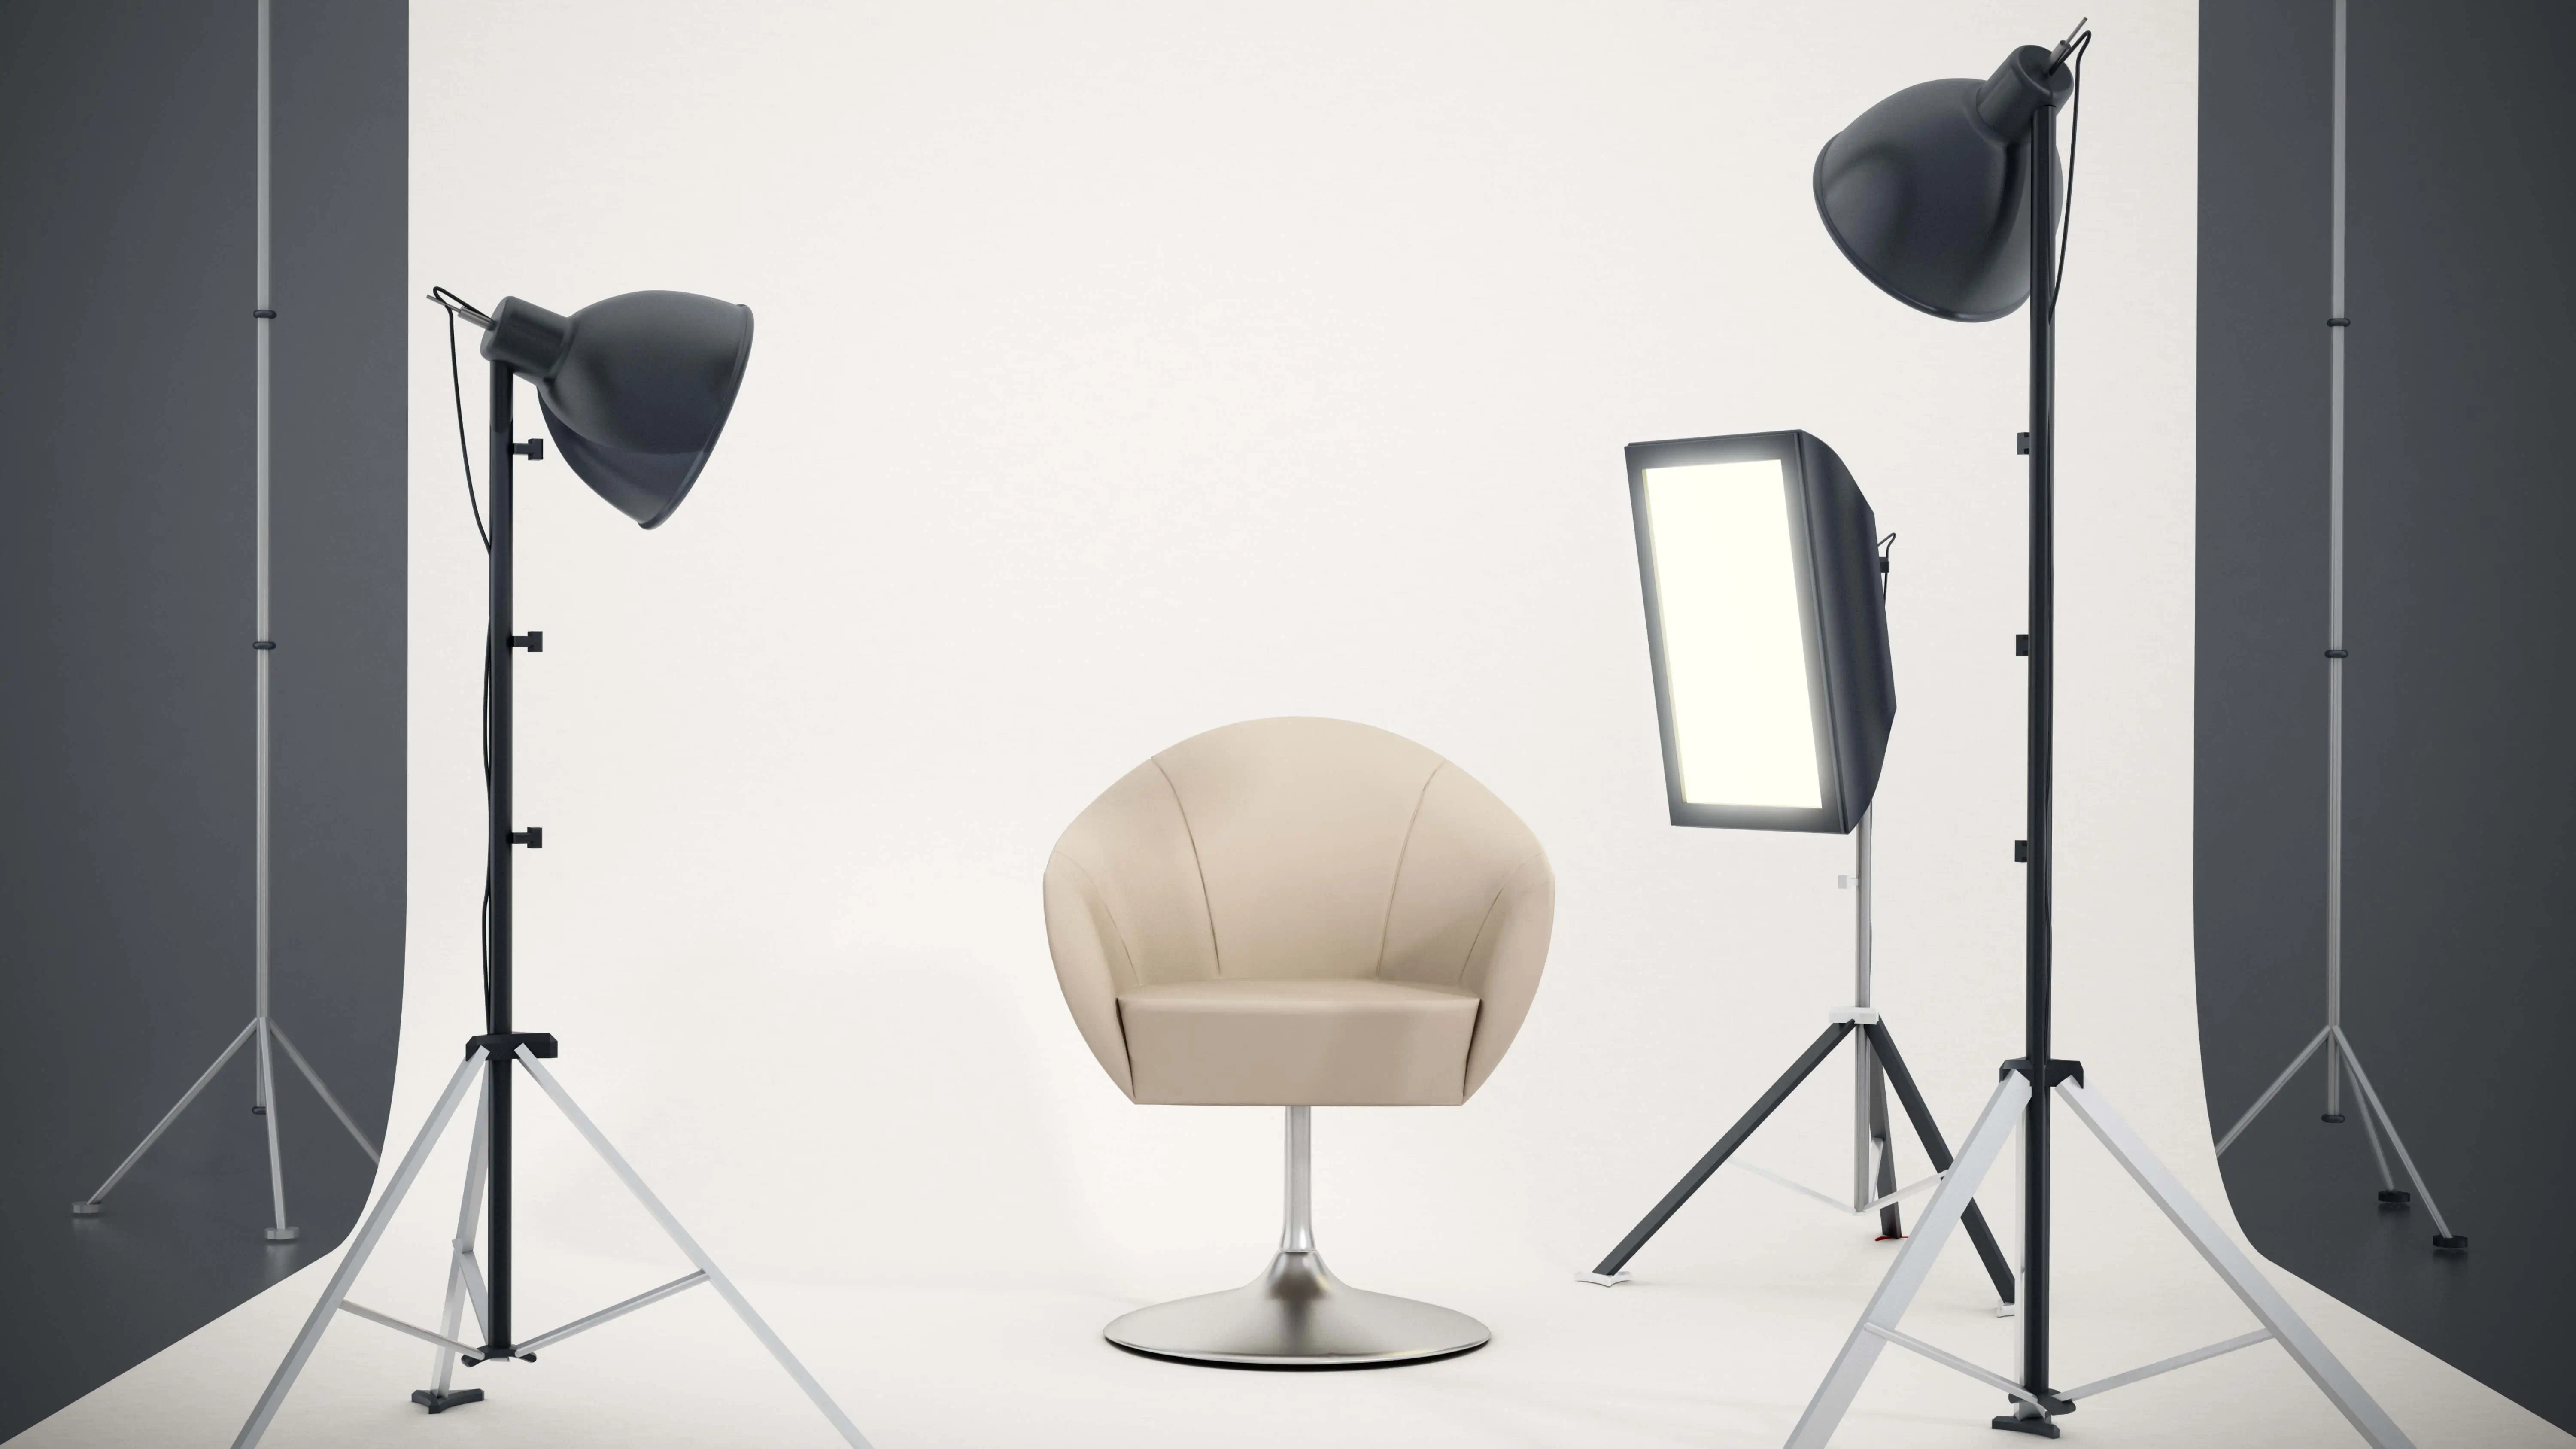
Window Light vs Lightbox: Which is Better?

Using natural light or a simple lighting setup can be just as effective as a complicated light tent. Multi-light setups can be expensive and tricky to master, so consider your options carefully before investing in equipment.
Remember, the key to great product photos is to keep it simple and focus on showcasing your products in the best possible light.
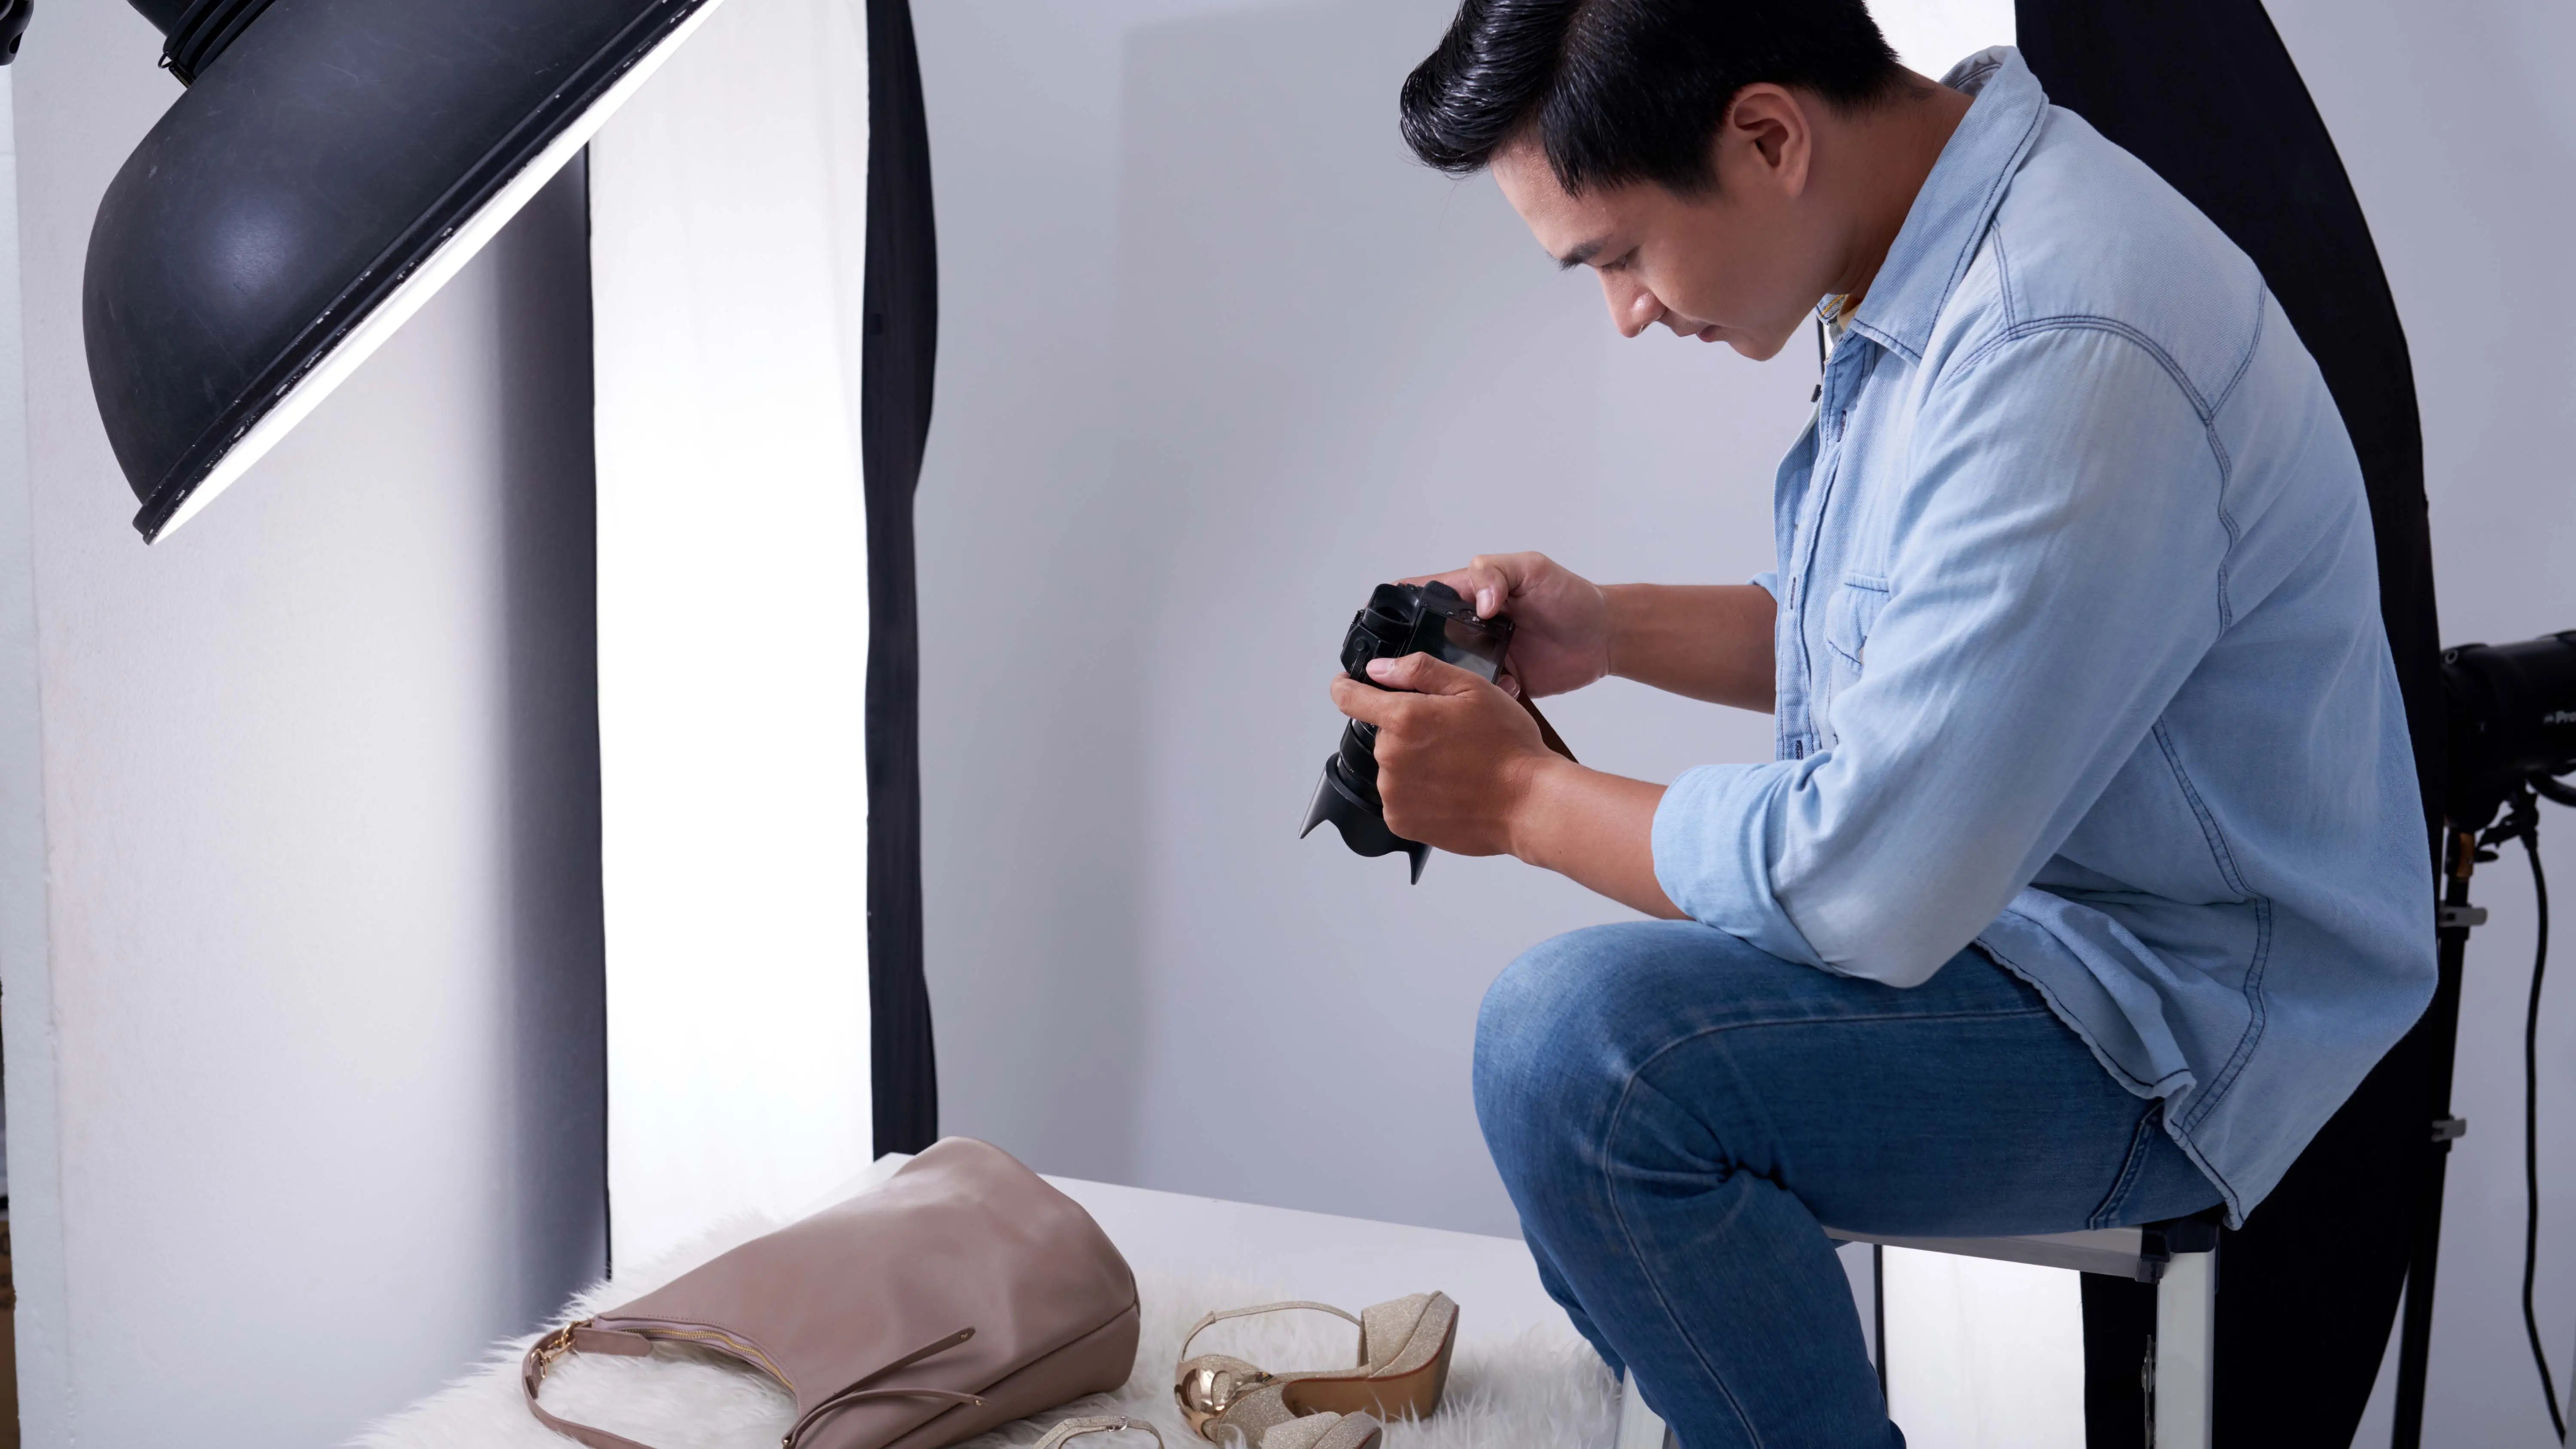
Product Photography Tips for Beginners
Assess Your Skills
Do You Have the Skills?
Before diving into product photography, consider if you have the necessary skills. Do you know how to edit photos? Do you have access to editing software and a good location or studio for shooting?
Consider Hiring a Pro
If you're not confident in your skills, it might be worth hiring a professional photographer. High-quality product photos can add value to your business and attract more customers.
Consider Your Budget
Invest Wisely
Quality photography can be expensive, so make sure you budget accordingly. Instead of hiring someone, consider learning how to do it yourself. It may take time, but it can save you money in the long run.
Plan Your Timeline
Give Yourself Time
Product photography takes time, from planning to shooting to editing. Make sure you allocate enough time in your schedule for this important step.
Build Your Asset Library

Keep Your Photos Safe
Always keep your photos organized and safe so you can use them in the future. Discuss with your team how you can improve existing photos for future products.
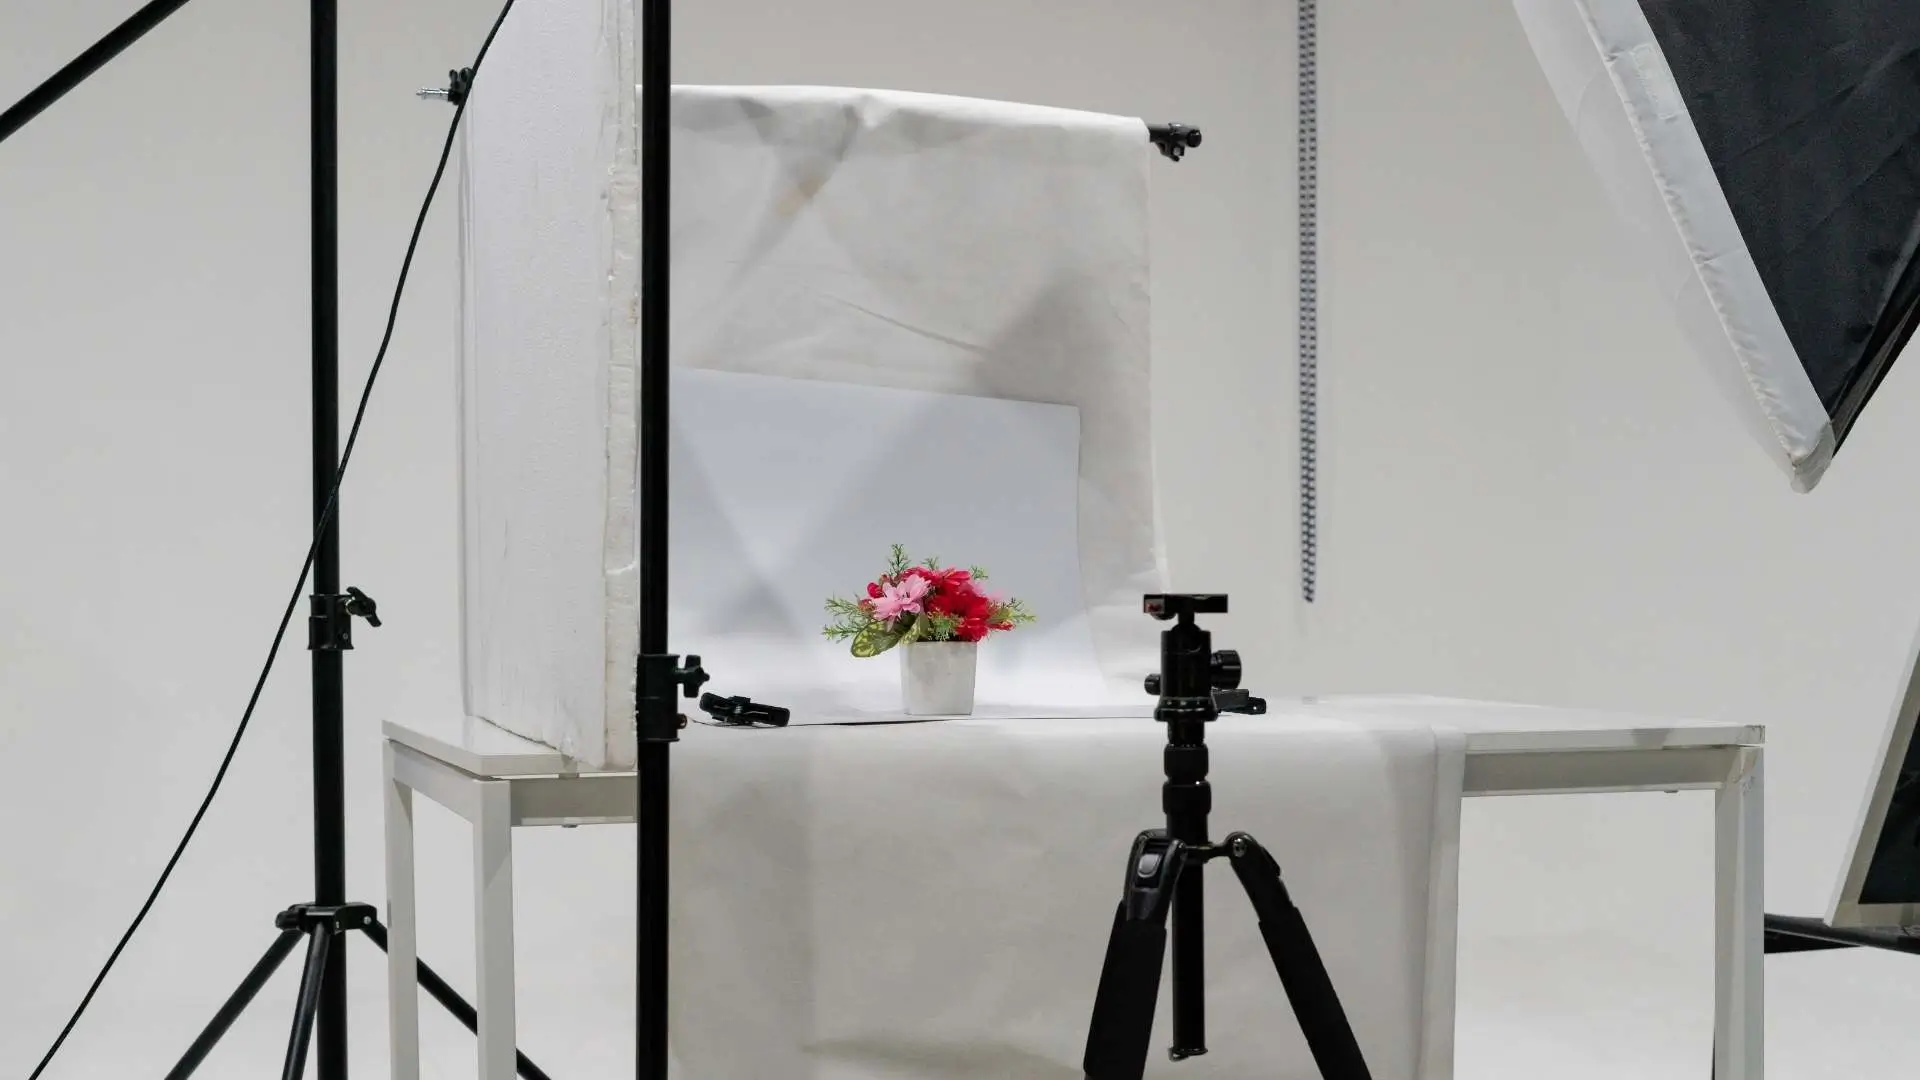
Invest in Equipment
Get a Shooting Table
A shooting table is essential for product photography. Make sure to choose a table size that fits your products.
Consider a Light Tent
A light tent can help distribute light evenly and reduce harsh shadows on your products.
Use Editing Tools
Choose the Right Tool
Editing photos is crucial for product photography. Consider using tools like Canva, Snapseed, or Pixlr to enhance your images.
Follow Photography Guidelines
Stay Consistent
Keep guidelines in mind for consistent and high-quality product photography. Focus on focal length, shadows, saturation, and composition.
Why Product Photography Matters

Capture Attention
High-quality product photos are essential for attracting customers in today's digital world. Make sure your photos stand out and showcase your products effectively.
Invest in Professional Photography
Quality Matters
While professional photography can be expensive, it's worth the investment. Customers are more likely to purchase products with high-quality images.
Write Compelling Product Descriptions
Words Matter
Don't forget to write engaging product descriptions to complement your photos. A catchy description can convince customers to make a purchase.
Skills Needed for Ecommerce Photography
Master the Basics
To excel in ecommerce photography, you need skills in taking high-quality photos, editing images, and understanding web design principles. Mastering these skills can help drive sales for your business.
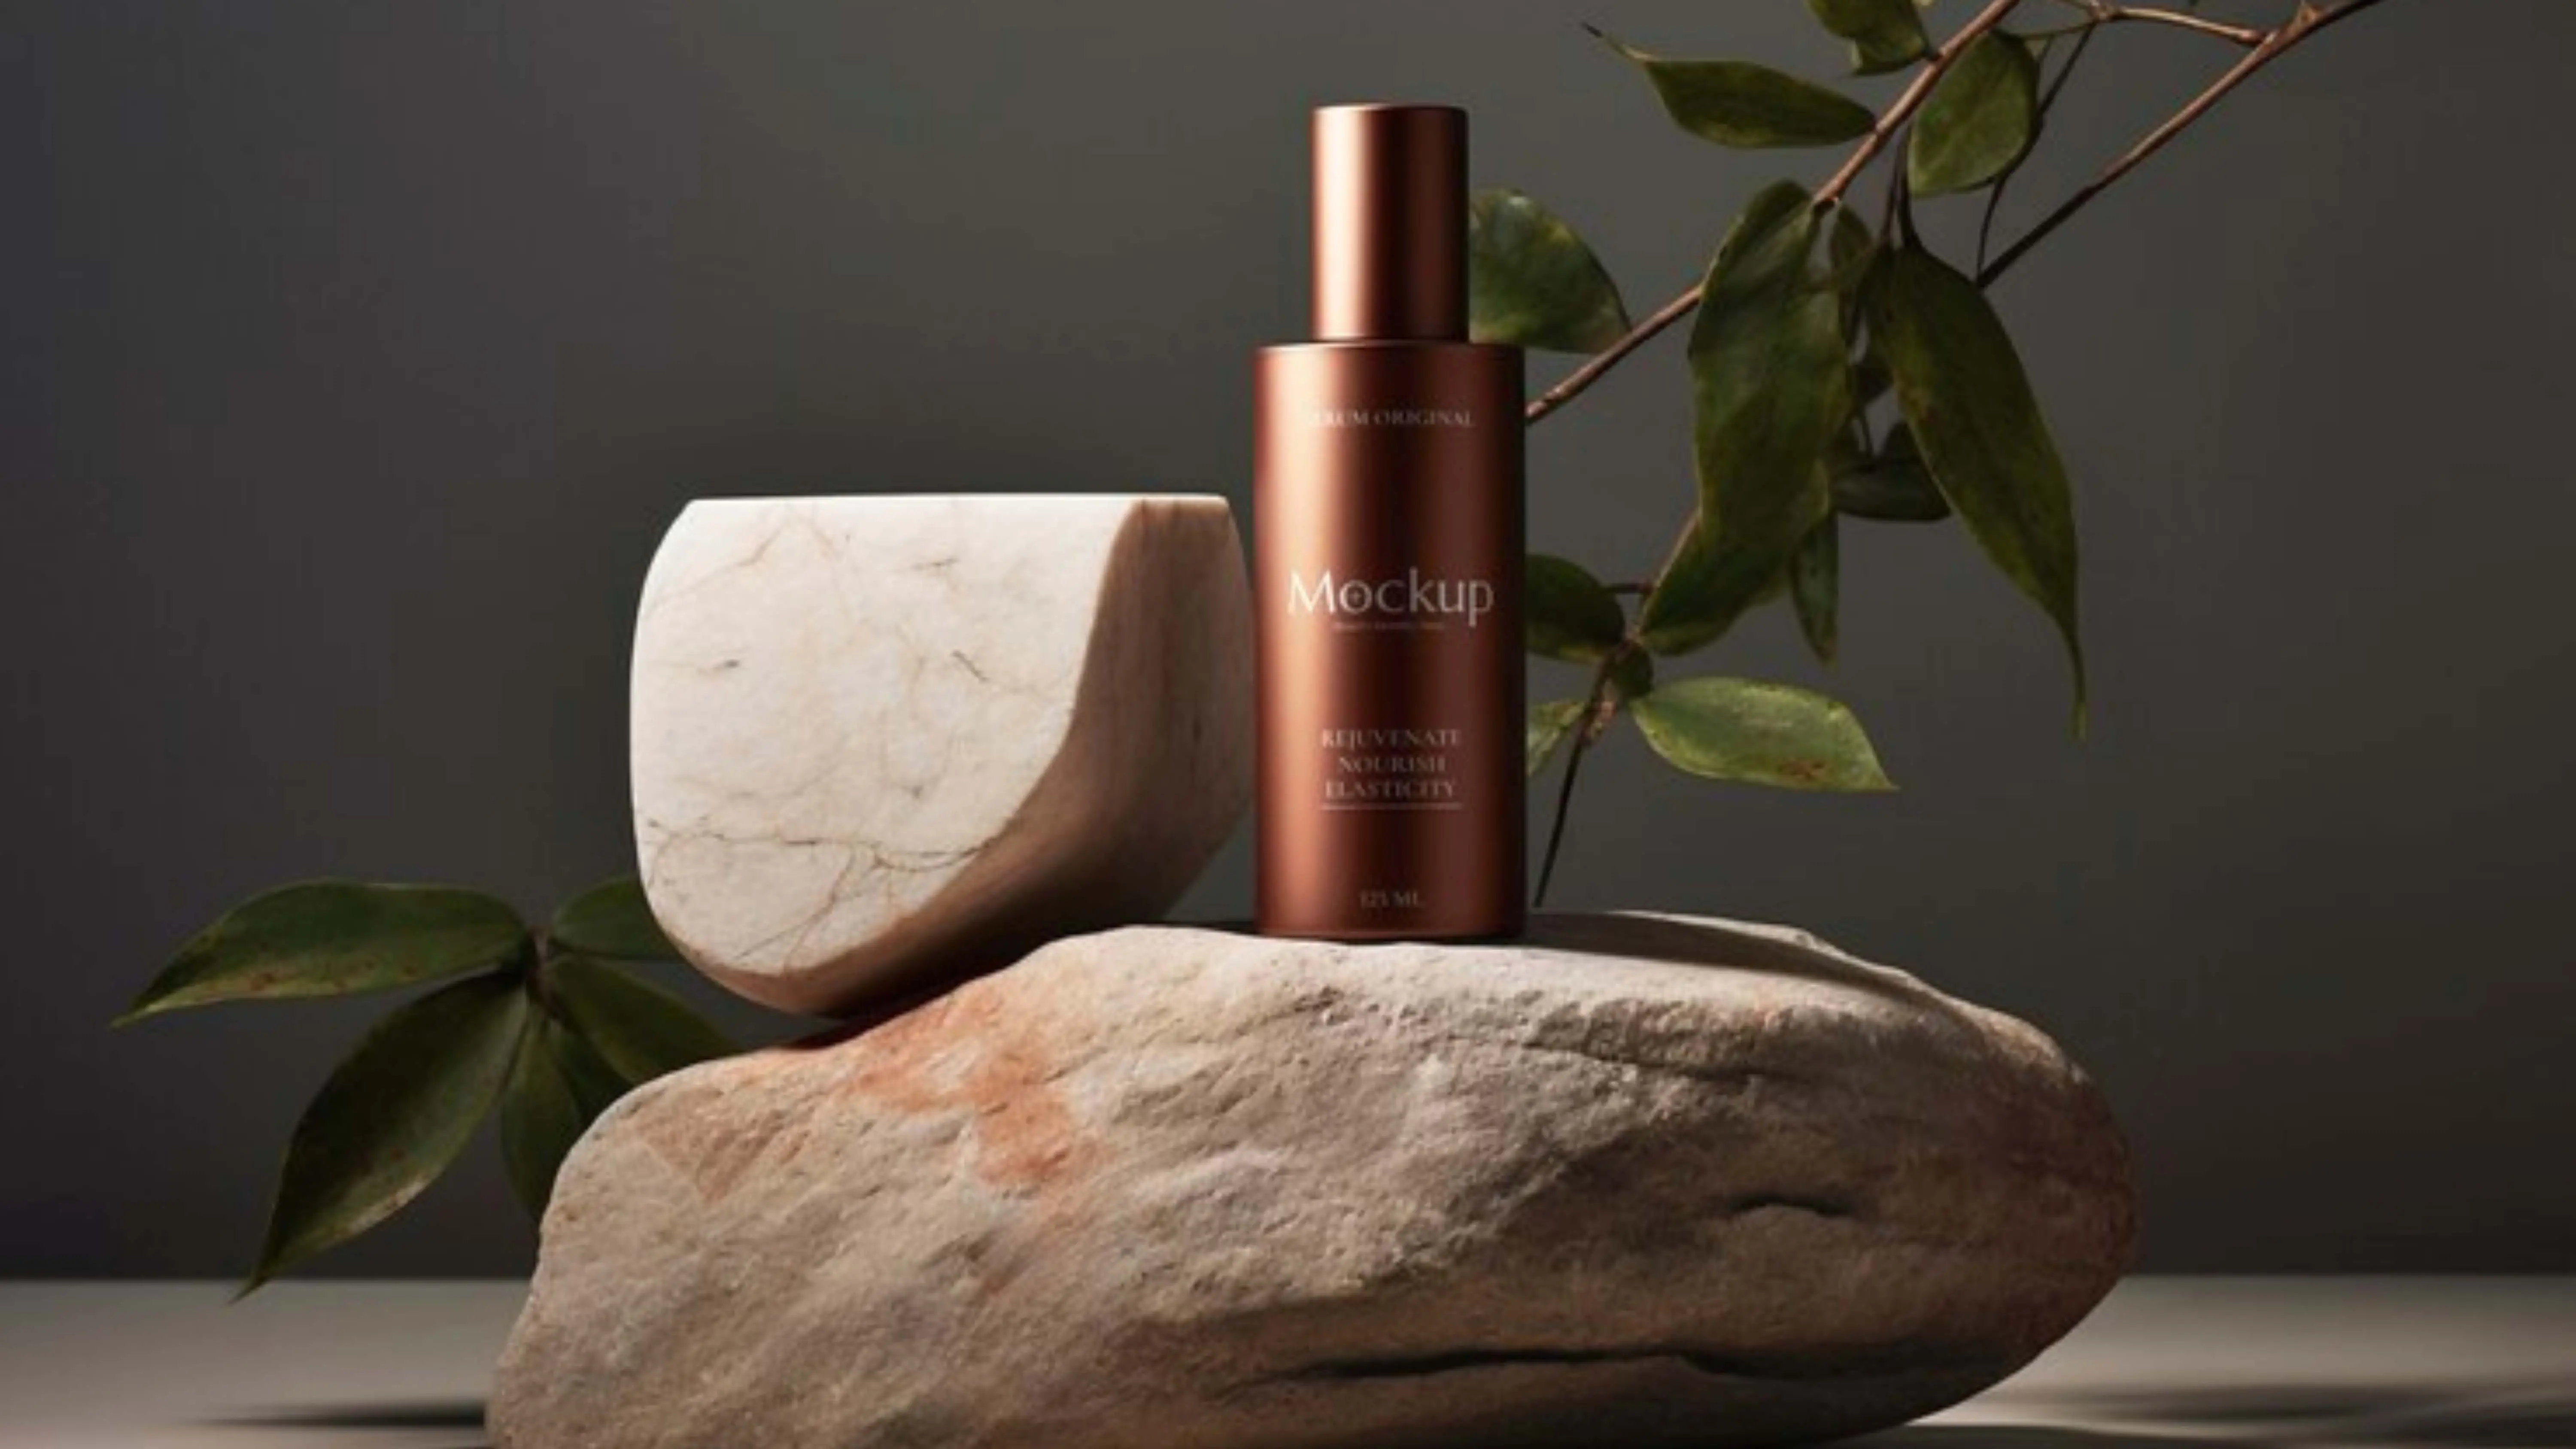
Why are Styling Products Important for Photography?
The Importance of Styling Products in Photography
Styling products play a crucial role in photography by helping photographers create the perfect shot. By using products like hairspray, makeup, and clothing, photographers can control how their subjects look and feel. This allows them to set a specific mood or atmosphere in their photos. For example, styling products can make subjects appear more relaxed and natural or create a dramatic and formal look.
Aside from controlling the appearance of their subjects, styling products also allow photographers to control how their photos smell. This is particularly important in food photography, where smells can evoke memories and emotions. Photographers can use products like air fresheners or scented candles to ensure their photos not only look good but also smell good.
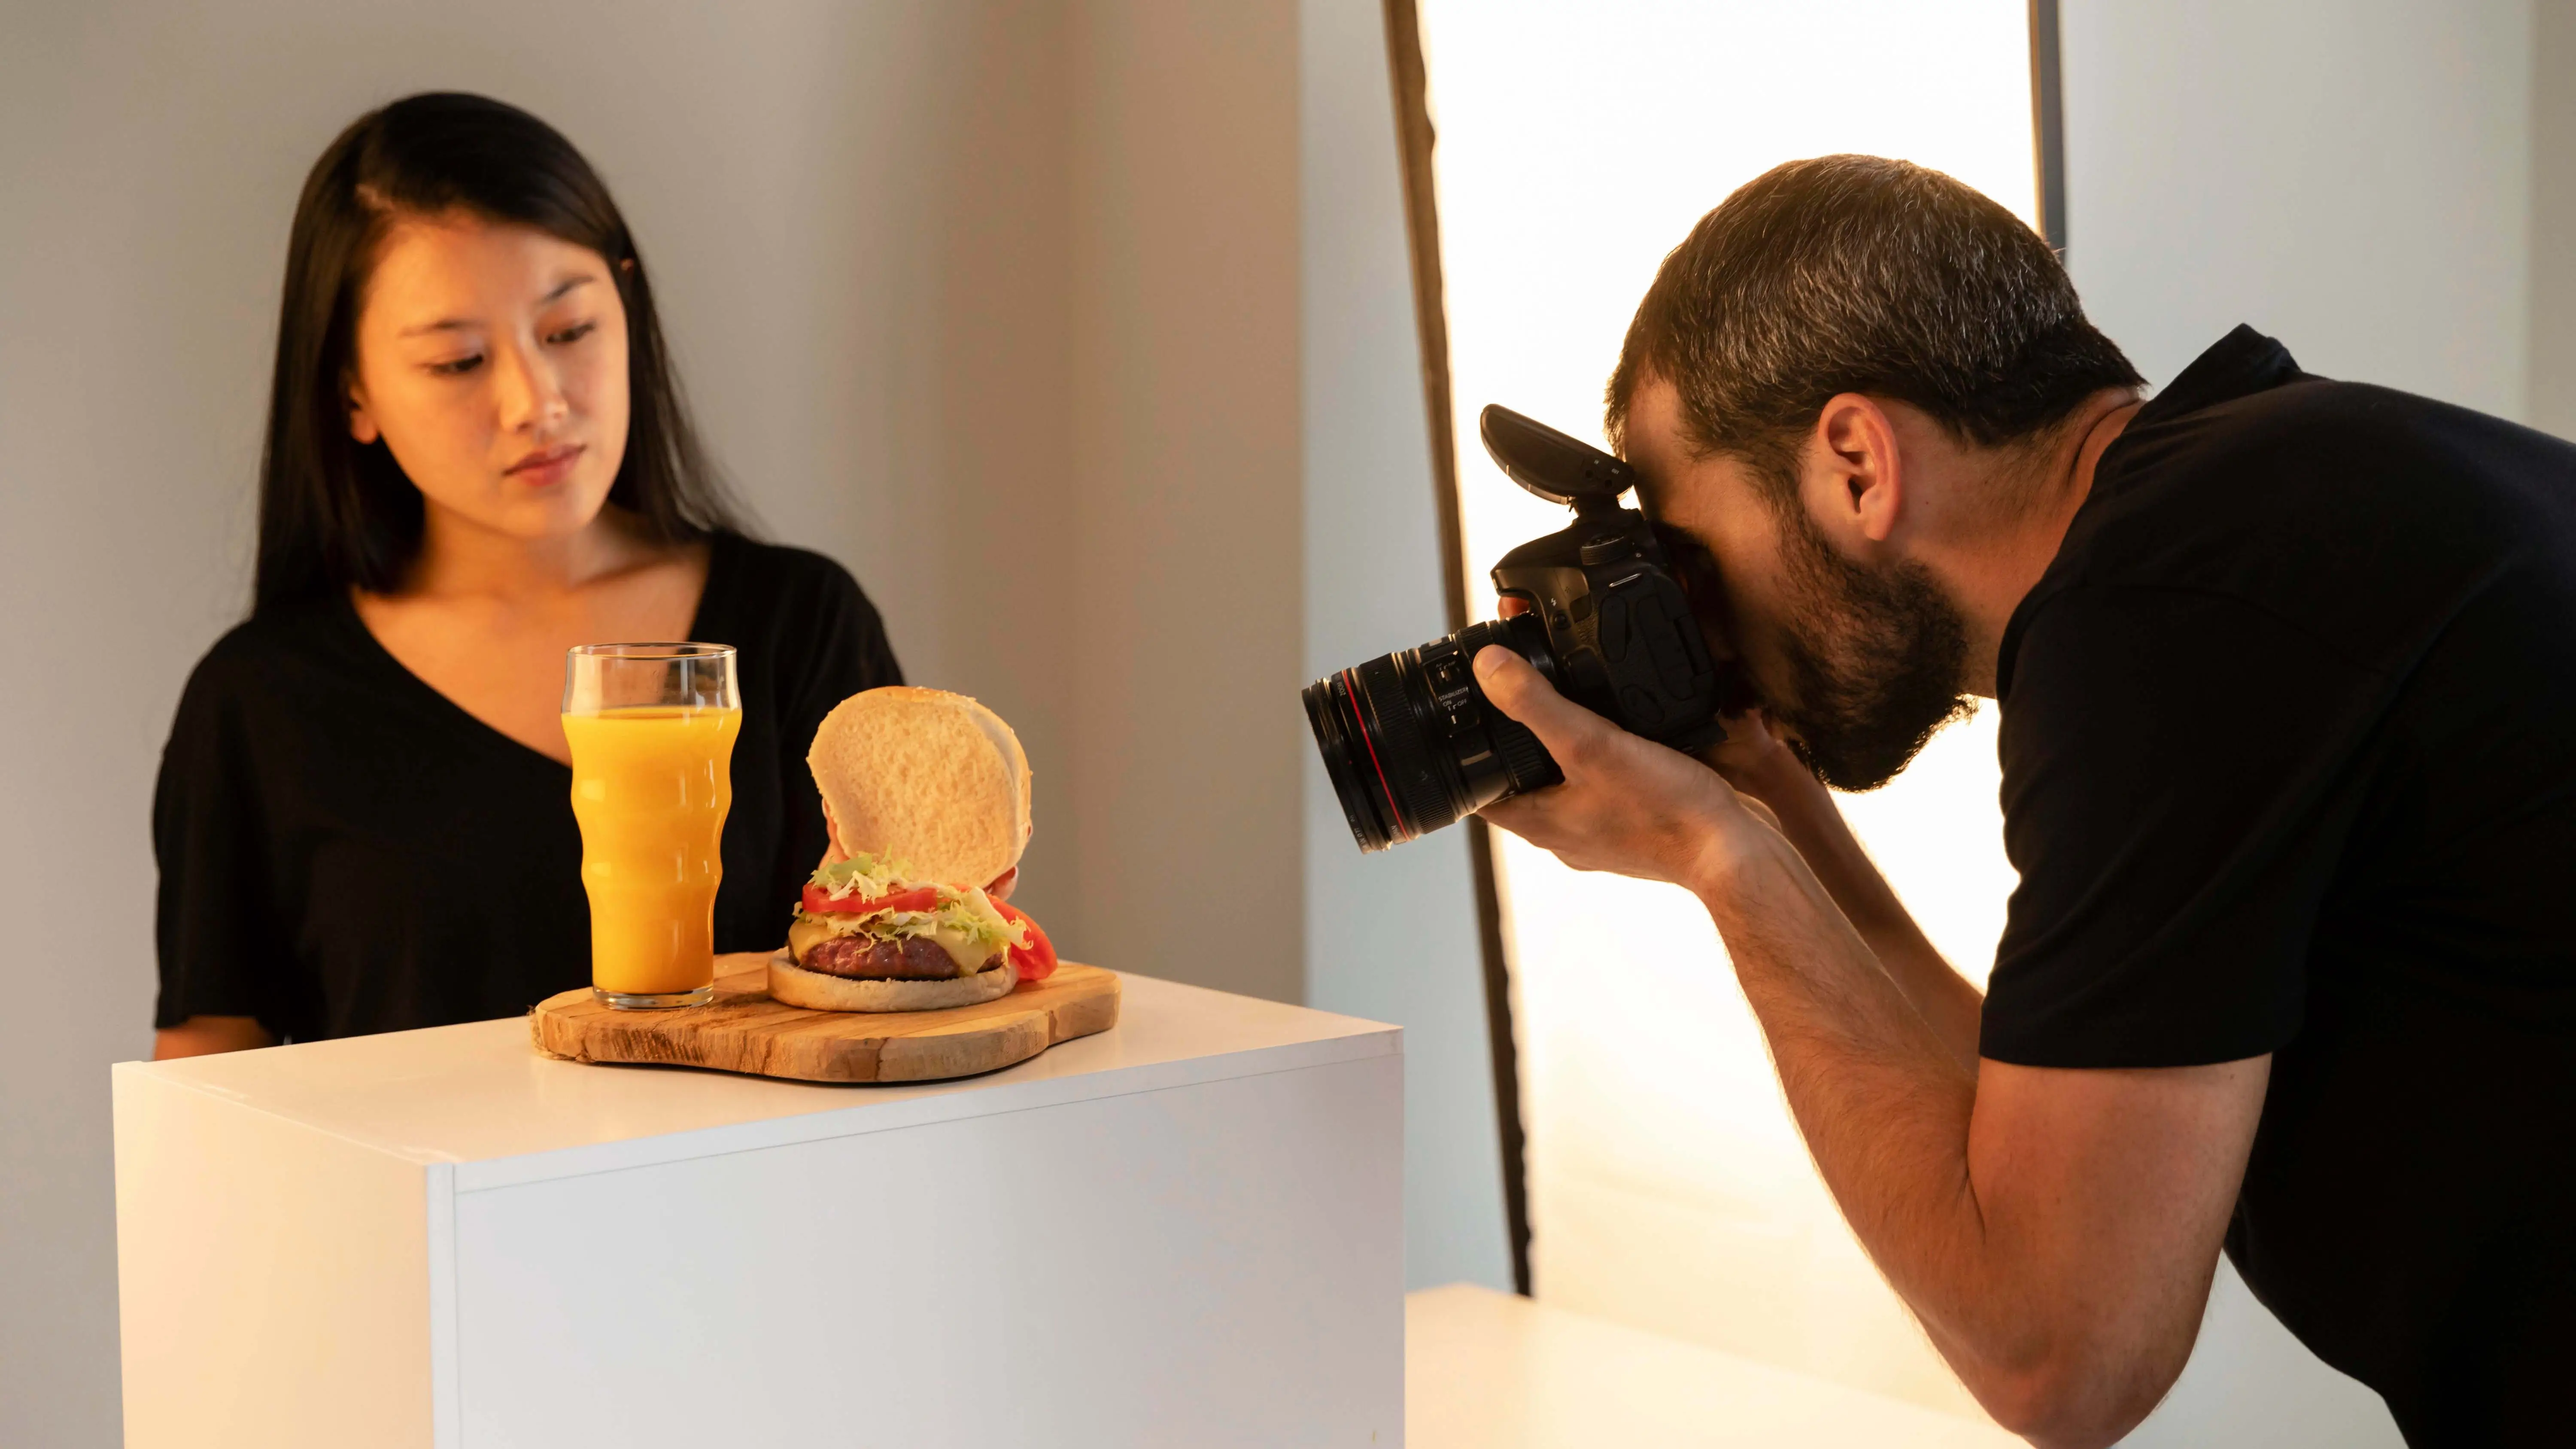
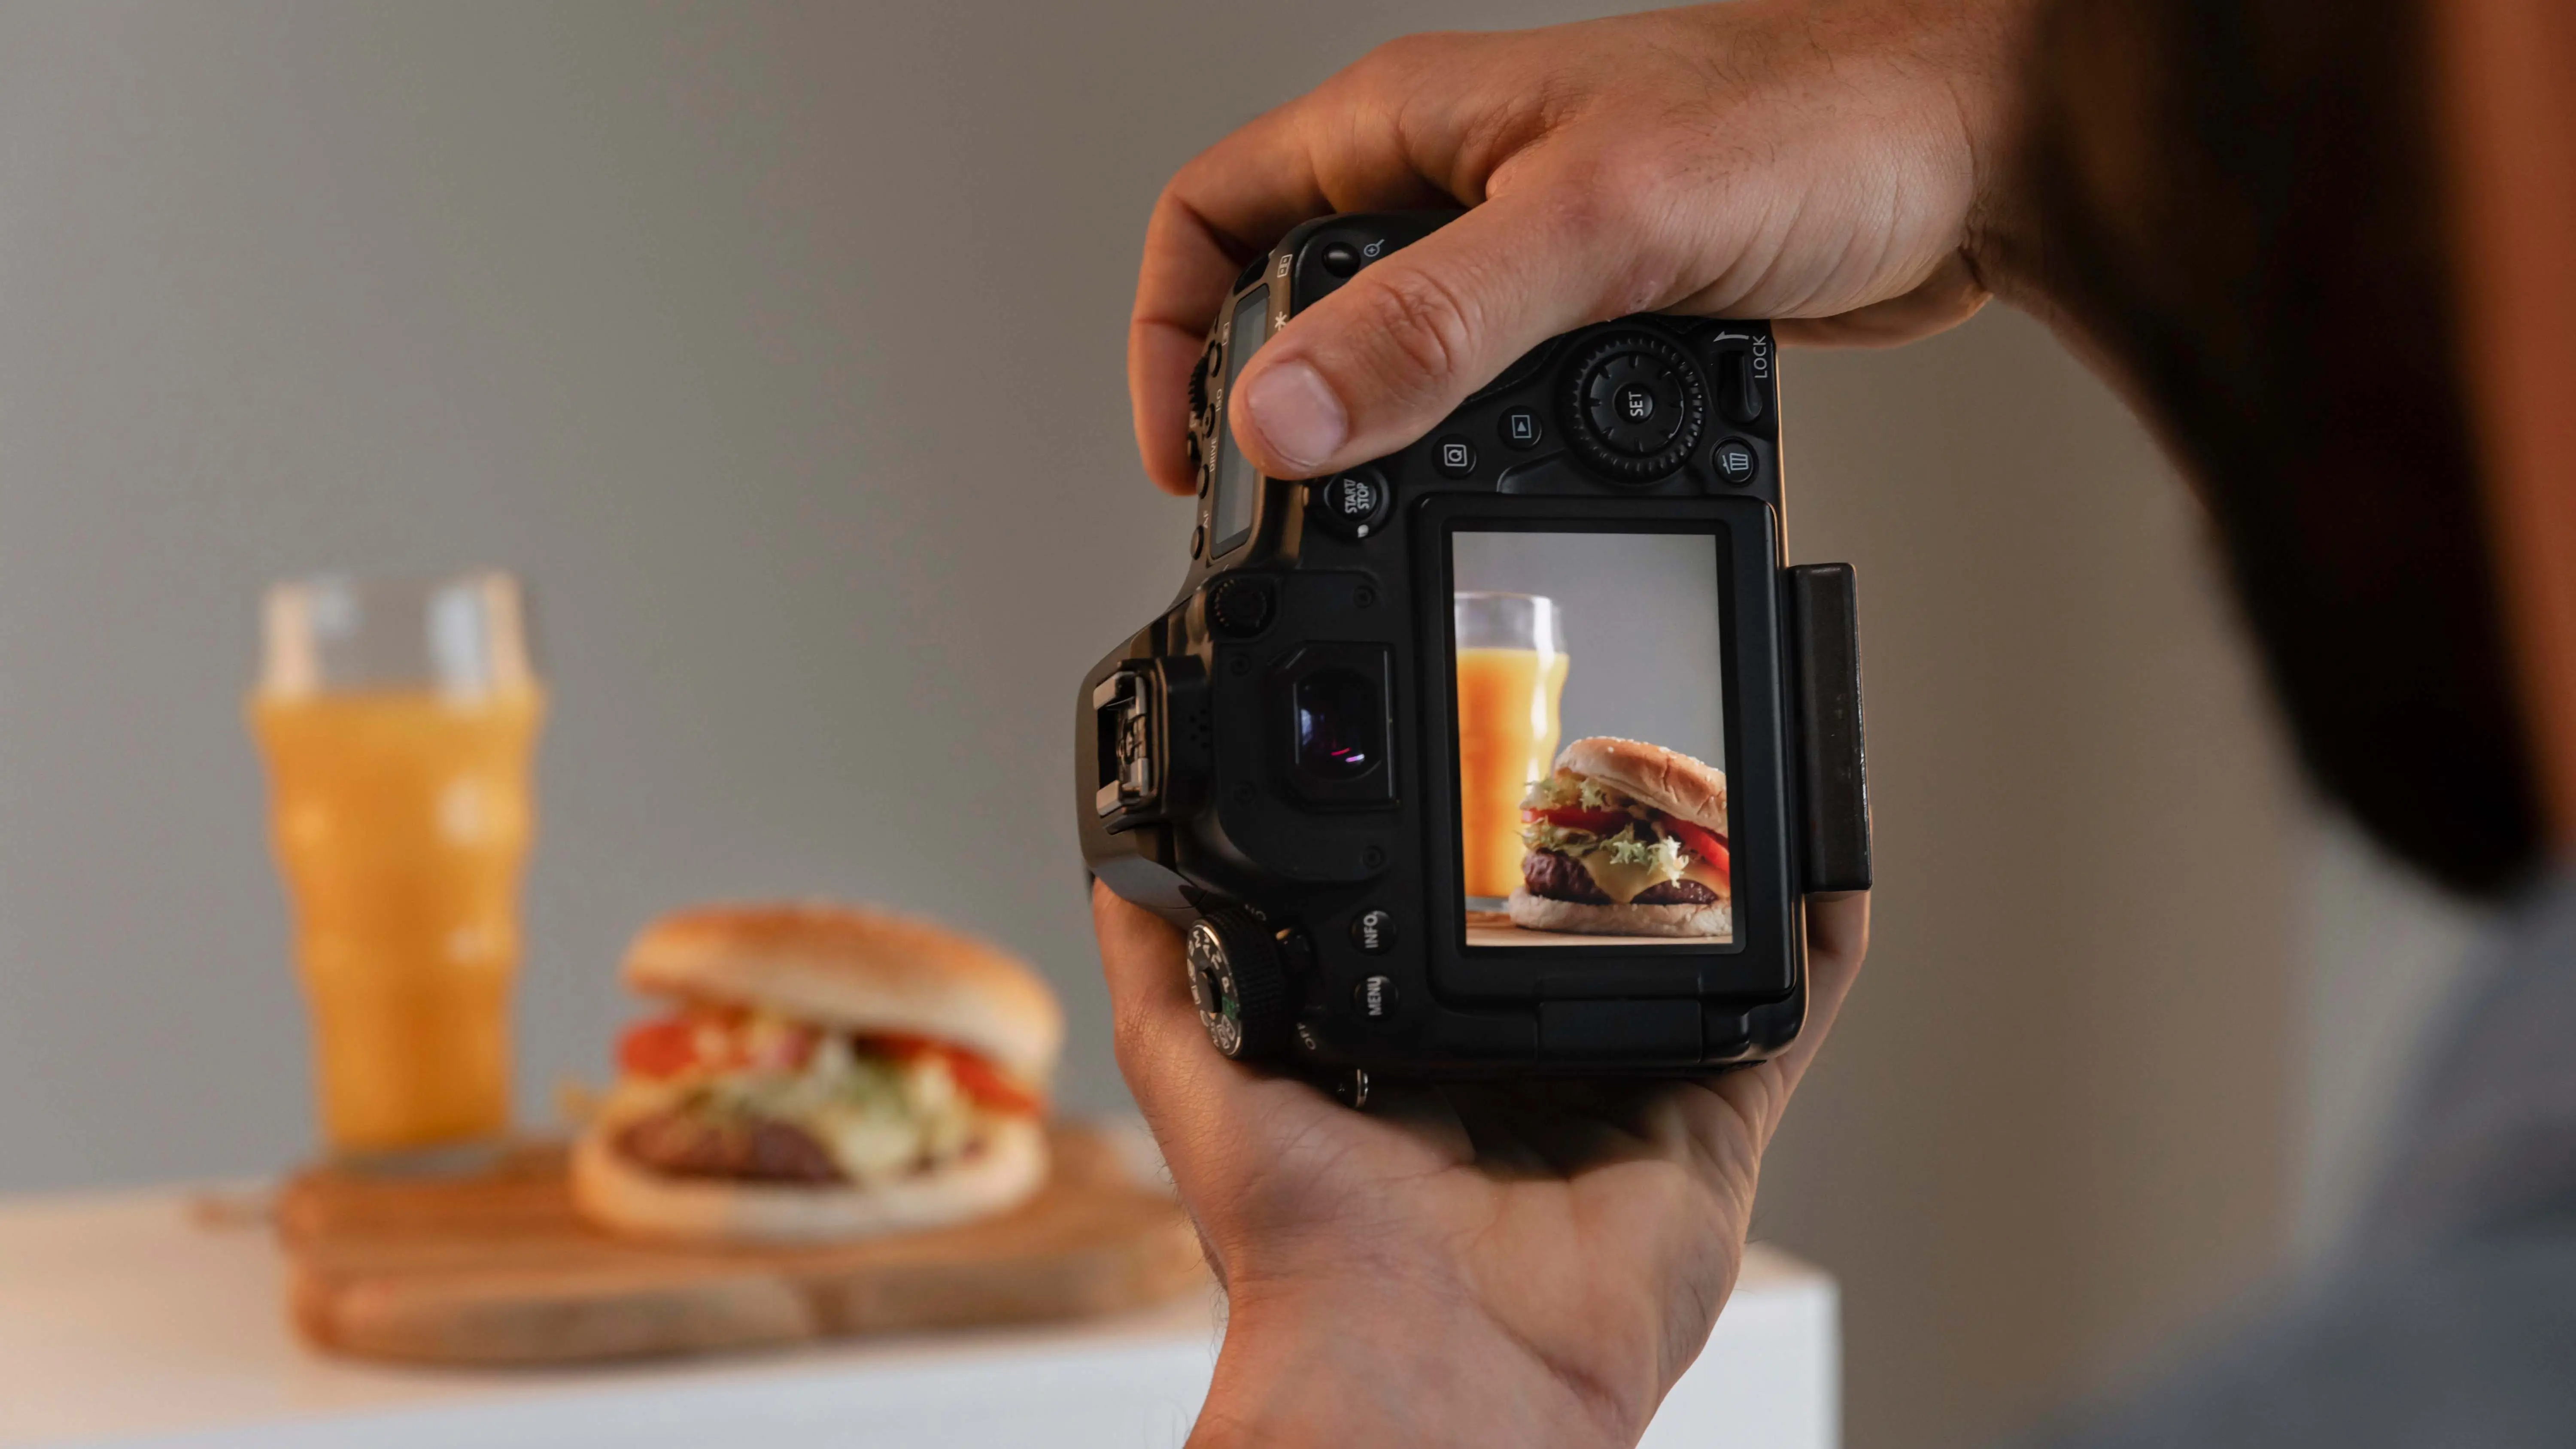
The Best Camera Angles for Product Photography
Lighting and angles are crucial in product photography to capture high-quality images that attract customers. Taking pictures from various angles helps customers understand the product better. Close-up shots are especially helpful in showcasing the quality, fabric, and features of the product.
Some common camera angles for product photography include:
1. Eye level:
This angle captures the product at eye level.
2. High angle:
It gives the impression of looking down at the product from a height.
3. Low angle:
This angle shows the product as if viewed from the floor looking up.
4. Bird's eye:
It provides a top-down view of the product.
5. Slanted:
This angle captures the product from one side.
Tools Used in E-Commerce Photography
E-commerce photography requires specific tools to produce high-quality images that stand out. Some essential tools include:
1. Point-and-shoot cameras
2. DSLRs
3. Tripod
4. Macro lenses
5. Studio lights
6. White background
Each tool serves a unique purpose in capturing great product photos for online stores.
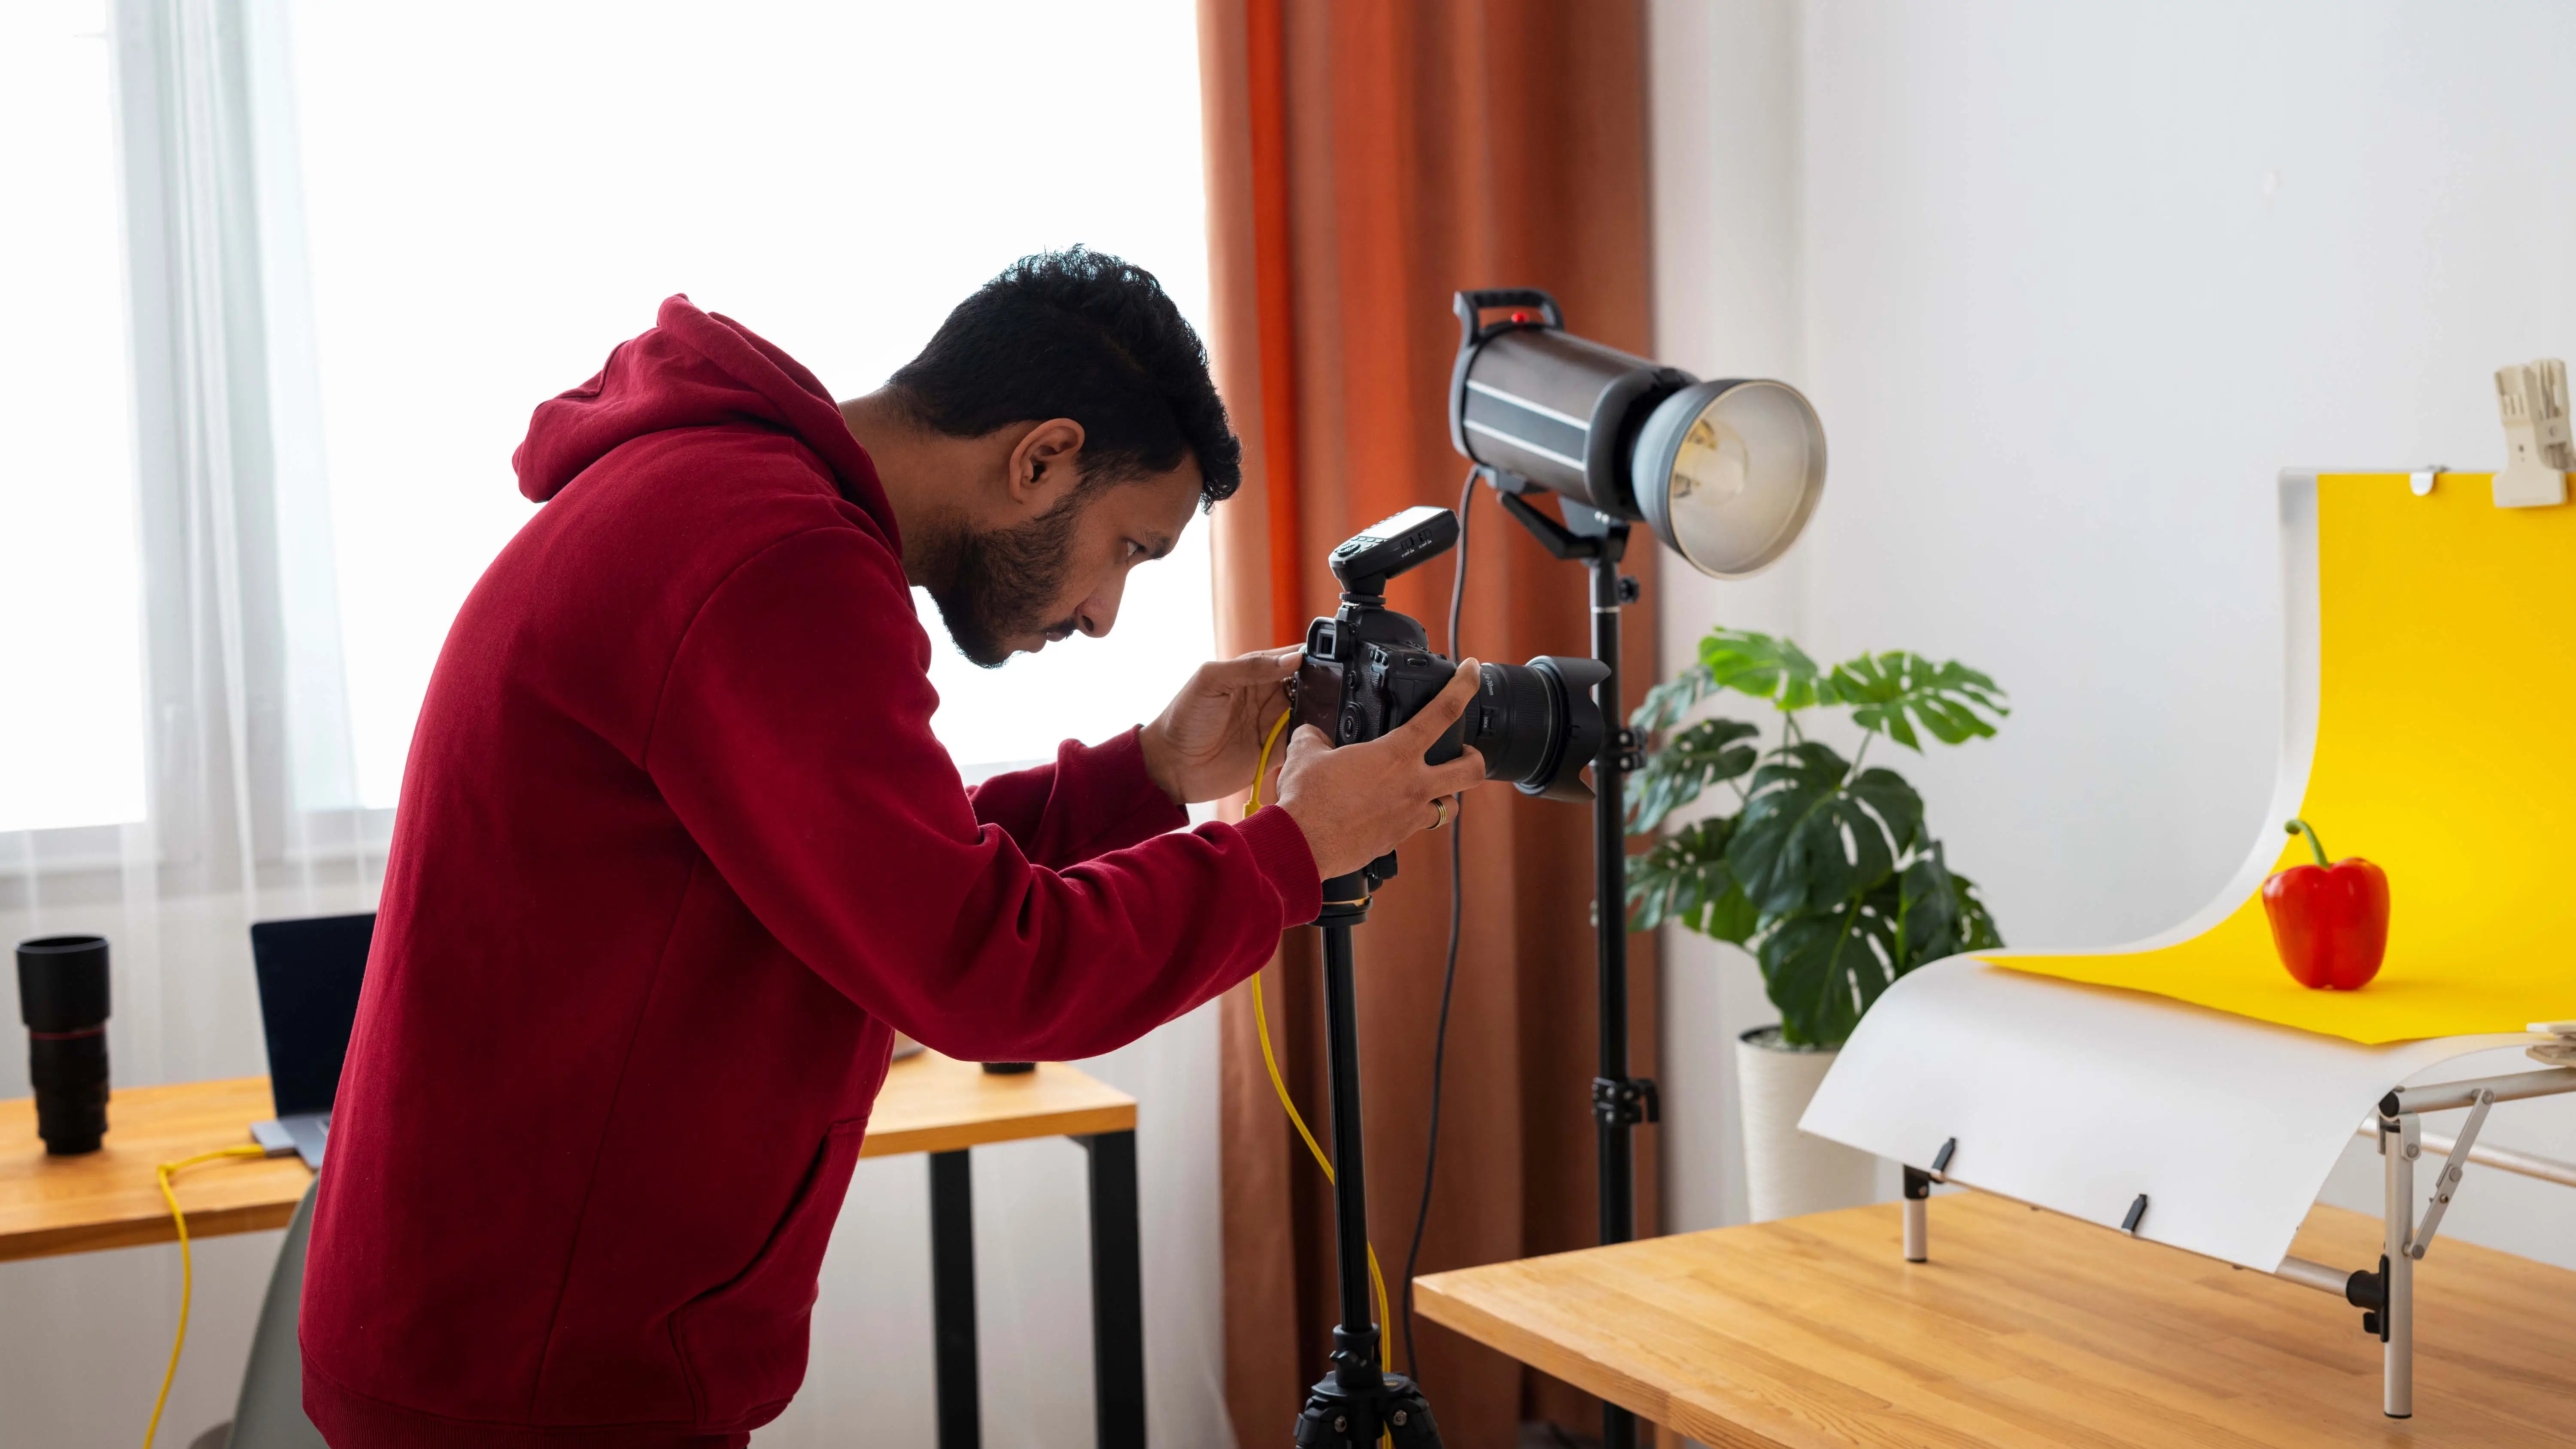
Using Light to Enhance Product Photos
Lighting is a crucial element in creating attractive product photos that drive sales. Here are some tips for using light effectively:
1. Ensure proper brightness
2. Use diffused light
3. Pay attention to light color
By following these tips, you can improve the quality of your product photos and increase sales.
Conclusion
E-commerce photography requires specific tools and techniques to produce high-quality images. By understanding the importance of styling products, camera angles, and lighting, you can create stunning photos that help your online store stand out. Remember to use the right tools for each type of product photo to showcase your products effectively.
FAQs
Q1. Is styling important for photography?
Ans. Styling is crucial for good photography because it makes the product look better. Many eCommerce sites hire professional photographers to take their product photos.
Q2. How can I take professional pictures at home with my iPhone?
Ans. If you want to take expert-level pictures with your iPhone, make sure you have an iPhone 8 or the latest version. Use a white background to enhance your product and avoid distractions. Take pictures from every angle so viewers can see the product from all sides. Set up near a window to use natural light for better results. Avoid zooming in on pictures as it can reduce quality. Use an editing app to make final touches and fix imperfections.
Q3. How do I take quality product photos?
Ans. For high-quality pictures, use a DSLR or smartphone with at least 12 megapixels. Use a tripod to avoid blurry pictures. Capture images from every angle and take close-up shots to highlight the products properly. Opt for natural light over artificial light for perfect results.
Q4. What is product photography?
Ans. Product photography is a type of commercial photography that showcases a product in the best possible way. The goal is to make the product look appealing and attractive to potential customers. This type of photography is often used in advertising, e-commerce websites, and catalogs.
Q5. How can I use PhotoCut to remove the background of my product photos?
Ans. PhotoCut is a tool that uses artificial intelligence to automatically remove the background of an image. Simply upload your image to the PhotoCut website or app, and let the AI work its magic. Once the background is removed, you can download the transparent image and use it for your website or marketing materials.
Q6. What are the benefits of using PhotoCut for product photography?
Ans. Using PhotoCut can save you time and money by automatically removing the background of your product photos. This can lead to more consistent and professional-looking photos across your website and marketing materials. Additionally, by removing the background, you can showcase your products on any background or color scheme without the need for additional editing.
You might also be interested in


FAQ’s
I recommend checking out our detailed step-by-step guide on How to Use a Free Photo Editor. It covers everything from downloading and installing to using the essential tools and techniques for enhancing your photos.